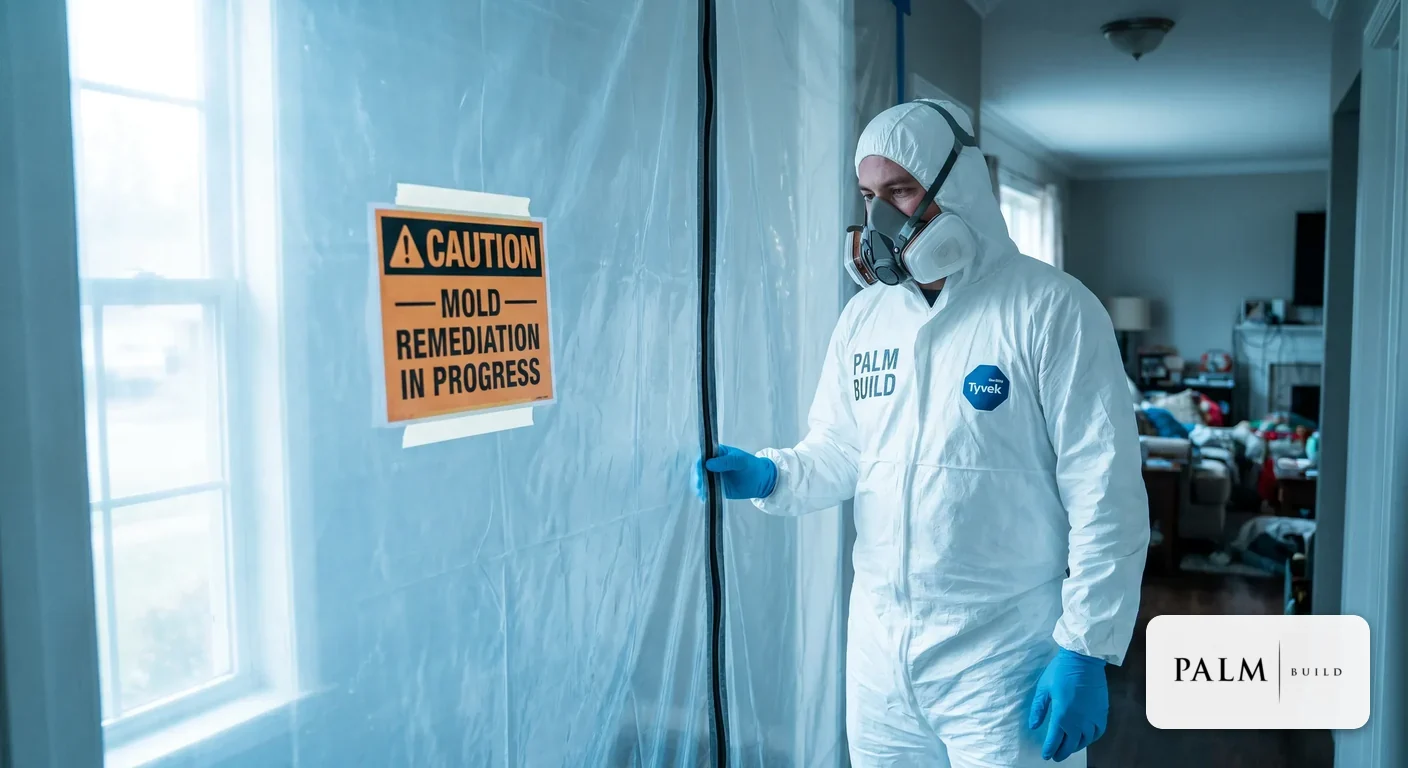
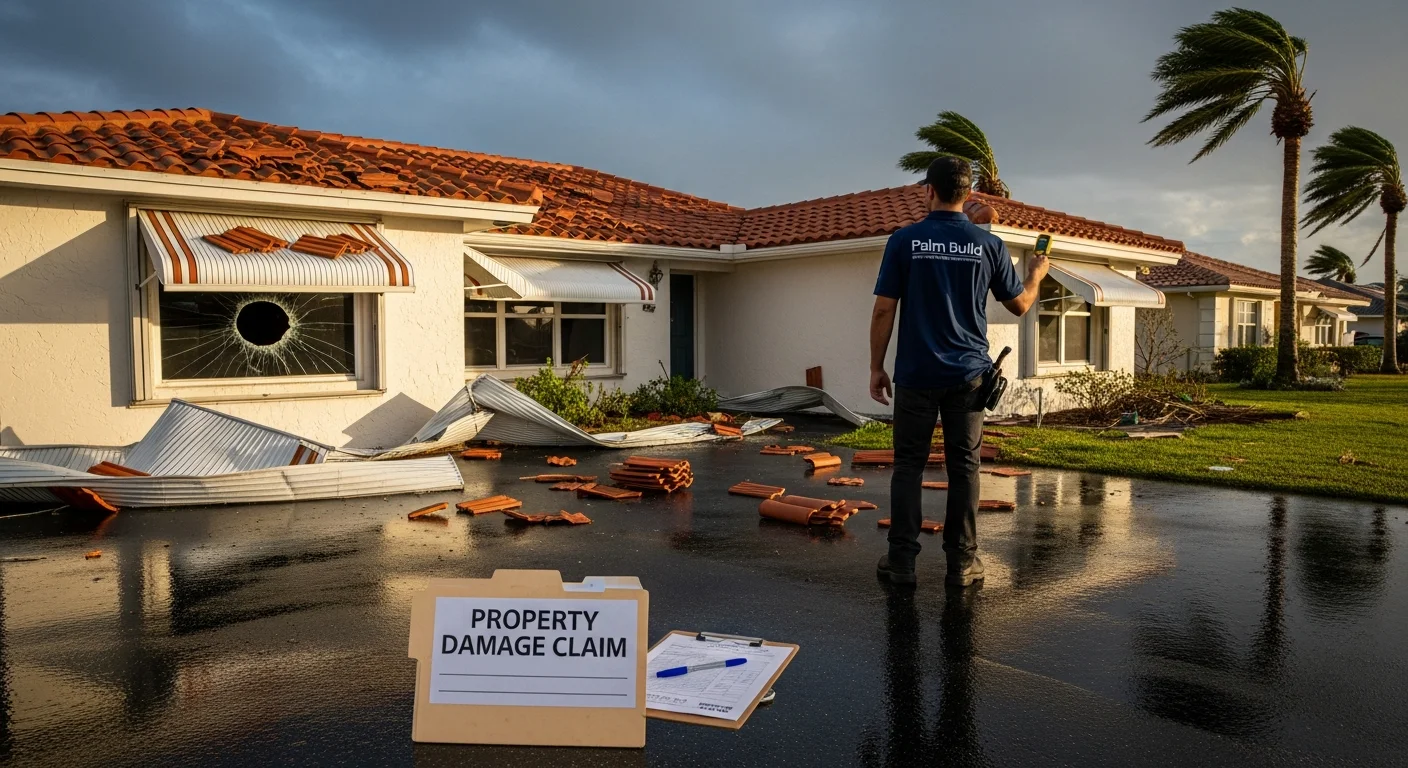
Quick Answer
Standing water in a crawl space comes from either bulk water entering from outside (roof runoff, poor grading, or groundwater) or an internal plumbing or HVAC leak. Respond in three steps: make the space safe (treat any water near wiring as energized), extract the water fast, then fix the source. Professional removal typically costs $800 to $3,000.
Key takeaways
- Standing water in a crawl space usually comes from either bulk water getting in from outside (roof runoff, grading, groundwater) or an internal plumbing or HVAC leak.
- EPA and CDC both use the same 24 to 48 hour mold clock: damp materials that are not dried within 24 to 48 hours should be assumed to be mold-risk and treated accordingly.
- Cost cluster: water damage mitigation runs $3 to $7.50 per sq ft, sump pump installation $800 to $3,000, French drains $10 to $100 per linear foot, and full encapsulation $1,500 to $15,000 (average around $5,500).
- Never enter a crawl space where water is touching electrical outlets, wiring, or equipment — treat it as energized until a qualified person confirms power is off.
- The long-term fix is a system, not a single component: exterior drainage + interior sump + vapor barrier or encapsulation — a dehumidifier alone will not solve bulk water.
Standing water in a crawl space is almost always one of two things: bulk water getting in from outside (rainwater, groundwater, or poor drainage) or an internal plumbing or HVAC leak. The right response is a three-step sequence: make the space safe, get the water out fast, and then fix the reason it got in. The 24 to 48 hour mold clock is the one rule that matters most — if damp wood, insulation, or framing stays wet beyond that window, you should assume mold is on the way. Expect cost ranges somewhere between $3 and $7.50 per square foot for mitigation work, $800 to $3,000 for a sump pump, and $1,500 to $15,000 for full encapsulation if you want to make sure this never happens again.
Mold growth window
24–48 hrs
EPA and CDC: damp materials that stay wet longer than 24 to 48 hours should be treated as mold-risk
Typical drying time
3–7 days
Residential crawl space drying when extraction starts same-day; longer if materials must be removed
Sump pump install
$800–$3,000
Basin, pump, electrical, and discharge routing combined
Encapsulation cost
$1,500–$15,000
Average around $5,500 depending on size, access, and moisture control add-ons
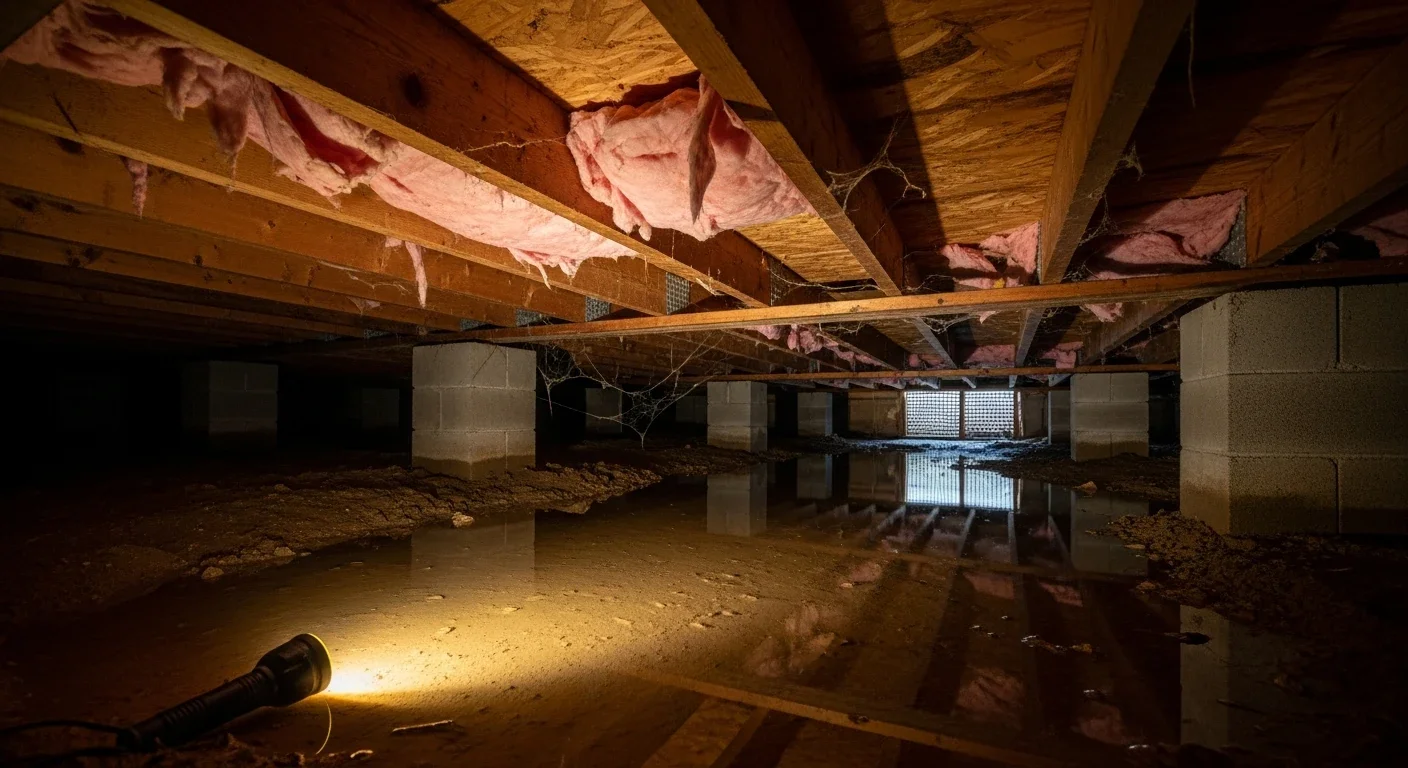
What Standing Water in a Crawl Space Actually Means
Standing water is a symptom, not a root cause. By the time you can see pooled water on a vapor barrier or soaking the dirt floor, something upstream of the crawl space has already failed — gutters, grading, a supply line, a condensate drain, or the water table itself. That matters because extraction alone does not fix the problem. If you pump out the water today without identifying the source, the same puddles come back after the next storm. Our guide on the 8 signs your crawl space has problems walks through the upstream symptoms that usually appear weeks before you ever open the access panel.
- **Exterior water management failures.** Gutters dumping at the foundation, downspouts too short, grading that slopes toward the house, or surface drainage that pushes rain into the crawl space instead of away from it.
- **Groundwater pressure or a high water table.** Common in low-lying neighborhoods, coastal zones, and anywhere near a river or retention pond. The water rises up from below whether or not it is raining.
- **Internal plumbing or HVAC leaks.** A slow supply-line drip, a failed shut-off valve, a cracked drain line, or an overflowing HVAC condensate pan. These are often the hardest to spot because they happen regardless of weather.
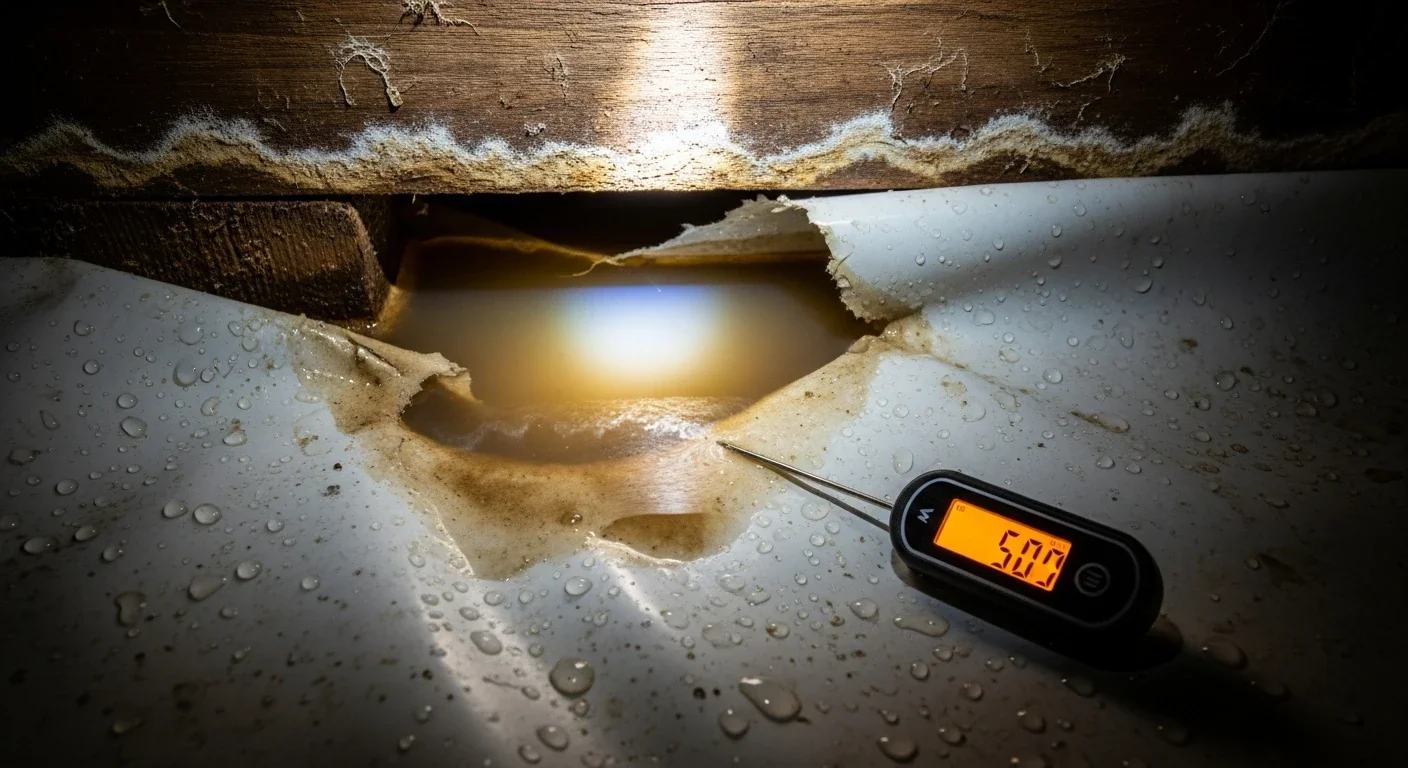
Fast Triage: Likely Cause, Clues, and First Move
Before you call anyone or buy any equipment, spend five minutes with a flashlight matching what you see to what you know. Triage matters because the first move for a plumbing leak is different from the first move for groundwater, and the wrong first move can waste a day of drying time.
| Likely cause | Clues you can actually check | First move that matters |
|---|---|---|
| Roof runoff dumped at the foundation (gutters, downspouts) | Water appears after storms, erosion near downspout exits, puddling next to the foundation | Extend downspouts and correct gutter flow, then re-check after the next rain cycle |
| Yard slopes toward the house (grading) | Soil is flat or pitched toward the foundation, water stands near the perimeter of the home | Regrade or add swales and surface drains before spending money on interior systems |
| Groundwater intrusion / high water table | Water returns even in dry weather, low-lying neighborhood, coastal or river-adjacent property | Plan for a sump basin plus an interior perimeter drain — surface fixes alone usually cannot keep up |
| Plumbing leak (supply or drain) | Water present regardless of rain, localized pooling near supply lines or drain lines | Shut the water off at the street if safe, call a plumber, and call emergency water restoration for drying |
| HVAC condensate issue | Water near the air handler or condensate drain line, seasonal pattern tied to cooling season | Stop the source (clear the condensate line, repair the pan) and dry the space — do not assume it will air out |
Quick triage table — match the clues to the likely cause and the right first move
Step-by-Step: What to Do Right Now
Whether you end up doing this yourself or calling a pro, the sequence is the same. Skipping a step — especially the safety check or the source shut-off — is the most common reason a crawl space water event turns into a mold job two weeks later.
- 1
Make the space safe before you touch anything
Turn off power to any circuits that serve the crawl space at the breaker panel. Do not enter if water is touching wiring, outlets, a pump, or the HVAC air handler. Assume contamination until you know the source — sewage backups and floodwater are Category 3 water and require full PPE, not flip-flops and a dream.
- 2
Stop the water source
If the cause is a plumbing leak, shut off the water supply at the main valve. If it is a burst HVAC condensate line, shut off the air handler. If it is groundwater or storm runoff, you cannot truly stop it at the source yet — you extract first and then plan the drainage fix. For rapid plumbing failures like a burst supply line, our burst pipe water damage guide walks through the immediate shut-off sequence.
- 3
Remove the standing water fast
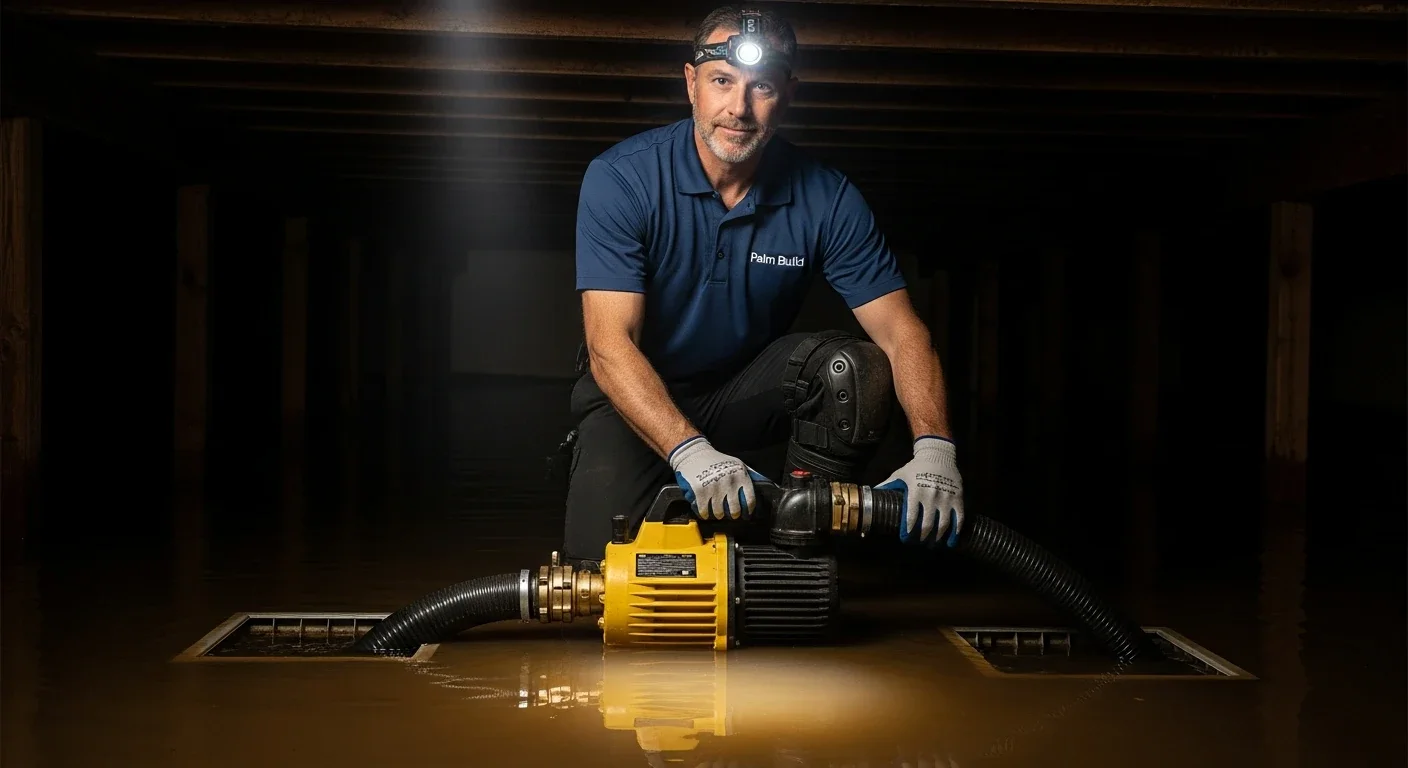
A wet/dry vacuum works for shallow nuisance puddles. A submersible pump is the right tool for anything over an inch or two across any meaningful area. Professional crews bring truck-mount extraction rigs that can move hundreds of gallons per hour. The goal is to get the space from "wet" to "damp" as quickly as possible — the sooner extraction finishes, the more of the 24 to 48 hour mold clock you still have on your side.
- 4
Dry and dehumidify within the mold clock
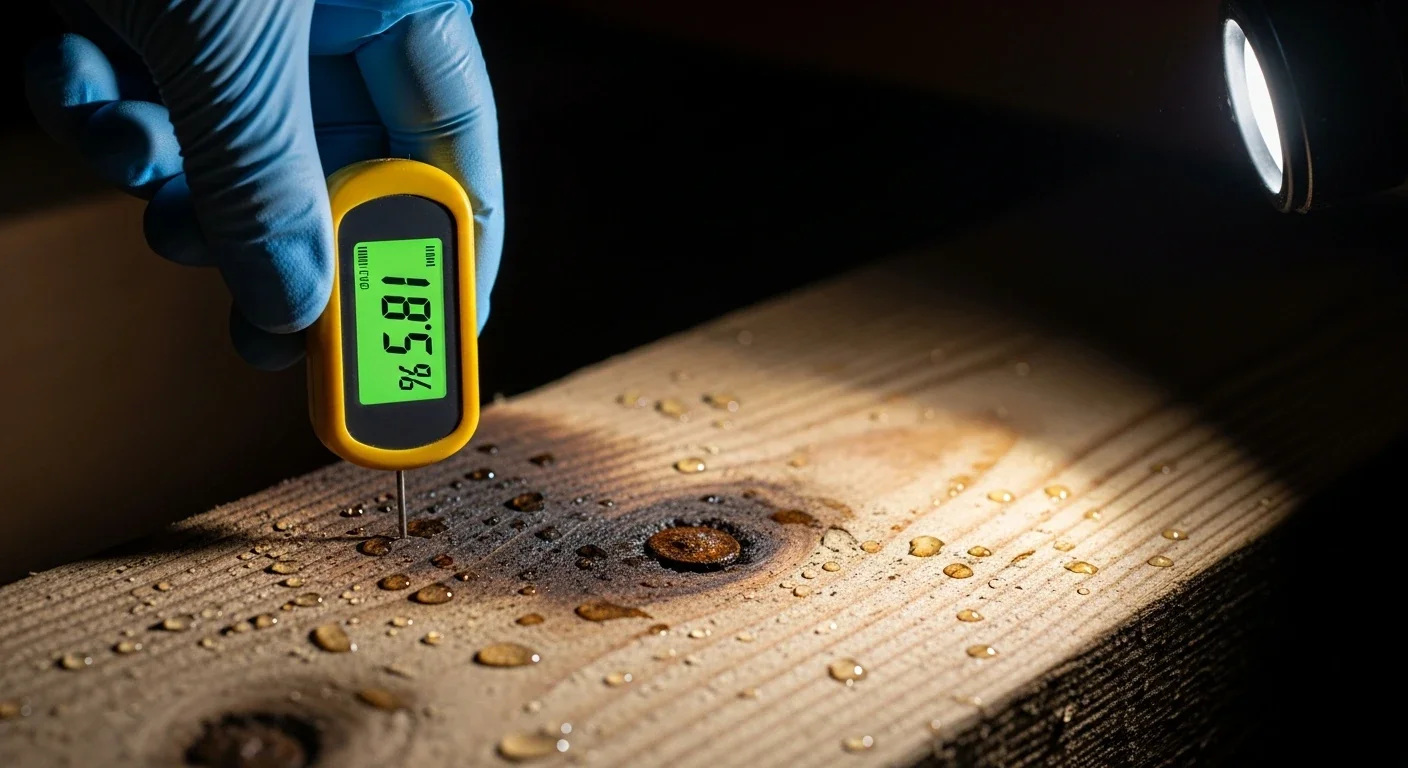
Once the bulk water is gone, run commercial dehumidifiers and axial air movers to force-dry the framing, subfloor, and insulation. Target wood moisture content under 16 percent on a pin meter, and relative humidity below 60 percent (ideally 45 to 55 percent). Running fans only, without dehumidification, just moves humid air around — in Florida and the Carolinas, that often makes things worse. If active mold is already visible, fans can actually spread spores, which is when you need to escalate to professional mold remediation.
- 5
Clean, sanitize, and decide what must be removed
Porous materials that cannot be dried inside the window — saturated fiberglass insulation, cardboard, particleboard subflooring — should be bagged in 6-mil plastic and removed. Hard surfaces and structural framing that are still sound get HEPA-vacuumed and wiped down with an EPA-registered antimicrobial. The 48-hour prevention window guide covers which materials typically need to come out and which can be saved.
- 6
Document everything for your insurance claim
Before any demolition or removal, photograph the water level, the visible source, any damaged items, and the timestamp. Keep every receipt for equipment rental, contractor work, and materials. A well-documented claim is the difference between a full recovery and an argument — our guide to filing a water damage insurance claim covers the documentation sequence adjusters actually look for.
DIY vs Professional: Who Owns This Job?
A shallow clean-water event from a known, stopped source is often DIY-reasonable. A deeper event, any hint of sewage or storm water, or a crawl space that floods repeatedly is a professional job every time. The honest test is not ego — it is whether you can hit the 24 to 48 hour drying window with the equipment you can actually get your hands on today.
DIY is reasonable when
- The water source is clean (a known stopped plumbing leak, not sewage or floodwater)
- Volume is shallow — roughly an inch or two over a small area
- You already own or can rent a wet vac, a submersible pump, a commercial dehumidifier, and air movers by today
- The crawl space has working power (with the affected circuits off) and safe access
- No one in the household has asthma, mold allergy, immune suppression, or chronic lung disease
- You can commit to monitoring moisture readings every 12 to 24 hours for the next several days
Call a pro when
- Water is more than a couple inches deep, or covers a large footprint
- The source is sewage, storm surge, or a flood event (Category 3 water)
- The water touched electrical equipment, the HVAC air handler, or the ductwork
- This crawl space has flooded before — recurrence is a drainage problem, not a one-time cleanup
- You cannot get drying equipment on site in time to hit the 24 to 48 hour mold clock
- There is visible mold already, or a musty smell that has been there for weeks
- You are planning to file an insurance claim and need documentation done correctly from step one
Why Speed Matters: The 24 to 48 Hour Mold Clock
The EPA's mold prevention guidance and the CDC's post-flood cleanup materials converge on the same practical rule: wet materials that stay damp for 24 to 48 hours should be treated as mold-risk. Beyond that window, the conservative assumption is that mold is either starting or already present, and the response changes from cleanup to remediation. The CDC also notes that damp and moldy environments can cause stuffy nose, sore throat, coughing, wheezing, burning eyes, and skin rash — and that people with asthma, mold allergies, immune suppression, or chronic lung disease can have much more serious reactions and should avoid the cleanup entirely. Our post on how fast mold grows after water damage walks through the biology of why that window is so tight.
Fix the Reason the Water Got In
Extraction is step one, not the fix. A durable solution usually stacks three layers: exterior controls that reduce how much water reaches the foundation, interior controls that handle the water that still gets in, and vapor control that stops continuous ground moisture. Skipping any layer means the next storm becomes the next emergency call.
Exterior fixes: gutters, grading, and surface drains
Most crawl space water problems start outside. Clogged or undersized gutters dump roof runoff right next to the foundation. Downspouts that end six inches from the wall concentrate the flow exactly where you do not want it. Yards that slope toward the house turn every rainstorm into a direct feed into the crawl space vents. The cheapest and highest-leverage fix is usually extending downspouts three to ten feet away from the house, followed by regrading the first three to six feet of soil around the perimeter to slope away from the foundation at roughly 5 percent (about six inches of drop over ten feet).
Interior drainage: perimeter drain plus sump pump
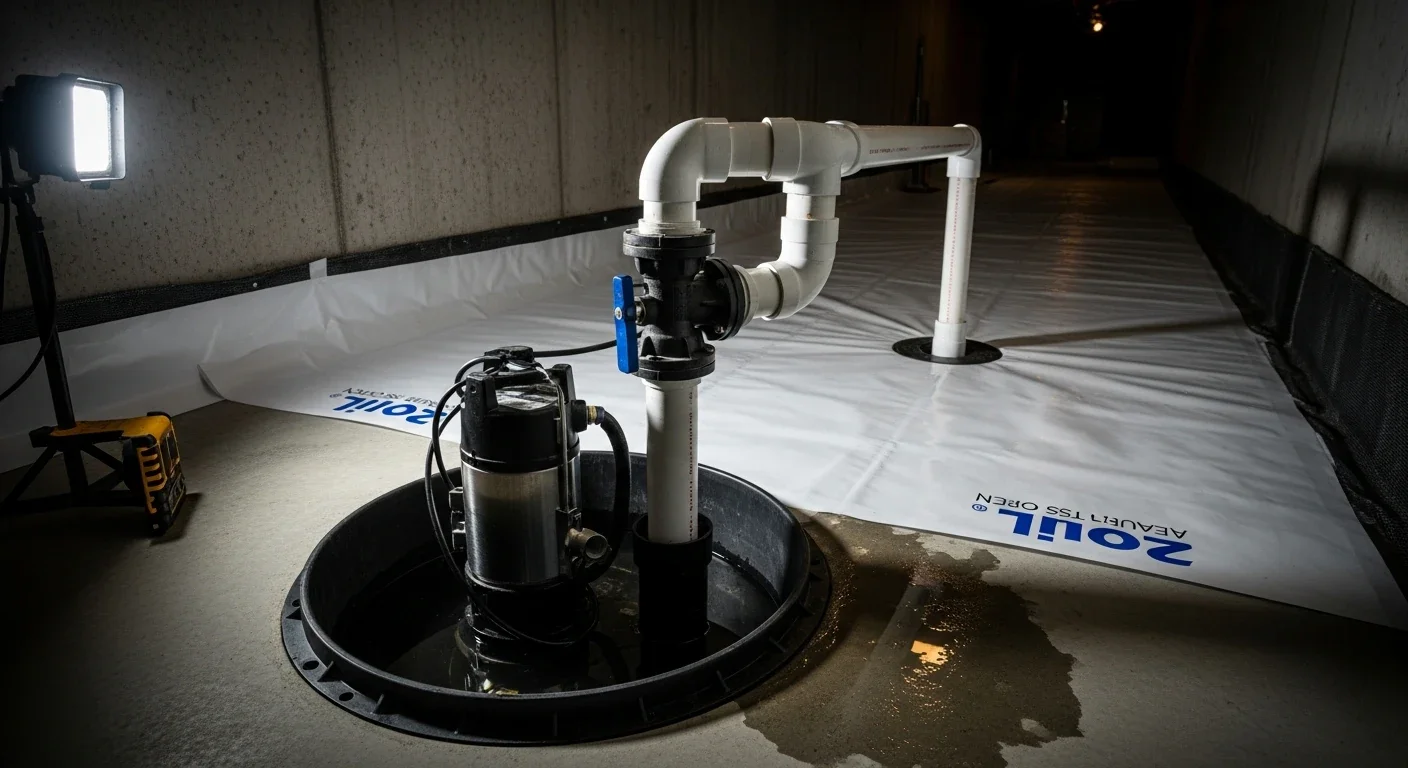
Once exterior fixes are maxed out and water is still making its way in, the answer is an interior drainage system. A perimeter drain runs along the inside of the foundation wall, captures intruding water before it can spread across the crawl space floor, and routes it to a sump basin. A submersible sump pump then discharges that water to a safe exit point away from the house. This is the gold standard for chronic groundwater intrusion and the baseline for any home in a flood-prone neighborhood.
Vapor barrier vs full encapsulation
A vapor barrier is a sheet of heavy plastic that sits on the dirt floor and stops ground moisture from evaporating upward. An encapsulation system is the full package: a heavy-duty vapor barrier (usually 12 to 20 mil) sealed to the foundation walls, sealed or insulated vents, a dedicated dehumidifier, and often a small conditioned-air tie-in. For a home with recurring moisture problems in the Southeast, a partial vapor barrier upgrade is a band-aid — full encapsulation is the actual cure. Our crawl space encapsulation cost guide for 2026 breaks down what that project actually runs end to end.
| Fix | What it solves | Best for | Limitations |
|---|---|---|---|
| Downspout extensions + gutter maintenance | Roof runoff pooling at the foundation | Water shows up after rain and concentrates near one side of the house | Does not solve a high water table or internal plumbing leaks |
| Yard regrading, swales, or surface drains | Surface water flow direction | Lots with poor slope toward the home | May not fix groundwater that rises beneath the home |
| Interior perimeter drain + sump pump | Water that reaches the crawl space perimeter | Recurrent standing water, low-lying neighborhoods | Requires discharge planning, power, and ongoing maintenance |
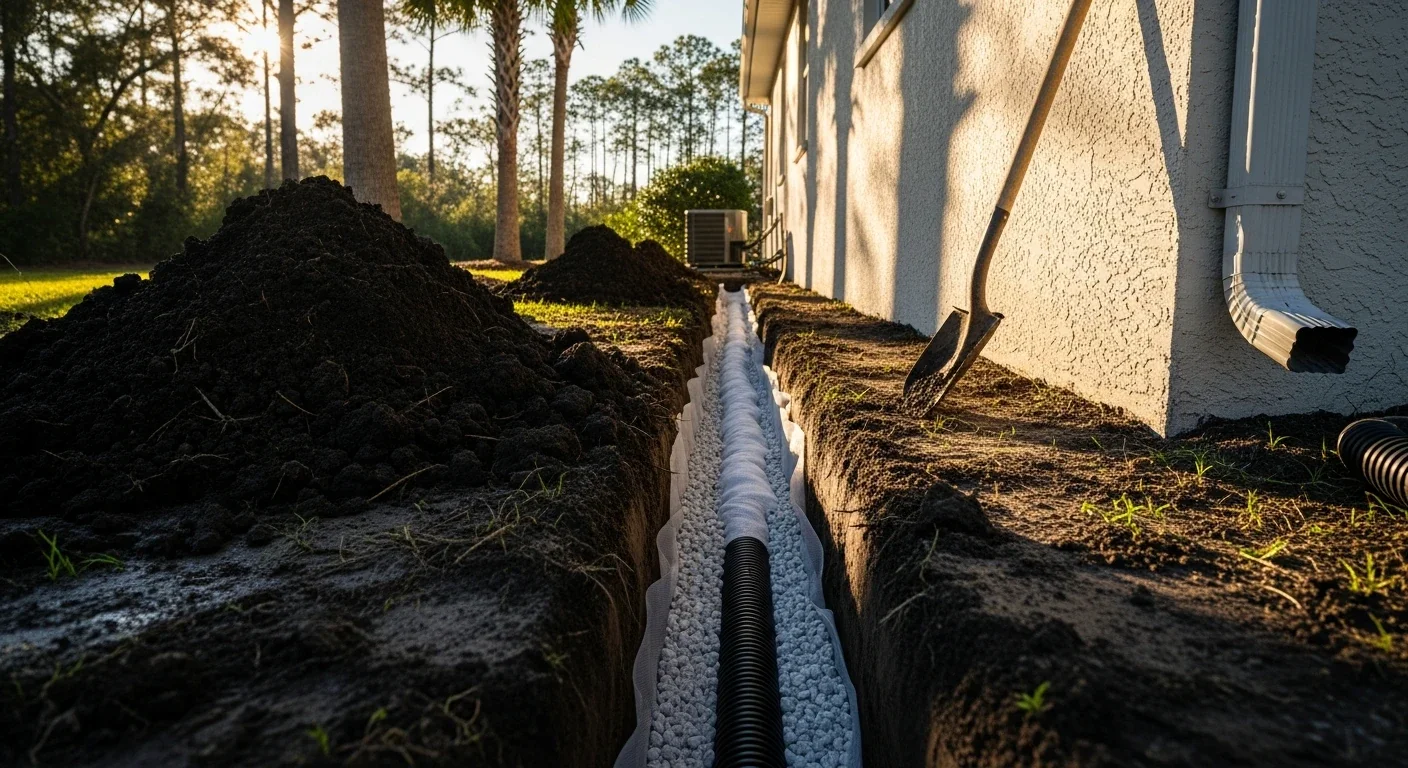
| French drain (interior or exterior) | Moves water to a safe discharge point | Chronic drainage issues, long foundation runs | Cost varies widely by depth, soil, and discharge access |
| Encapsulation + crawl space dehumidifier | Humidity, mold risk, ground vapor | Chronic musty smell, condensation, and mold history | Must address bulk water first — not a substitute for drainage |
What each fix is actually for — matching the right solution to the right problem
Crawl Space Water Removal Costs (2026)
Costs vary with access (how high the crawl space is, how easy the entry hatch is, pier-and-beam vs block), water category (clean vs contaminated), and whether the project is mitigation-only or includes repairs and prevention upgrades. The ranges below are realistic planning numbers, not quotes.
| Line item | Typical range | Notes for scope clarity |
|---|---|---|
| Water damage mitigation per sq ft | $3 – $7.50 per sq ft | Category of water and severity drive where you land in the range |
| Sump pump installation | $800 – $3,000 | Varies by basin, electrical work, pump type, and discharge routing |
| French drain installation | $10 – $100 per linear foot | Depth, interior vs exterior, soil type, and discharge access |
| Crawl space encapsulation | $1,500 – $15,000 (avg ~$5,500) | Often bundled with a dedicated dehumidifier install |
| Dedicated crawl space dehumidifier (add-on) | Up to ~$2,800 | Commonly cited as an add-on within encapsulation budgets |
| Emergency extraction + structural drying | $500 – $3,000+ | Depends on volume, equipment days, and access difficulty |
Crawl space water removal and prevention cost ranges (2026 planning numbers)
For a typical single-family home with a moderate standing water event (clean water, 1 to 3 inches, quick source control), most homeowners are looking at $1,500 to $4,000 for mitigation alone. Layering in an interior drainage system and a sump pump brings total project cost toward the mid four figures. A full encapsulation plus drainage plus dehumidifier package commonly lands between $8,000 and $15,000. See our full water damage restoration cost guide for 2026 for broader context across different water damage scenarios.
Drying timelines: what to actually expect
For a typical residential crawl space where extraction starts the same day, professional drying usually takes 3 to 7 days. Clean water and good access push toward the short end; contaminated water, difficult access, or materials that have to be removed push toward the long end. A full encapsulation project adds another 3 to 5 days on top of the drying work, and cannot start until any active leaks, rotted wood, and drainage problems have been addressed first.
Florida, North Carolina, and South Carolina Notes
Crawl space water is mostly physics and plumbing, but the homeowner experience differs meaningfully by state — in climate pressure, insurance claim rules, and regulatory posture around mold work.
Florida: claim timing, humidity pressure, and mold licensing
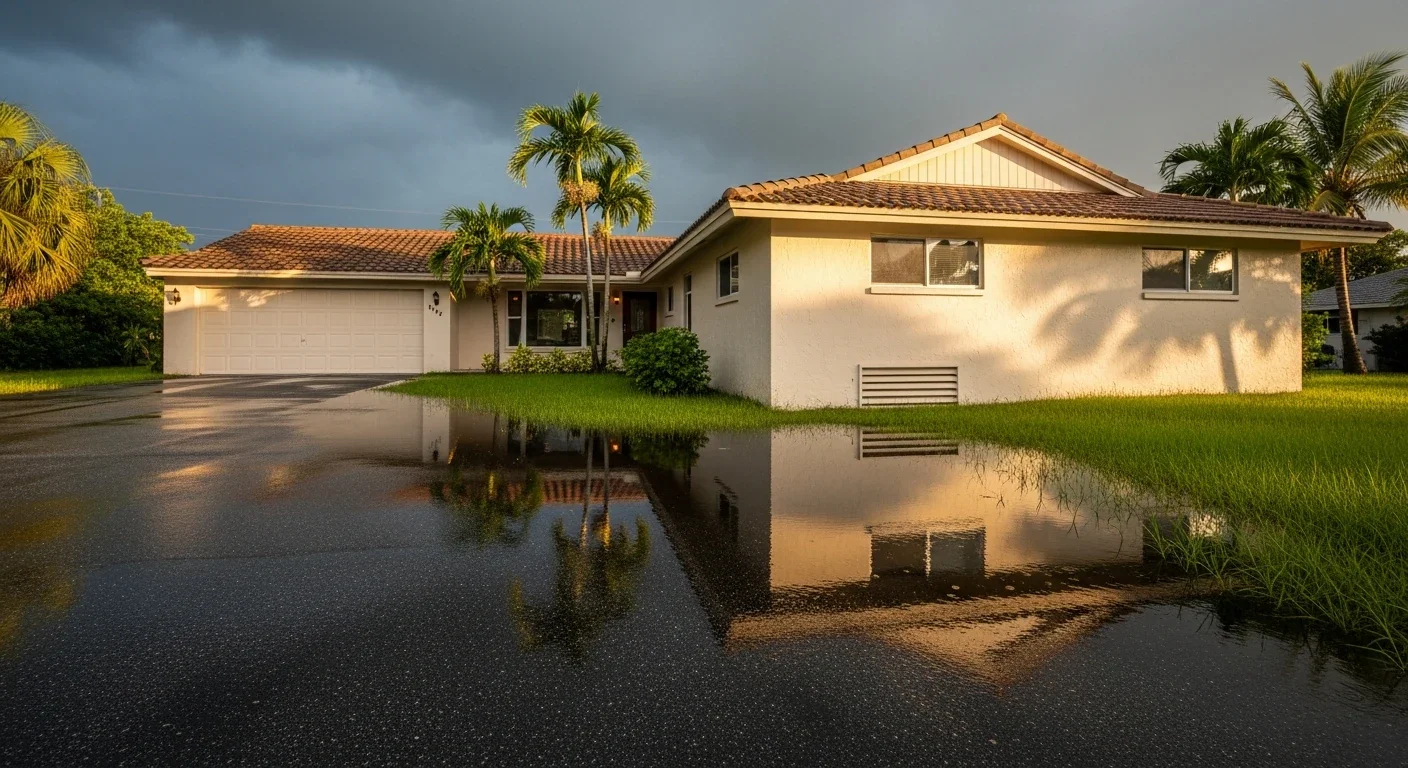
Florida's statewide annual average precipitation sits around 53.7 inches, concentrated in the June through September warm season — exactly when humidity is also at its peak. That combination means crawl spaces here rarely dry out on their own after an intrusion event. On the insurance side, Florida Statutes Section 627.70131 sets a defined timeline for claim handling, generally requiring insurers to pay or deny a claim (or a portion) within 60 days of receiving notice, subject to exceptions. That is a strong reason to document quickly and coordinate your claim through a team that knows the insurance restoration process. Florida also licenses mold assessors and remediators under Chapter 468, Part XVI — worth asking about before you hire anyone for mold work that follows a crawl space water event.
North Carolina: unfair claim practices and red-clay drainage
North Carolina does not have a single universal deadline like Florida's 60-day rule, but the state's unfair claim settlement practices statute expects insurers to acknowledge communications promptly and affirm or deny coverage within a reasonable time after proof of loss. The practical takeaway is the same: document early and often, and do not assume verbal communication counts. On the climate side, the Piedmont's heavy red clay soil drains slowly and holds water against foundations longer than sandy Coastal Plain soils do, which is why crawl space moisture problems are so common in the central part of the state — our North Carolina crawl space problems guide goes deeper on the regional specifics.
South Carolina: 90-day bad-faith rule and post-storm guidance
South Carolina's improper claim practices provisions include a 90-day trigger — if an insurer refuses to pay within 90 days after demand without reasonable cause or in bad faith, the policyholder may be entitled to recover attorney's fees. That is a meaningful backstop when a claim stalls. South Carolina's Department of Environmental Services publishes straightforward post-storm moisture guidance that mirrors the EPA's 24 to 48 hour drying window and emphasizes replacing porous materials that cannot be dried inside that window. For homes affected by tropical systems or named storms, coordinate with your insurer early and understand how standard homeowners coverage interacts with separate flood coverage.
Documentation Checklist for Your Insurance Claim
Before anyone moves, removes, or discards anything in the crawl space, capture the scene. This is the single highest-leverage thing you can do to protect a claim, and it takes less than 30 minutes.
- Wide photos of the standing water at its highest point, with a ruler or tape measure visible for scale
- Close-up photos of the visible source (plumbing leak, wet insulation, ground seepage, failed vapor barrier)
- Time-stamped photos of damaged materials (insulation, framing, personal property stored in the crawl space)
- Photos of any exterior contributors: overflowing gutters, downspout discharge, yard ponding, eroded grading
- Moisture meter readings on multiple joists and subfloor locations, photographed with the meter display visible
- All receipts for emergency equipment rental (wet vac, pump, dehumidifier, fans) and any materials purchased
- Invoices and scope documents from any restoration company, plumber, or electrician involved
- A written timeline: when you discovered the water, when you notified your insurer, when mitigation started
When to Call Palm Build
Palm Build is an IICRC-certified restoration company serving Florida, North Carolina, and South Carolina with 24/7 emergency response. We handle crawl space cleanup and moisture control end to end — from same-day extraction and structural drying through interior drainage, sump pump installation, vapor barriers, and full encapsulation. When the water event is bigger than a crawl space, we also handle whole-home water restoration and structural drying and coordinate directly with insurance carriers. If you are staring at standing water right now, the first call beats the second every time.
Crawl space cleanup and moisture control
Extraction, drying, mold removal, vapor barriers, and full encapsulation across FL, NC, and SC.
Emergency water restoration
IICRC-certified extraction and structural drying with 24/7 dispatch.
Crawl space encapsulation cost guide (2026)
What encapsulation actually costs, when it makes sense, and what drives the price.
Crawl space mold removal
What to do when the water event turned into a mold event — DIY thresholds, process, and cost.
Frequently Asked Questions
What is the fastest way to get water out of a crawl space? +
Can I remove standing water in my crawl space myself? +
How long does it take to dry out a crawl space after water damage? +
How quickly can mold start growing after a crawl space flood? +
Will homeowners insurance cover water in a crawl space? +
Do I need a sump pump in my crawl space? +
Is a dehumidifier enough to fix a wet crawl space? +
How soon should I bring in professionals after a crawl space water event? +
Standing water under your home? Call Palm Build now.
Our IICRC-certified team is on call 24/7 across Florida, North Carolina, and South Carolina for emergency extraction, structural drying, and crawl space drainage. Every hour matters once the mold clock starts — the first call beats the second every time.
Found this helpful? Send it to someone who needs it.