Key takeaways
- Mold can start growing in 24 to 48 hours on wet materials — this timeline is confirmed by both the CDC and EPA
- The prevention trio: remove standing water fast, pull porous materials that cannot dry in time, run commercial drying equipment
- Keep indoor humidity at 50% or lower throughout drying — the CDC recommends this as the mold prevention threshold
- If the structure is not dry within 48 hours, assume mold has started and shift from prevention to professional remediation
- Florida homeowners have a 1-year insurance claim notice deadline — document and notify your insurer the same week as the loss
Mold can start growing within 24 to 48 hours after flooding — a timeline confirmed by both the CDC and EPA. Your window to prevent it is measured in hours, not days. The goal during that window is aggressive but achievable: remove all standing water, pull out porous materials that cannot be dried quickly, and run commercial drying equipment until the structure reads genuinely dry on a moisture meter — not just dry to the touch. Keep indoor humidity at 50% or lower throughout. If you cannot dry the home and its contents within 24 to 48 hours, CDC guidance is unambiguous: assume mold growth has already started and treat the situation as a remediation project. Document everything for your insurance claim before touching anything, then move immediately.
Mold growth window
24–48 hrs
CDC and EPA both confirm mold can begin growing on wet building materials within this window
Target indoor humidity
≤50%
CDC recommendation to prevent mold activation and regrowth during the drying process
Avg mold remediation
$2,368
National average cost; per-square-foot rates typically run $10 to $25 depending on scope
Professional drying cycle
3–5 days
Typical duration for commercial structural drying — longer for severe cases or deep saturation
Why the First 48 Hours Decide Whether You Get Mold
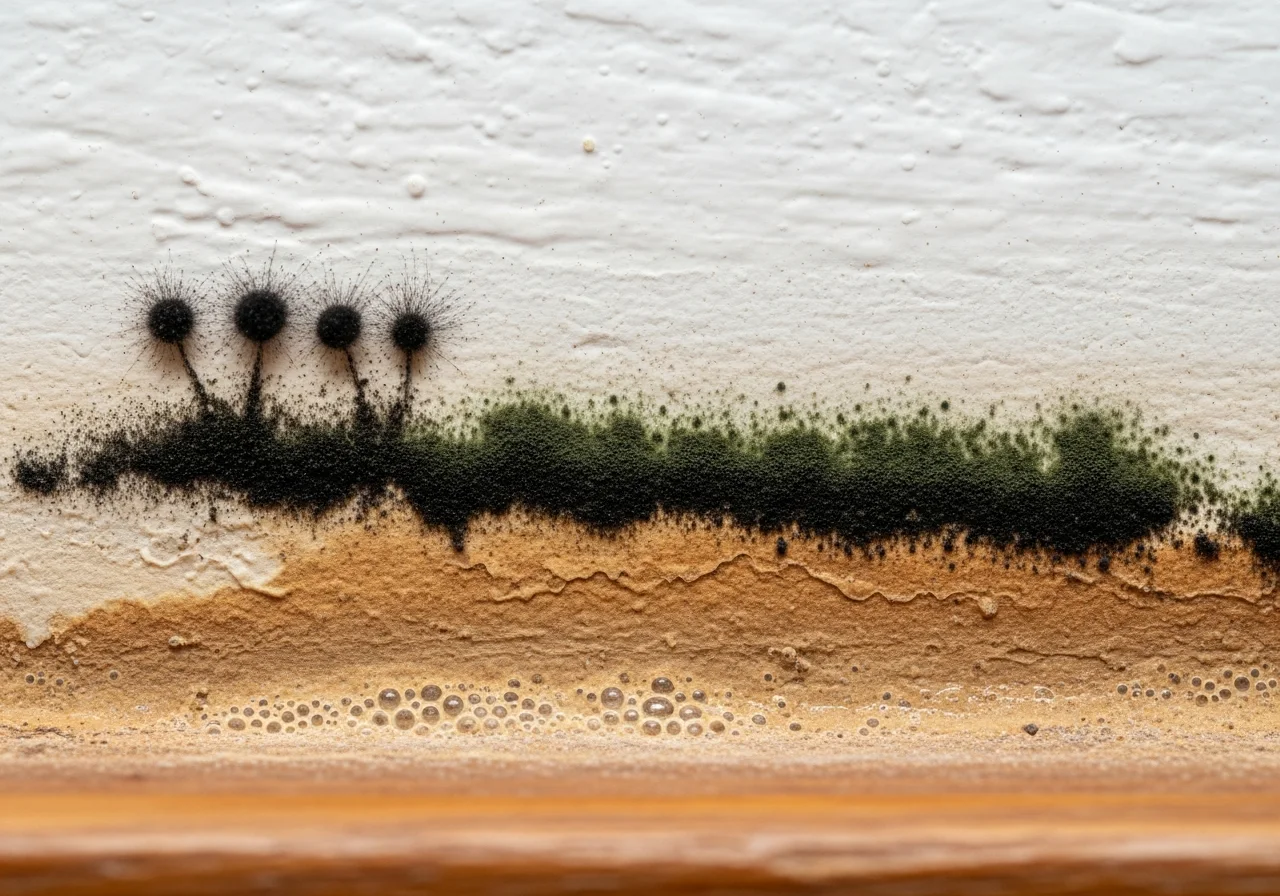
Mold Growth Timeline: What "24 to 48 Hours" Really Means
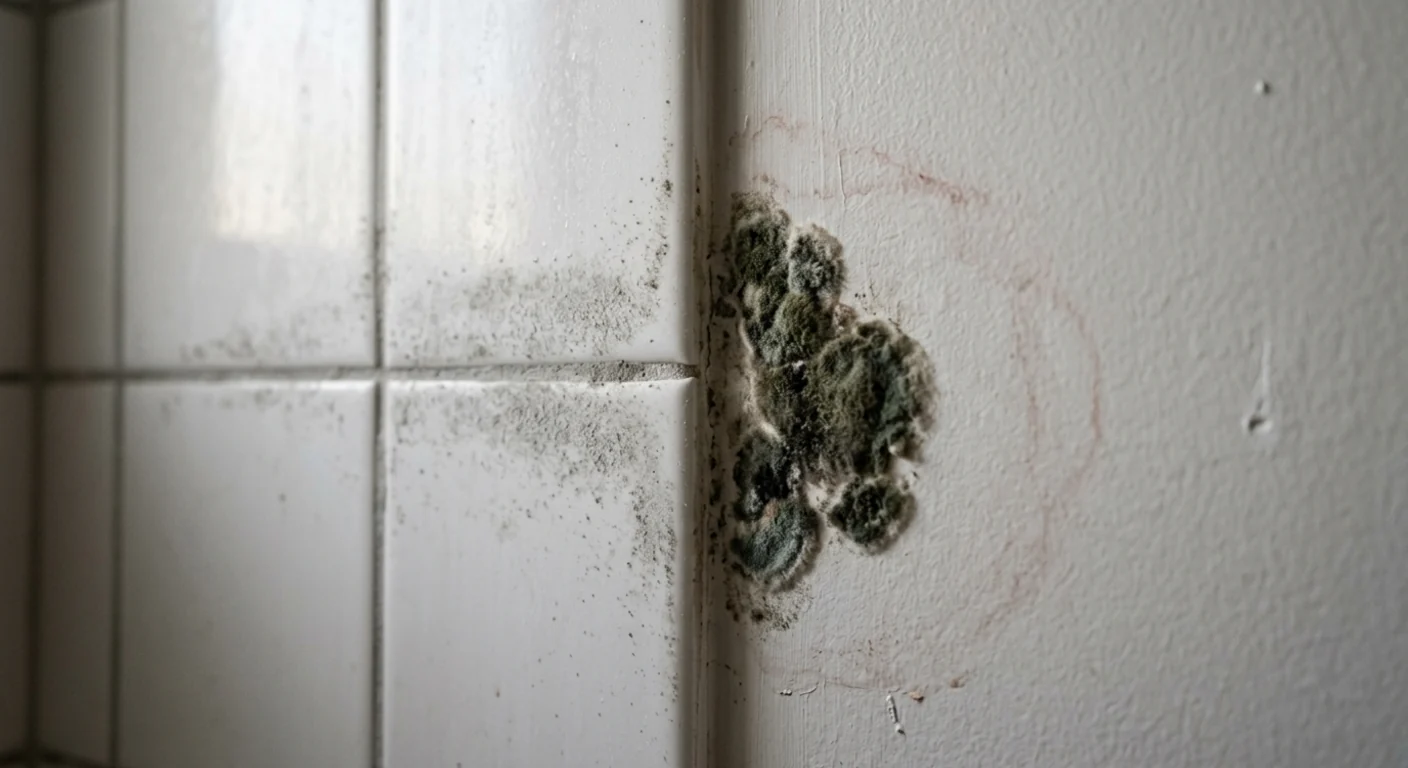
Mold spores are present in virtually every indoor environment — they sit dormant under normal conditions. What activates them is sustained moisture on organic materials: drywall paper, wood framing, carpet backing, ceiling tiles, and particleboard. According to EPA mold guidance, once those materials stay wet, spores begin to colonize surfaces and form visible growth within 24 to 48 hours in warm, humid conditions. In Florida, where summer indoor humidity can reach 70% or higher without active dehumidification, that window can close even faster. The type of material matters: carpet and ceiling tiles become high-risk within hours of saturation; solid wood framing takes longer but still becomes a mold substrate if not dried below 19% moisture content. This is why waiting until the weekend to deal with it is not a viable plan after a flood.
Humidity Targets During Drying
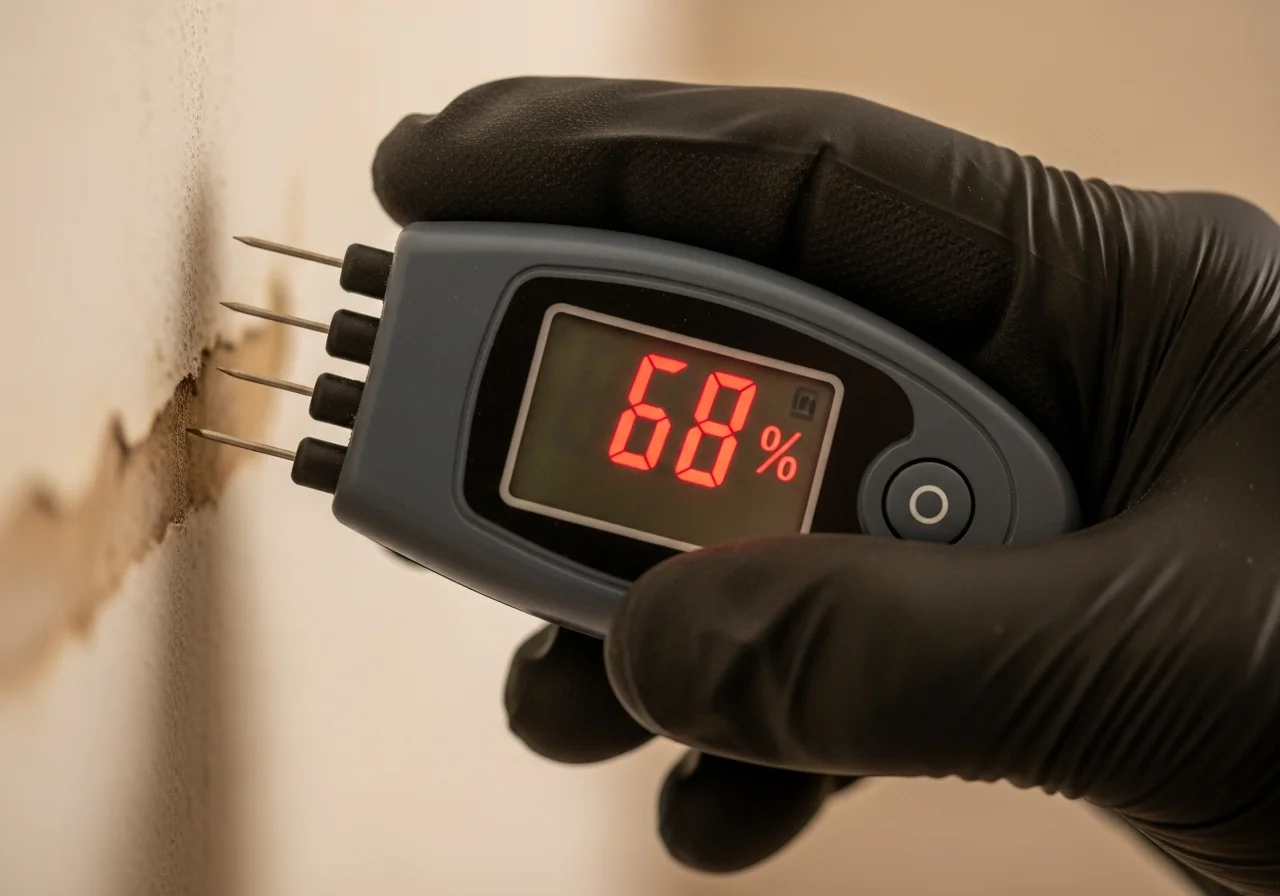
The CDC is specific: keep indoor humidity "no higher than 50%" to reduce mold risk. During flood recovery, that means running commercial dehumidification equipment continuously until the structure reaches target moisture levels — typically below 16% on a pin-type moisture meter for drywall, and below 19% for wood framing. The challenge in Florida and coastal North Carolina is that outdoor dew points commonly sit in the high 60s to low 70s during summer months. If you try to dry a flooded room by opening windows in August in South Florida, you are actively pumping in more moisture than you are removing. Always run sealed-space dehumidification and take measurements regularly — not just once — to confirm drying is progressing.
Right away
Confirm safety before entering
Check for electrical hazards and structural damage. Wear PPE including N95 respirator, eye protection, and rubber gloves. If water is sewage-contaminated or came from outside flood sources, EPA recommends calling a professional with contaminated-water expertise before any cleanup begins.
First few hours
Document damage, then start extraction
Photograph every room, every waterline mark, and every damaged item before moving anything — this is your insurance record. Then begin standing water extraction immediately. Stop the water source if it is still active. Open a claim with your insurer the same day.
Same day
Remove high-risk wet materials
Pull wet carpet, padding, ceiling tiles, and saturated lower drywall sections. Open all cabinets, closets, and interior doors to eliminate humidity pockets. Start commercial dehumidifiers and air movers. Do not close up wall cavities or seal spaces yet.
Day 1 to Day 2
Dry, measure, and hold below 50% RH
Run drying equipment continuously. Take moisture readings twice daily and log the numbers. Target indoor relative humidity below 50% and material moisture content below 16%. If you cannot reach these targets within 48 hours, assume mold growth has started and contact a professional mold remediation crew immediately.
Step 1: Make It Safe and Document Everything
Before you touch anything, confirm the space is safe to enter. Flooded structures conceal electrical hazards, structural instability, and contaminated water that is not always visible from the doorway. If power is still on and water is present, do not enter until the utility company confirms service has been safely disconnected. Once you are inside, your first priority is thorough documentation — not cleanup. Every photograph you take now is evidence for your insurance claim. Shoot wide-angle images of every room, then close-ups of each waterline mark, damaged surface, and ruined item. Record the waterline height on walls with a measuring tape. Do this before moving a single piece of furniture or removing any material. Your documentation is the foundation of your insurance restoration process.
- Confirm power is off at the breaker or that the utility company has disconnected service before entering the flooded space
- Wear rubber or nitrile gloves, an N95 respirator, and eye protection — even if the water appears clean
- Do not enter if there is any structural instability: sagging ceilings, compromised floors, or visibly leaning walls
- If water contains sewage, chemicals, or entered from outside flood sources (Category 3 water), call a professional — EPA recommends specialized expertise for contaminated-water cleanup
- Photograph every room, every waterline mark, and every damaged item before removing or relocating anything
- Open a claim with your insurer before beginning any work — document that you acted promptly to mitigate further damage
Step 2: Stop the Source and Start Extraction
Water in a structure does three damaging things simultaneously: it damages materials on direct contact, it wicks laterally into adjacent walls and floors through capillary action, and it raises the ambient humidity that activates mold. The faster you stop the source and begin extraction, the less water migrates into places you cannot see — inside wall cavities, under flooring assemblies, inside HVAC ductwork. Every additional hour of standing water means more absorbed materials that must be dried or removed. Speed at this stage directly reduces both the scope of the restoration and the probability of mold growth.
- 1
Shut off water, power, and HVAC
Turn off the main water supply at the meter if the source is internal — a burst pipe, failed water heater, or appliance failure. Shut off power at the breaker panel if safely accessible from a dry area. Critically, turn off your HVAC system immediately. If water or contamination reaches the ductwork, a running system will circulate mold spores throughout the entire building before you realize what is happening.
- 2
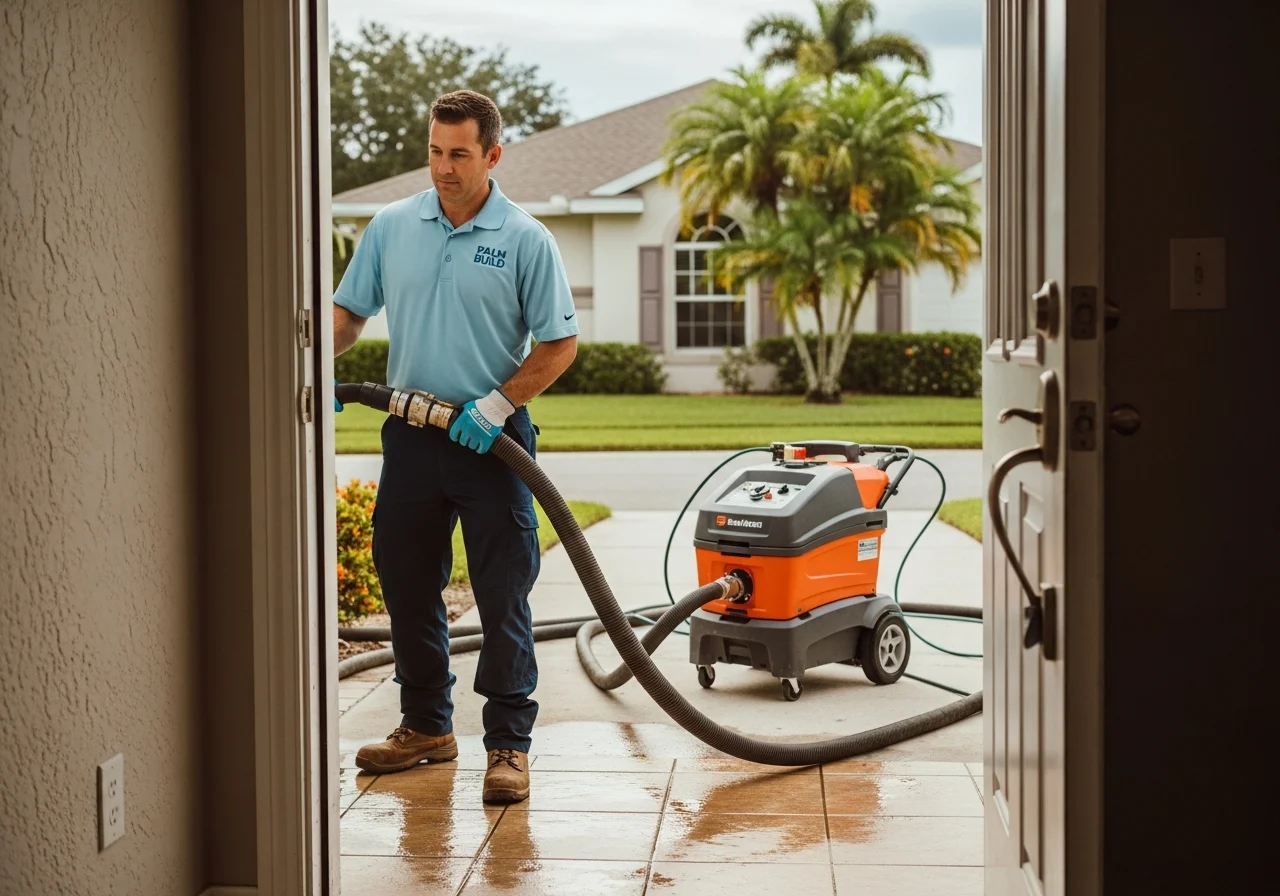
Extract all standing water
Industrial wet-vacs and truck-mount extractors remove water far faster than consumer shop vacs. Work in repeated passes across the floor until no more water lifts. For large losses or multiple flooded rooms, professional water removal and structural drying with truck-mounted extraction can remove water in hours that would otherwise take days. Do not assume water is gone because the floor surface appears clear — water continues migrating into subfloor materials even after the surface looks dry.
- 3
Open everything to maximize airflow
Open all interior doors, cabinet doors, closet doors, and drawers. Remove items stored at floor level. Pull furniture away from walls to eliminate stagnant air pockets where humidity concentrates. If you have under-stair storage or closets adjacent to flooded areas, pull everything out. Do not close any interior space until moisture readings confirm it is dry — premature closure traps humid air and accelerates mold growth in enclosed cavities.
- 4
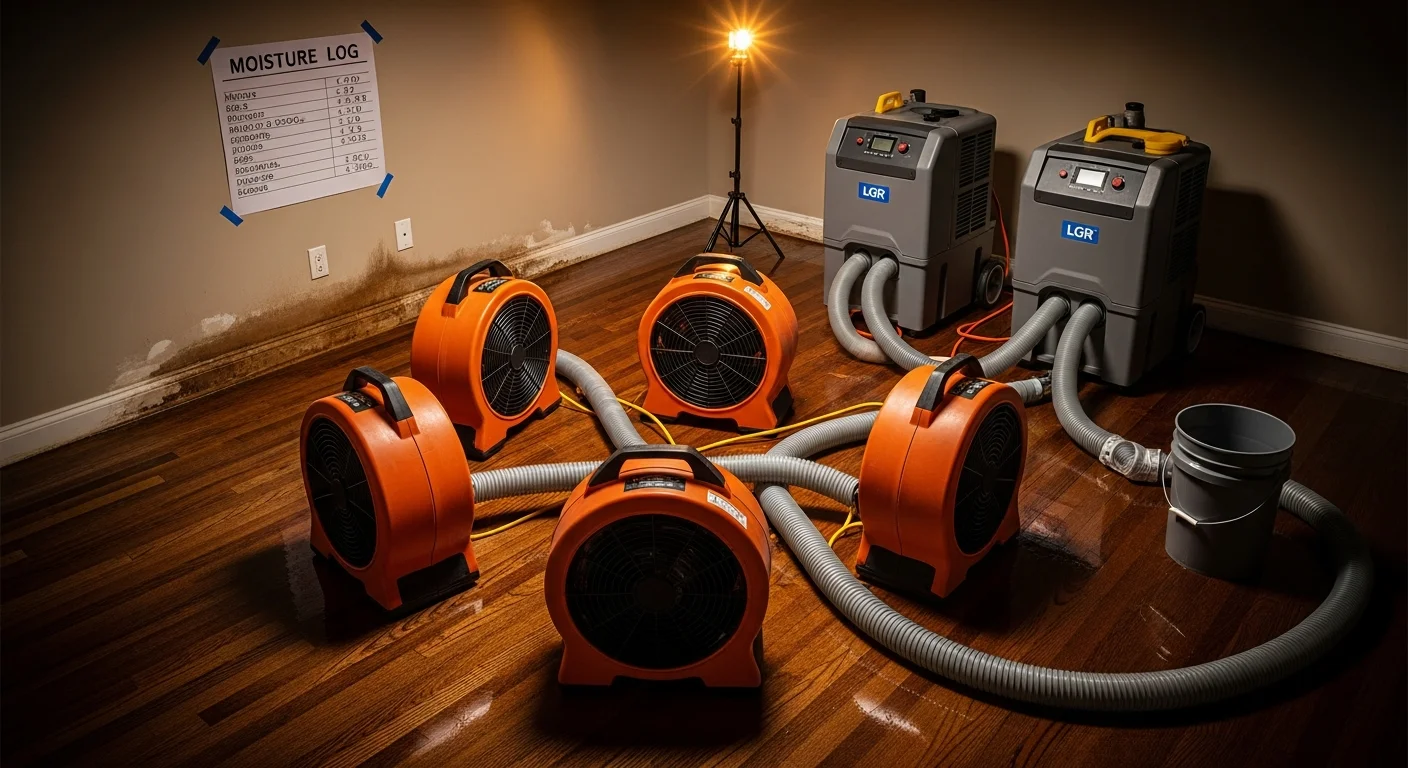
Position dehumidifiers and air movers
Set commercial air movers to create circular airflow patterns across wet floors and lower wall sections. Run at least one commercial LGR dehumidifier per affected room. Residential dehumidifiers lack the grain-per-pound moisture removal capacity needed for a flood event — they will run continuously without moving the numbers meaningfully. If you cannot access commercial drying equipment, calling a restoration contractor at this stage makes a measurable difference in outcome and timeline.
Step 3: Remove High-Risk Wet Materials Fast
Not everything that got wet needs to come out. Hard, non-porous materials — ceramic tile, metal, most plastics, and glass — can usually be cleaned and dried in place. The problem is porous and semi-porous materials: carpet, drywall, fiberglass insulation, ceiling tiles, upholstered furniture, and particleboard cabinets. These trap moisture deep in their structure where airflow cannot reach it efficiently. EPA mold guidance notes that porous materials like carpet and ceiling tiles may need to be discarded outright if moldy, because mold cannot be fully removed from them. The CDC goes further: if any item cannot be cleaned and dried within 24 to 48 hours after flooding, throw it away. When in doubt, the cost of replacing material is far lower than remediating mold that has grown inside it.
| Material | Category | Recommendation | Key Notes |
|---|---|---|---|
| Ceramic and porcelain tile | Non-porous | Clean and dry in place | Scrub with detergent, rinse, disinfect. Check subfloor moisture underneath with a meter. |
| Metal fixtures and hardware | Non-porous | Clean and dry promptly | Wipe dry immediately to prevent rust. Check hidden moisture behind or under fixtures. |
| Solid wood framing (studs, joists) | Semi-porous | Dry aggressively — may be salvageable | Must read below 19% on moisture meter. Staining may remain but is cosmetic if dried. |
| Concrete floors and block walls | Semi-porous | Dry in place, clean thoroughly | Surface mold can develop. Clean with detergent, disinfect, and confirm dry with meter. |
| Drywall (gypsum board) | Porous | Remove lower sections if saturated | Drywall paper is a primary mold food source. Remove any section wet for 24 or more hours. |
| Fiberglass batt insulation | Porous | Remove and discard | Cannot be dried effectively once wet. Mold grows on kraft paper facing. Always replace. |
| Carpet and carpet padding | Porous | Remove in most flood scenarios | Padding is nearly always a loss. Carpet may survive only if extracted within hours from clean water. |
| Drop ceiling tiles | Porous | Discard if wet | EPA specifically cites ceiling tiles as materials to discard when moldy. Not salvageable. |
| Upholstered furniture | Porous | Discard if saturated by flood water | Cannot be dried from the inside. High mold risk, especially from Category 2 or 3 water. |
| Particleboard and MDF cabinetry | Porous | Typically discard | Swells, delaminates, and molds quickly. Nearly impossible to dry adequately. |
Keep vs. remove after flooding — by material type
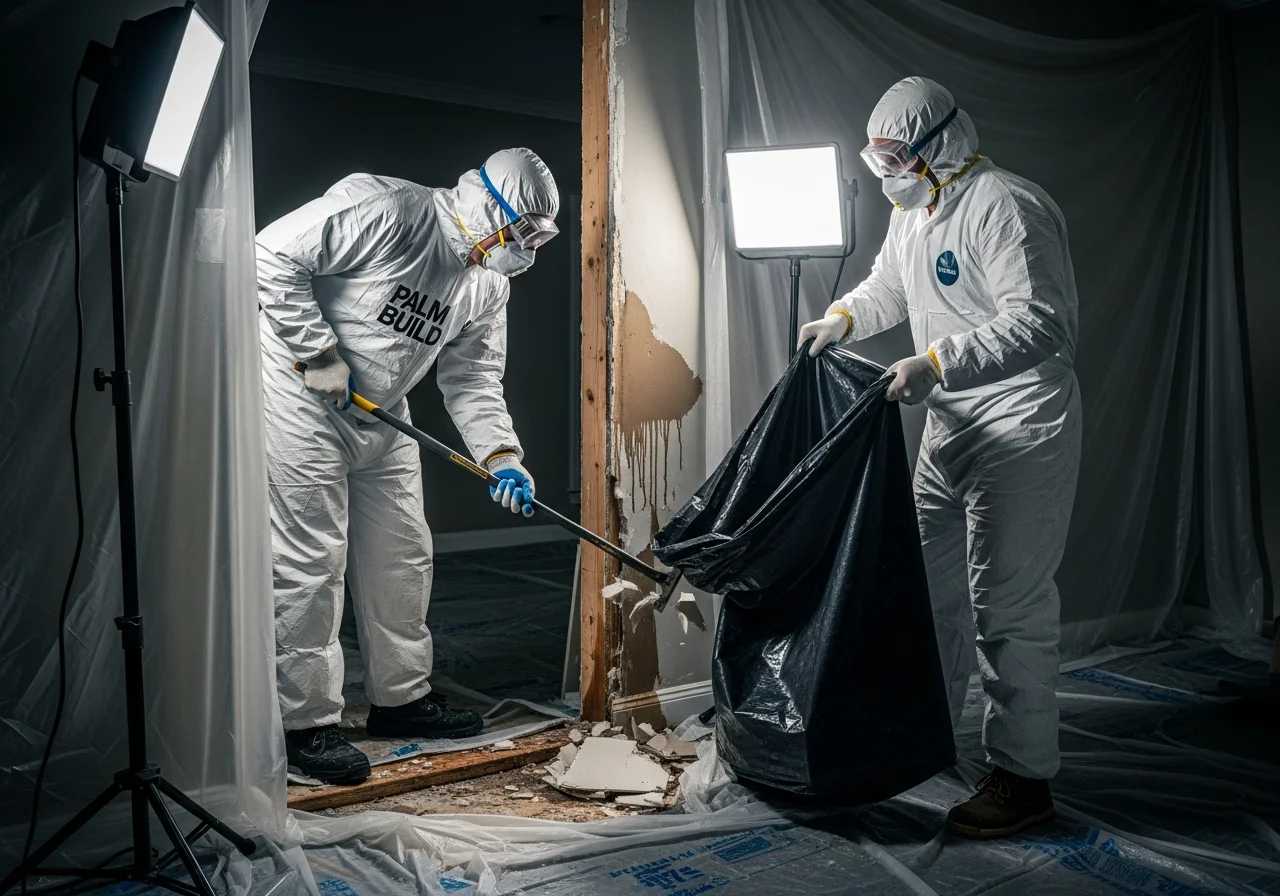
When removing wet porous materials, bag them in heavy contractor plastic and seal the bags before carrying them through unaffected areas of the home. Mold spores from wet and beginning-to-mold materials become airborne during demolition and transport, potentially colonizing spaces that were never flooded. Keep all debris bags sealed until they reach exterior disposal. If removed materials already have a musty odor after only one day, that is microbial activity beginning. Do not wait for visible mold growth before deciding to remove a wet porous material — the smell is your early warning signal.
Step 4: Dry the Structure, Not Just the Surfaces
This is the step most DIY flood cleanups get wrong. A floor that looks dry to the eye and feels dry underfoot can still read 50 to 60% moisture content on a meter. That moisture is inside the material — absorbed into the wood subfloor, wicked up into the bottom sections of drywall, trapped under baseboards and door thresholds. Mold does not care what the surface looks like from outside. It needs moisture content above a threshold, and material reading above 16% on a pin-type moisture meter has enough to support growth. Professional drying cycles for water-damaged structures commonly take 3 to 5 days of continuous commercial equipment operation — and longer for severe cases or when moisture has migrated deep into structural assemblies. Proper drying means taking daily readings and not stopping until every measurement confirms the structure is genuinely dry.
Do
- Run commercial LGR dehumidifiers continuously and check condensate drainage daily
- Use air movers (high-velocity drying fans) across wet floors and lower wall sections
- Take moisture meter readings on walls, floors, and subfloor twice daily and log the numbers
- Keep doors and windows closed when outdoor humidity exceeds indoor humidity
- Continue drying until all readings confirm below 16% moisture content throughout
- Document daily drying progress in writing for your insurance file
Avoid
- Using household box fans as the primary drying method — they move air but cannot dehumidify
- Sealing walls or replacing flooring before moisture readings confirm everything is dry
- Stopping equipment because it looks or feels dry to the touch
- Opening windows during humid coastal weather thinking fresh air helps drying
- Skipping daily moisture readings — you will not know if drying has stalled
- Running HVAC to condition the space before confirming the system is contamination-free
Step 5: Clean, Disinfect, and Hold Humidity
- 1
Clean hard surfaces with detergent first
Mold feeds on organic matter. Before applying any disinfectant to hard, non-porous surfaces like concrete, tile, or metal, scrub them with a stiff brush and household detergent solution to physically remove organic debris, silt, and biofilm. The EPA emphasizes that cleaning must precede disinfection — applying bleach to a dirty surface significantly reduces its effectiveness. Rinse thoroughly and allow to dry before moving to the next step.
- 2
Apply a bleach solution at the CDC-recommended ratio
CDC disaster cleanup guidance specifies no more than 1 cup of household bleach per 1 gallon of water for treating mold on appropriate hard surfaces. Apply the solution, allow it to sit for 10 to 15 minutes, and let the surface air dry. Wear rubber gloves and eye protection throughout. Ensure the space is cross-ventilated. Critical safety rule: never mix bleach with ammonia or any other household cleaner — the resulting chloramine gas is acutely toxic and can cause serious respiratory harm.
- 3
Maintain indoor humidity below 50% through reconstruction
The mold prevention job does not end when the structure reads dry. It continues through the entire post-drying and early reconstruction phase. A building that dries to 14% moisture in week one can rewet from coastal air infiltration in week two if drying equipment is shut off prematurely. In Florida and the Carolinas, plan to maintain active dehumidification throughout the remediation and early rebuild phase. Monitor with a hygrometer and keep records — they demonstrate due diligence to your insurer.
Florida, North Carolina, and South Carolina: What Changes
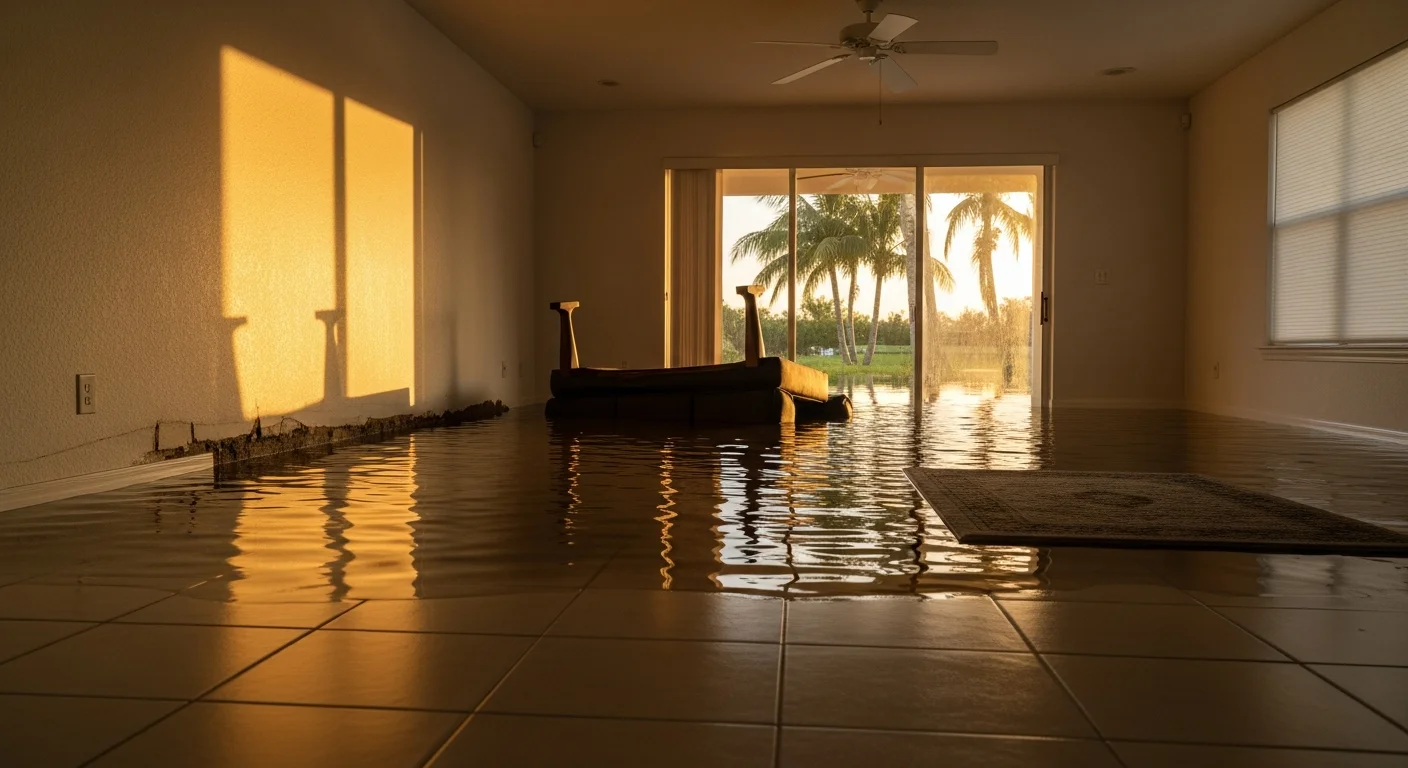
Florida: The Hardest State to Dry
If you are in Florida, every aspect of flood mold prevention is harder — and the consequences of moving slowly are more severe. Florida's summer dew points commonly run in the high 60s to low 70s statewide, meaning outdoor air carries enough moisture to actively rehumidify a structure you are trying to dry. That ambient humidity makes sealed dehumidification — not open-window ventilation — the only effective drying strategy during warm months. Florida also sits at the center of Atlantic hurricane season, which the National Hurricane Center defines as June 1 through November 30. That six-month window of repeated storm potential means a property inadequately dried after one event is already compromised when the next one arrives. Additionally, Florida's flat terrain and high water table mean even minor rainfall events can produce localized flooding that does not make regional news but still starts the 48-hour clock in your home.
North Carolina and South Carolina: Crawl Spaces and Claim Windows
In North Carolina and South Carolina, crawl space construction is common across much of both states — and that changes your flood mold risk profile significantly. Unlike slab-on-grade Florida homes where flood water primarily enters from ground level, homes with crawl spaces can experience moisture infiltration both from above and from the ground up through the foundation. The NC State Extension mold and moisture checklist recommends crawl space humidity below 60%, with an optimal target of 30 to 50%, and addresses vapor barrier installation as a key control measure. If your home has a crawl space and has experienced flooding or significant storm-related moisture intrusion, crawl space cleanup and moisture control is an essential part of your mold prevention plan alongside the main living areas. For insurance claims, both NC and SC operate on general 3-year civil limitation windows — but your specific policy may have shorter contractual notice requirements, so check your policy language and confirm claim requirements with your carrier in writing.
What It Costs When Mold Prevention Fails
The financial math on getting professional drying help early versus managing a full mold remediation later is straightforward once you see the numbers side by side. If you address a flood in the first 24 hours with proper extraction and drying, you are looking at water mitigation costs. Wait until mold establishes — which can happen in as little as 48 hours — and you are now paying for both the mitigation work you still need and the remediation on top of it. These are separate cost categories, and the insurance implications differ: secondary mold damage claims are often more complex than primary water damage claims, particularly if an insurer can argue the mold was preventable. Documenting your rapid response through the insurance restoration process is the best protection against that argument.
| Service | Typical Range | National Average | Per Square Foot |
|---|---|---|---|
| Water damage restoration | $450 – $16,000+ | ~$3,867 | $3.50 – $7.50 / sq ft |
| Mold remediation (contained area) | $1,223 – $3,753 | ~$2,368 | $10 – $25 / sq ft |
| Mold remediation (HVAC or whole-home) | $5,000 – $30,000+ | Varies widely | Higher due to containment requirements, access, and equipment |
| Professional drying cycle | 3 to 5 days duration | Included in water mitigation billing | Part of total water restoration scope |
Cost ranges for water and mold restoration — national data, 2025 to 2026
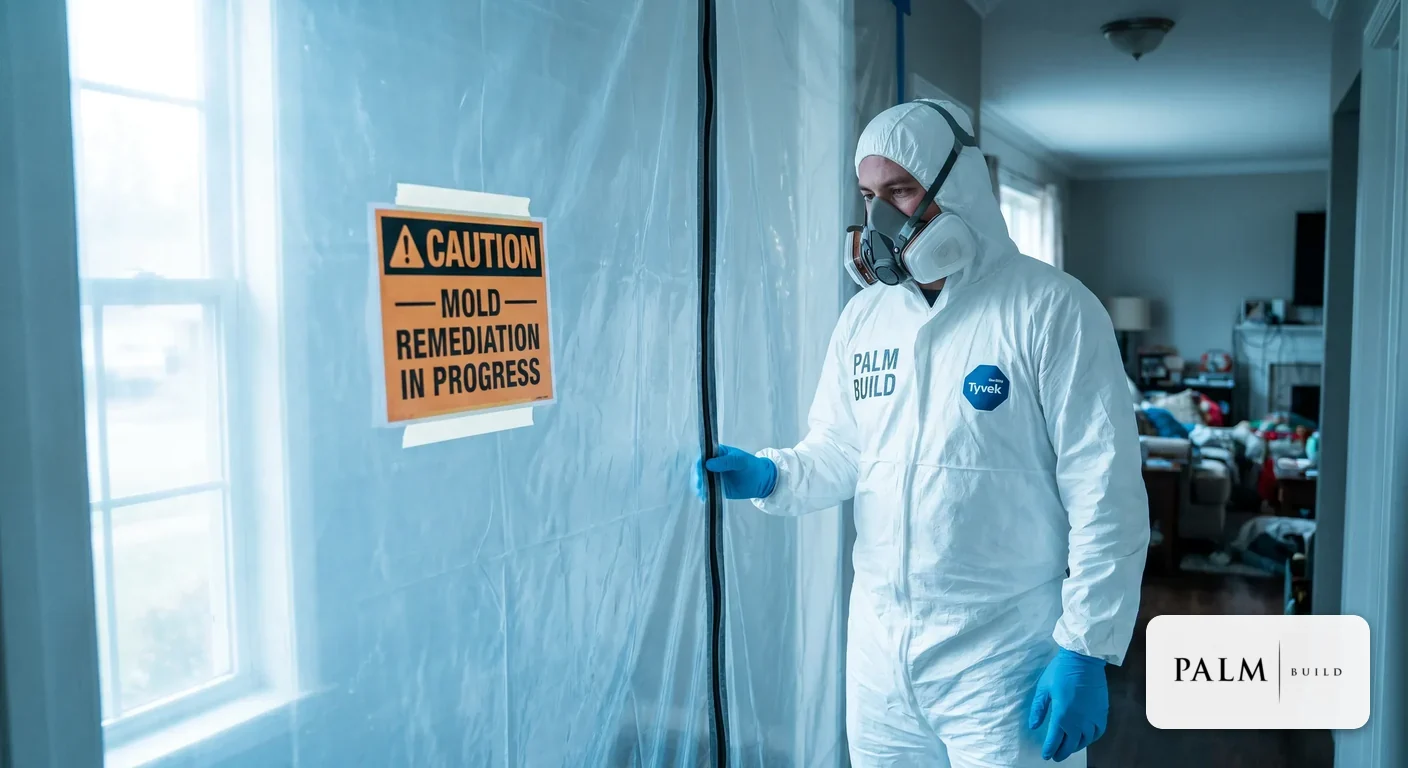
These ranges assume standard contamination levels and reasonable structural access. Whole-home mold events — where growth has spread into HVAC systems, attic spaces, or behind multiple wall cavities — can far exceed these figures. Per-square-foot costs also climb significantly when mold is in hard-to-reach locations requiring containment barriers, negative air pressure setups, and HEPA air scrubbers. If you are already seeing visible mold growth after flooding, the prevention window has closed. The next step is professional mold remediation by a licensed, IICRC-certified crew who can properly contain, remove, and clear the affected areas with post-remediation clearance testing.
Water Damage Restoration
24/7 extraction, structural drying, and mitigation services across Florida, North Carolina, and South Carolina.
Mold Remediation
IICRC-certified mold assessment, containment, full remediation, and post-remediation clearance testing.
Crawl Space Cleanup
Vapor barrier installation, encapsulation, and crawl space moisture control for NC and SC homes with crawl space foundations.
Storm and Hurricane Damage
Emergency response for hurricane, tropical storm, and severe weather losses across the full Palm Build service area.
Insurance Restoration Process
How Palm Build works directly with insurance adjusters to document, scope, and restore your property after a loss.
Frequently Asked Questions
How soon can mold start growing after flooding? +
What is the first thing you should do after a flood to prevent mold? +
What humidity level prevents mold after water damage? +
Should you throw away drywall, carpet, or insulation after flooding? +
Does bleach kill mold, and what is the safe mix ratio? +
When should you call a professional instead of doing DIY mold prevention? +
Is mold damage covered by flood insurance? +
Flooding in Florida or the Carolinas?
If you are past the 48-hour window or already seeing signs of mold, call Palm Build now. We are IICRC certified, state-licensed for mold remediation in Florida, and available 24/7 across FL, NC, and SC.
Found this helpful? Send it to someone who needs it.