Key takeaways
- If your crawl space humidity stays below about 60% RH and you have no water intrusion, a ground vapor barrier is often enough — full encapsulation is not always necessary.
- Professionally installed vapor barriers typically cost $1.35–$2.00 per square foot. Full encapsulation runs $3–$10 per square foot depending on drainage, repairs, insulation, and dehumidification.
- Mold can begin growing on wet materials within 24 to 48 hours — if you have standing water or active leaks, that problem must be resolved before any liner is installed.
- South Carolina requires vapor retarders meeting ASTM E1745 Class A for unvented crawl spaces. North Carolina requires a 3-to-4-inch termite inspection gap at the top of wall liners — encapsulating to the sill plate is not correct detailing in NC.
- Standard homeowners insurance does not cover mold from maintenance issues or ground water seepage. Coverage may apply when moisture damage results from a sudden covered peril like a burst pipe.
Most crawl spaces do not need full encapsulation. If your crawl space humidity stays below about 60% relative humidity and you have no water intrusion, a quality ground vapor barrier is often enough to block ground moisture evaporation, reduce musty odors, and protect your floor structure at a fraction of the cost. Full encapsulation is the right choice when humidity stays persistently high, you see or smell mold, have a history of standing water, or want the crawl space sealed into your home's building envelope with active dehumidification for long-term control. Expect a professionally installed vapor barrier to run roughly $1.35 to $2.00 per square foot, while full encapsulation typically costs $3 to $10 per square foot depending on drainage, repairs, insulation, and equipment. If your crawl space has active water damage right now, speed matters most — mold can begin growing on wet materials within 24 to 48 hours. Our crawl space cleanup services handle both options across Florida, North Carolina, and South Carolina.
Vapor barrier installed
$1.35–$2.00
Per square foot, professionally installed
Full encapsulation
$3–$10
Per square foot depending on scope
Humidity threshold
60% RH
Below this, a vapor barrier may be enough
Mold growth window
24–48 hrs
How fast mold can start on wet materials
Vapor Barrier vs. Full Encapsulation: What's the Difference?
What a vapor barrier is (and what it isn't)
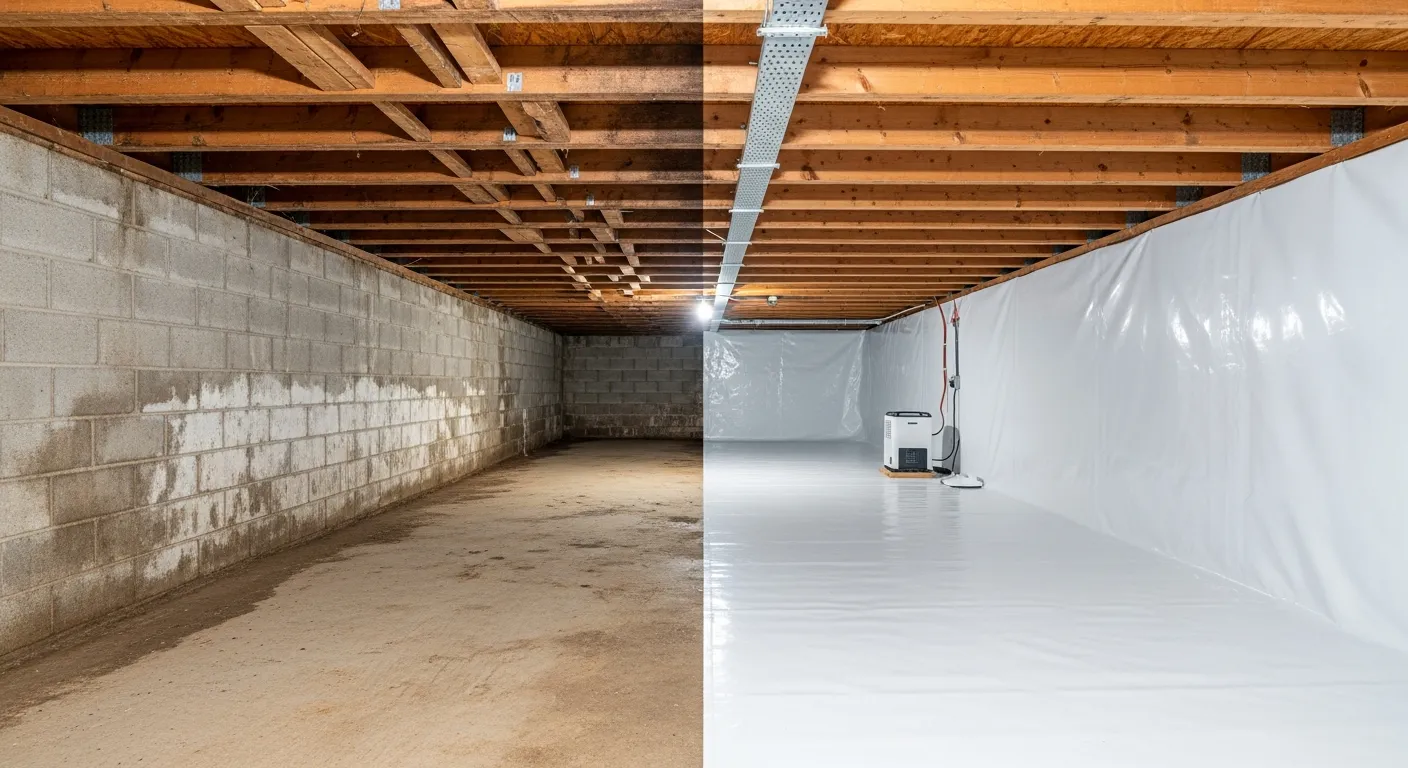
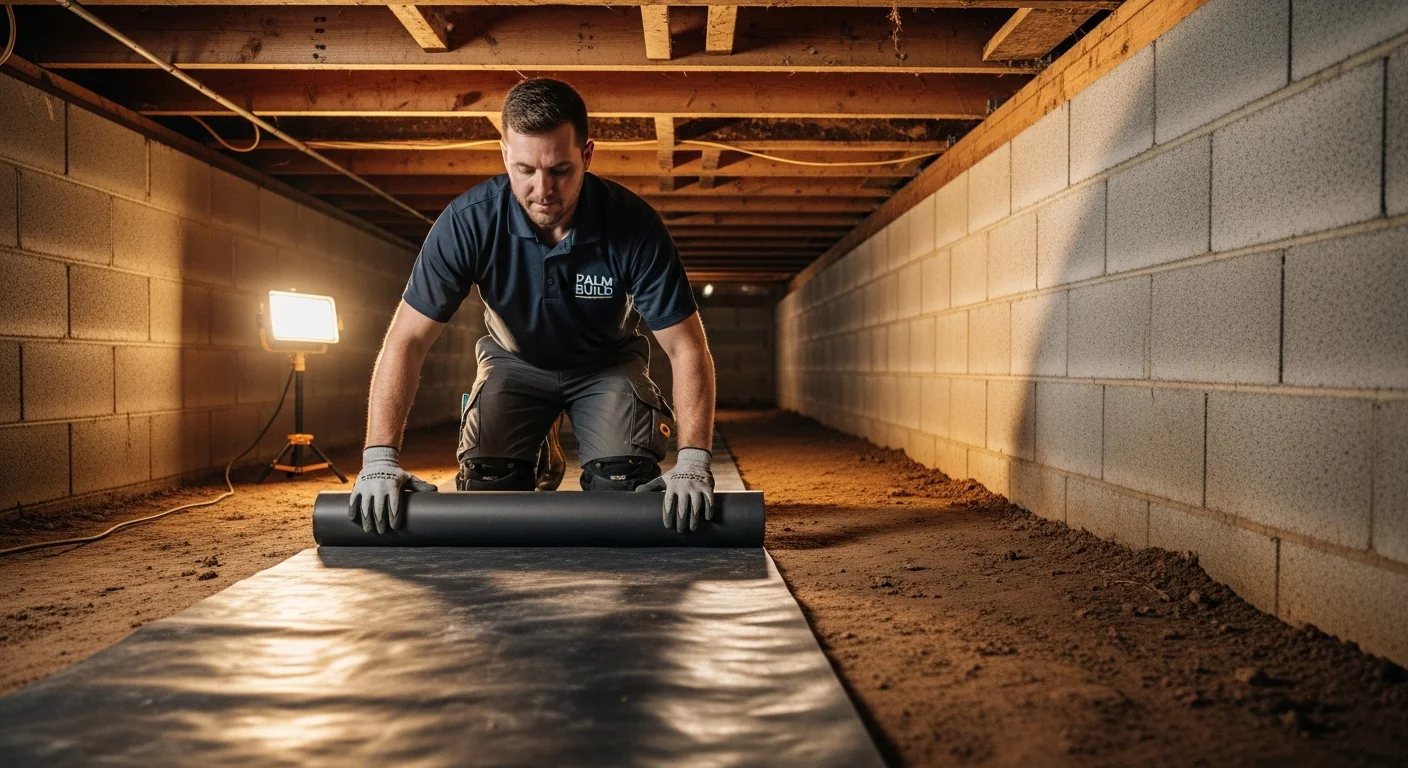
A ground vapor barrier is a plastic liner — typically polyethylene sheeting — laid directly on the bare soil of your crawl space floor. Its job is to block ground moisture from evaporating upward into the crawl space air, where it raises humidity levels and gradually migrates into your living areas through a process called the stack effect. A basic vapor barrier does not make the crawl space a sealed system. In most vented crawl spaces, the foundation vents remain open, the walls are left uncovered, and humid outdoor air can still enter freely from outside. Materials range from thin 4 to 6 mil sheeting used for basic coverage to 12 to 20 mil reinforced liners designed for long-term durability. Seams should overlap by at least 6 inches and be sealed or taped. Foundation posts and pier columns should be wrapped as well. A vapor barrier is an important and cost-effective step — but it stops well short of sealing the space.
What full encapsulation includes
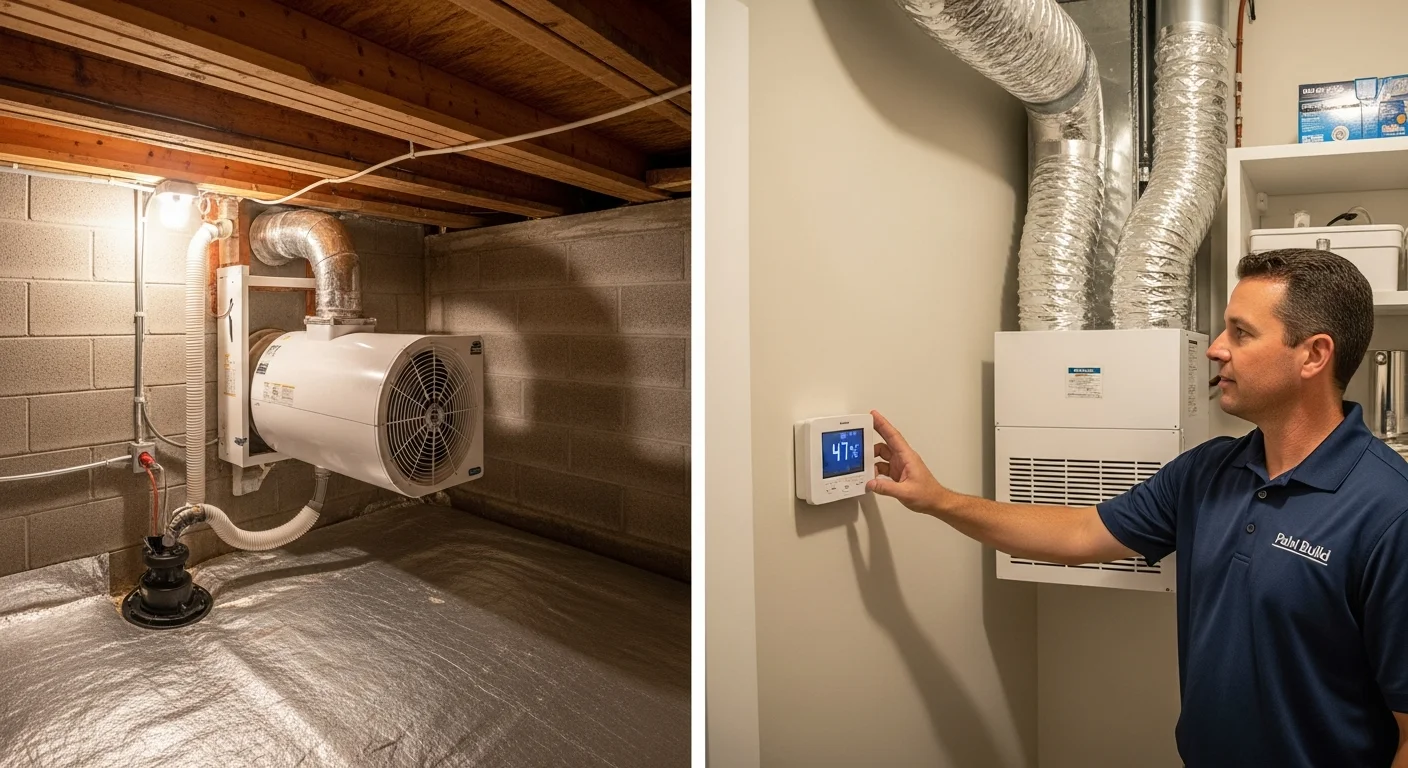
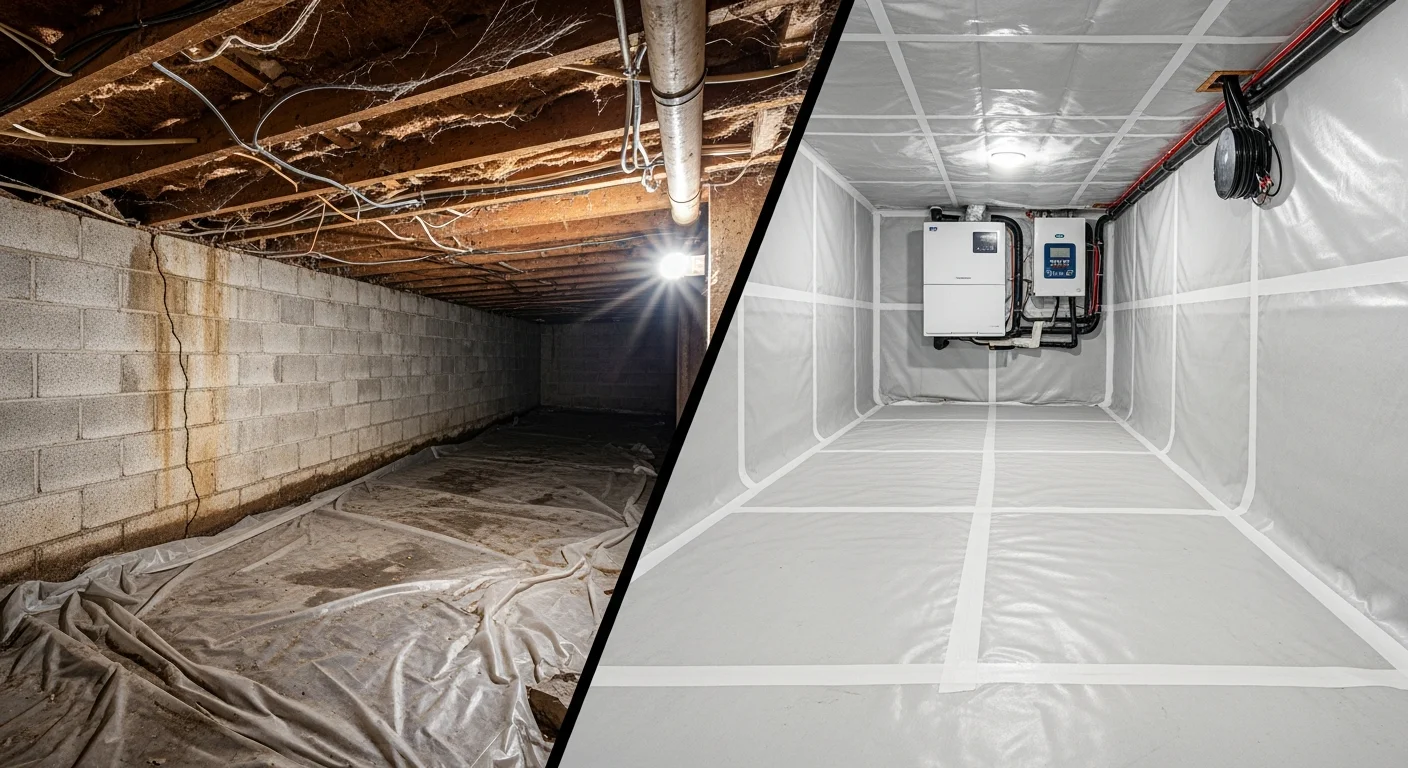
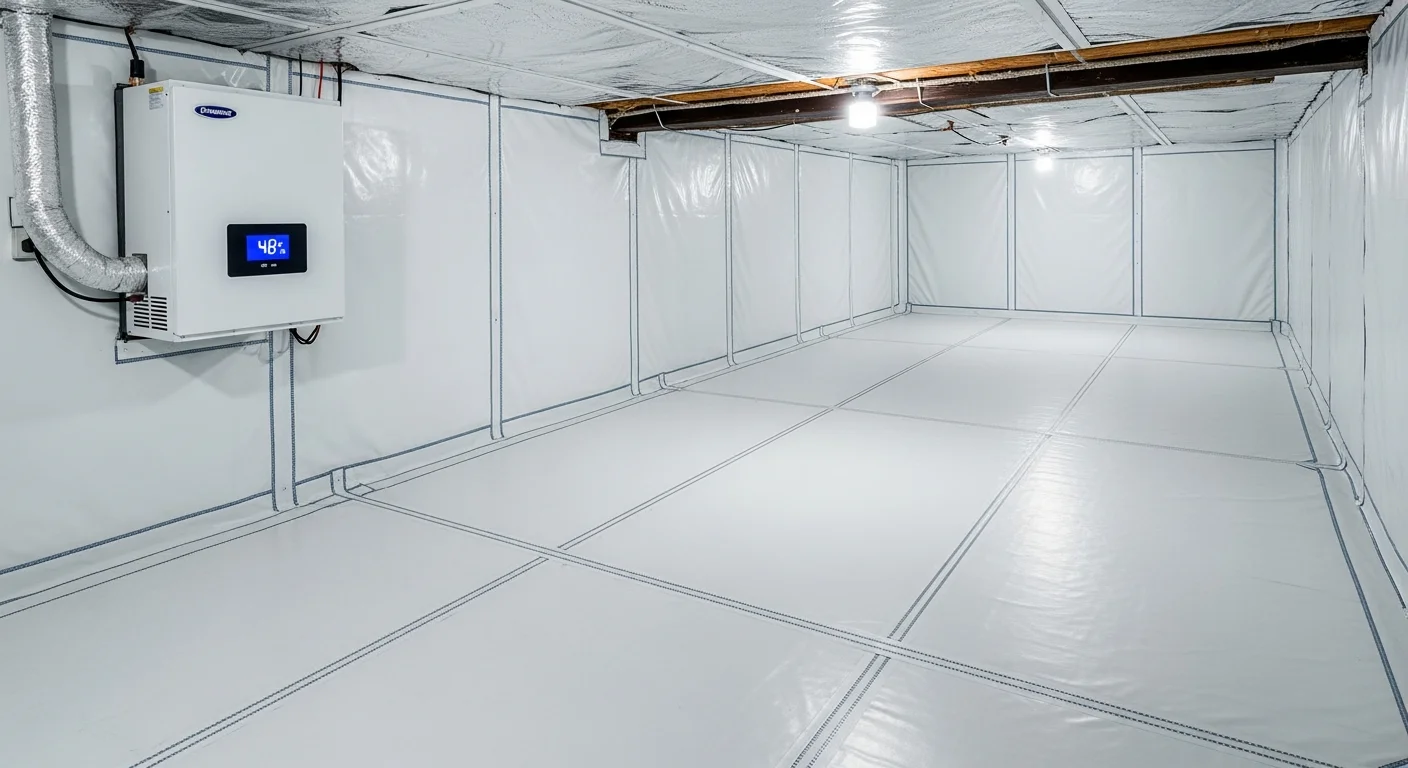
Full encapsulation goes several steps further. It treats the crawl space as part of your home's sealed building envelope rather than a vented underfloor cavity. A heavy reinforced liner — typically 12 to 20 mil — covers not just the floor but runs up the foundation walls to the sill plate. All foundation vents are sealed. Penetrations, seams, piers, and wall transitions are taped and sealed. Most properly executed encapsulation systems also include active moisture control: a dehumidifier sized for the space, and sometimes an interior drainage system or sump pump when water management is needed. Installation typically takes several days rather than a single day, and the cost reflects the added scope. For a full breakdown of what encapsulation projects cost by size and scope, see our crawl space encapsulation cost guide for 2026.
Cost Comparison: Vapor Barrier vs. Full Encapsulation
| Option | Typical installed cost | Project duration | Key cost drivers |
|---|---|---|---|
| Vapor barrier — materials only (DIY) | Often under $1.00 per sq ft in materials | Half day to one day | Liner thickness and total square footage |
| Vapor barrier — professionally installed | $1.35–$2.00 per sq ft (many markets) | Usually one day | Thickness, prep work, pier wrapping, seam sealing |
| Full encapsulation — standard scope | $3–$7 per sq ft installed | Commonly several days | Wall liner, vent sealing, access door, drainage assessment |
| Full encapsulation — with drainage and dehumidifier | $5–$10 per sq ft installed | Several days to one week | Sump pump, interior drain tile, dehumidifier, insulation strategy |
Vapor barrier vs. encapsulation cost and timeline comparison
One cost that homeowners frequently miss when budgeting for encapsulation is the dehumidifier. A professionally installed crawl space dehumidifier typically runs $1,300 to $2,800 depending on the unit capacity and installation complexity. This cost matters because a sealed crawl space that is not actively dehumidified can trap humidity inside the envelope — especially during Florida summers or Carolina shoulder seasons when outdoor humidity is routinely above 70%. A sealed space without a working dehumidifier is not a controlled space. It is a closed box with a moisture problem.
What Each Option Includes
Vapor barrier scope
- Heavy-duty polyethylene liner (12–20 mil recommended for durability) covering all bare soil on the crawl space floor
- Seam overlaps of at least 6 inches, sealed with compatible tape or adhesive
- Liner extended up the stem wall by at least 6 inches and sealed to the masonry
- Foundation posts and pier columns wrapped and sealed into the liner system
- Thickness selection based on whether the space will remain vented or transition to an unvented system in the future
- Perimeter anchoring to prevent shifting or wind uplift through open vents
Full encapsulation scope
- Everything in the vapor barrier scope above, plus wall coverage from floor to sill plate
- Foundation vents sealed with rigid foam insulation panels or dedicated vent covers
- All penetrations (pipes, wires, HVAC boots) sealed at wall and floor liner transitions
- Interior drainage system and sump pump if bulk water management is needed
- Crawl space dehumidifier sized for the cubic footage of the sealed space
- Wall insulation strategy assessed and implemented if converting to an unvented code path
- Termite inspection gap maintained at the top of wall liners per local code requirements
- Access door or hatch replaced or upgraded to maintain the sealed envelope
Step 1: Measure Humidity Before You Choose Anything
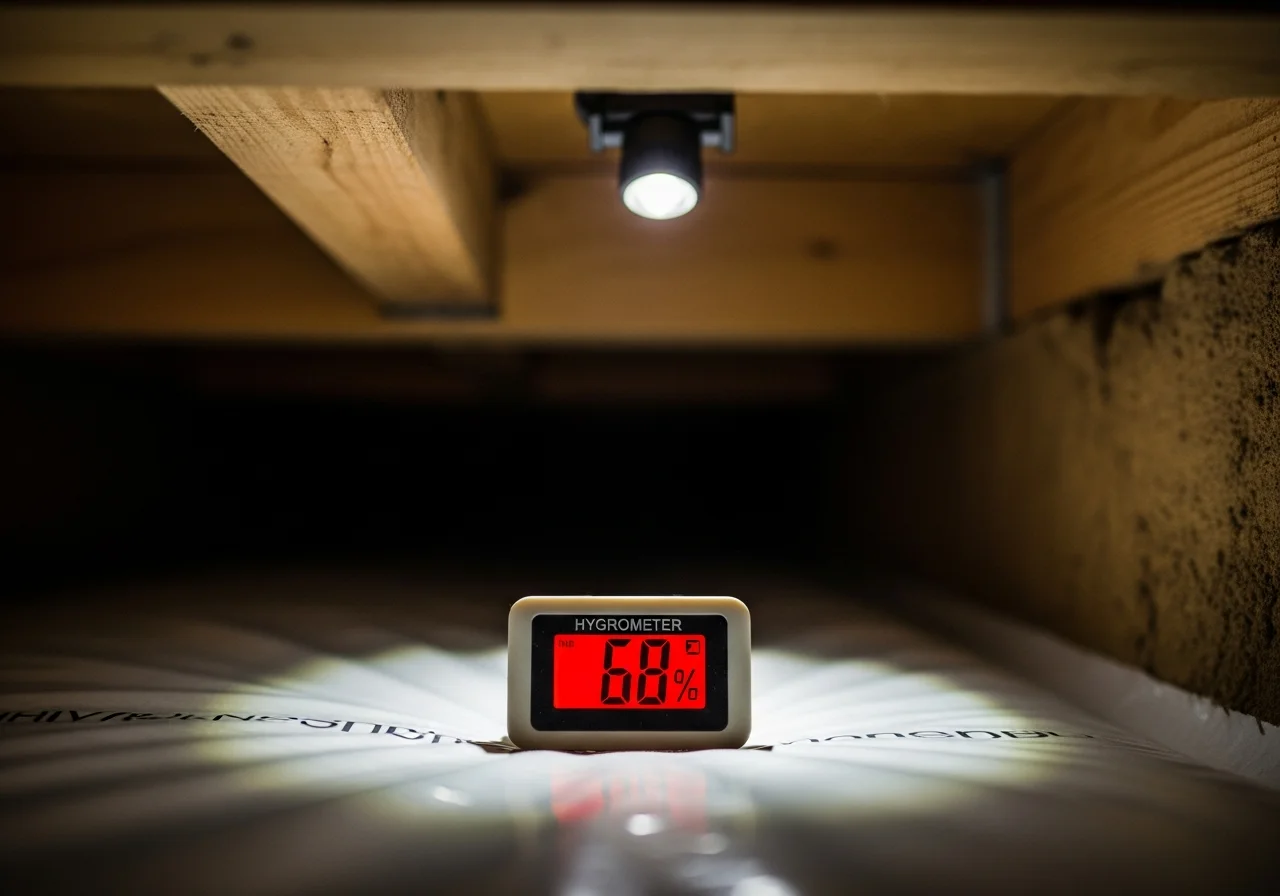
The single most useful thing you can do before calling anyone is pick up a $10 to $20 digital hygrometer and take a few readings in your crawl space over several days at different times. The U.S. Environmental Protection Agency recommends keeping indoor humidity below 60% relative humidity to prevent mold growth, with an ideal range of 30% to 50% where possible. That same guidance applies directly to crawl spaces, since humidity in an uncontrolled crawl space migrates upward into living areas through floor gaps, electrical penetrations, and plumbing chases. If your readings stay consistently below 60% and you have no history of water intrusion, a quality professionally installed vapor barrier is often enough to keep conditions in range. If you are regularly seeing 65%, 70%, or higher — especially in summer months — that is the signal that vapor reduction alone will not get you to target and encapsulation with dehumidification is worth evaluating. For a deeper look at how humidity drives mold risk in the Southeast, see our guide on humidity and mold risk in Florida, NC, and SC.
Step 2: Check for Bulk Water and Drainage Problems
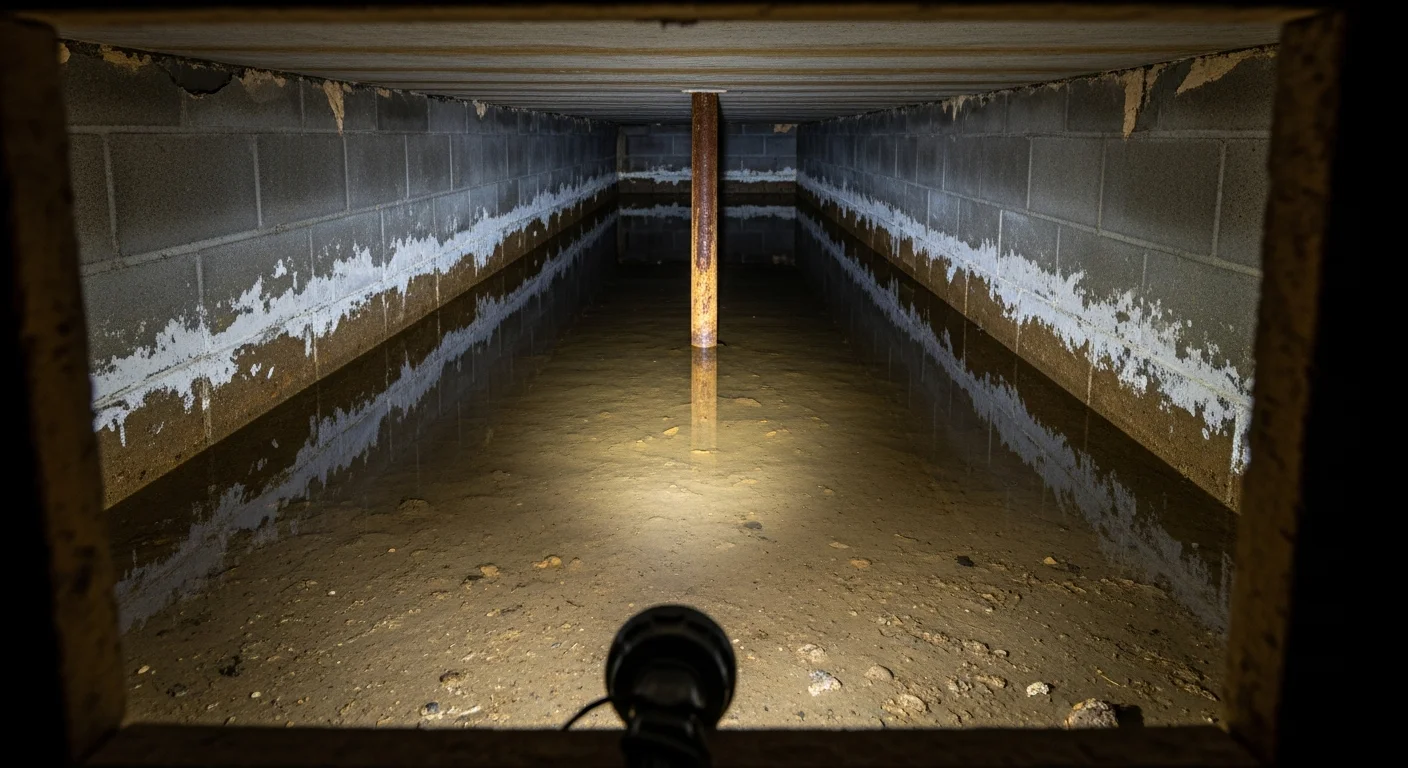
There is an important distinction between a damp crawl space and a wet crawl space. Dampness — condensation on piers, slightly elevated humidity, occasional musty odor after rain — is a moisture management problem that vapor barriers and encapsulation can address. Standing water, pooling after rain events, water stains on the liner or concrete, and efflorescence (white mineral deposits) on foundation walls are drainage problems that liners cannot fix. If you have standing water, the soil around or under your foundation is directing water into the space, and installing a liner on top of a drainage problem traps the water rather than controlling it. You need interior drainage — a perimeter drain tile system and a sump pump — or exterior grading corrections before any liner work begins. Links to our guide on standing water in your crawl space cover those drainage solutions in detail. If a storm or flooding event caused the water intrusion, water damage restoration and extraction should happen before any moisture control decisions are made.
Step 3: Look for Mold or Structural Damage
If you see mold growth on floor joists, subfloor sheathing, or piers — or if you notice a persistent musty odor coming from the crawl space — remediation needs to happen before any liner work begins. Installing a vapor barrier or encapsulation liner over active mold does not stop it. It conceals it and creates a warm, sealed environment that accelerates growth behind the liner where you cannot see it. The Centers for Disease Control and Prevention and FEMA both note that mold can begin growing on damp materials within 24 to 48 hours after a moisture event. If materials stayed wet long enough for visible mold to establish, professional crawl space mold removal clears the space, dries the structure to appropriate moisture content levels, and verifies conditions before any encapsulation work proceeds. Our mold remediation team follows IICRC S520 standards for contamination assessment, containment, removal, and post-remediation verification. Trying to skip this step to save money on remediation typically results in a failed encapsulation and a larger mold problem months later.
Step 4: Match the Solution to Your Goal
Once you have measured humidity, confirmed no bulk water issues, and verified no mold is present, the decision comes down to your goal. There are two fundamentally different goals a crawl space moisture control project can serve: stopping ground vapor from entering the space, or making the crawl space a sealed, conditioned part of the building envelope. The first goal is achieved by a well-installed ground vapor barrier. The second requires full encapsulation with active dehumidification. The U.S. Department of Energy recommends sealing and insulating foundation walls when converting to an unvented crawl space, and the EPA estimates that air sealing and insulating crawl spaces contributes to an average of about 15% in energy savings for the building. That energy return is only realized when the space is fully sealed — not when a ground liner alone is used.
Vapor barrier is right when…
- Measured humidity stays below 60% RH consistently
- No history of standing water, pooling, or active leaks
- Crawl space will remain vented (not converting to an unvented system)
- Budget is the primary constraint and conditions support a lighter scope
- You want a durable upgrade from thin or damaged existing plastic
- Mold and structural damage have already been addressed
Full encapsulation is right when…
- Humidity consistently exceeds 60% RH even with a vapor barrier
- History of mold, musty odors, or past remediation
- Standing water history (after drainage is corrected)
- Converting to an unvented crawl space under code
- Energy efficiency and HVAC comfort are priorities
- Commercial, HOA, or multi-unit property requiring long-term performance documentation
Florida, North Carolina, and South Carolina: What Changes by State
Florida
Florida's energy conservation code for unvented crawl space foundations specifies that exposed earth must be covered with a continuous Class I vapor retarder, with seams overlapped by at least 6 inches and sealed or taped, and edges extended up the stem wall. This means a properly installed vapor barrier in Florida already meets the baseline code standard — but it also means thin, unsealed liners that skip seam taping and wall extension do not comply. On the radon front, the Florida Department of Health reports that 1 in 5 Florida residences in its testing dataset had radon levels above the EPA action level of 4 pCi/L. Any significant sealing of the crawl space envelope — including full encapsulation — changes the air exchange dynamics in the foundation, which can affect radon accumulation. Test before major envelope changes and again after, and consider a radon mitigation system as part of a full encapsulation project if results warrant it. For insurance, keep in mind that mold is generally not covered under standard Florida homeowners policies unless it results from a sudden, accidental covered peril. Flood damage from ground water requires a separate flood insurance policy.
North Carolina
The most important NC-specific detail for crawl space work is the termite inspection gap requirement for closed crawl spaces. Johnston County's building inspections guidance — representative of closed crawl space code enforcement across the state — specifies a clear, unobstructed termite inspection gap of 3 inches minimum and 4 inches maximum between the top of wall liners and wall insulation and the underside of the sill plate. This means encapsulating the wall liner all the way to the sill plate is incorrect detailing in North Carolina. Wall liners must terminate with that gap preserved and visible for inspector access. Failing to maintain this gap is a common contractor error and can result in a failed inspection. For a broader overview of moisture challenges specific to NC crawl spaces, see our NC crawl space problems guide. Radon is also a relevant variable in North Carolina — the state publishes county-level data on test results at or above 4 pCi/L. Test before and after any significant crawl space envelope work, especially in Piedmont and mountain counties with historically higher radon levels.
South Carolina
South Carolina has the most specific crawl space code requirements of the three states Palm Build serves. The state regulation for unvented crawl spaces explicitly requires a vapor retarder meeting ASTM E1745 Class A — a specific material performance standard that generic contractor-grade liners may not meet. The installation requirements also specify 6-inch overlaps sealed or taped and 6-inch wall extensions sealed to the stem wall or insulation. In areas with 'very heavy' termite probability — which covers much of coastal and central South Carolina — foam plastics used in crawl space walls must maintain a termite inspection gap of no less than 6 inches along the top of the foundation wall and sill plate. This is more restrictive than the NC standard and applies specifically to foam insulation products, not just wall liners. SC code also explicitly lists dehumidification as an acceptable moisture removal method for unvented crawl spaces, alongside mechanical exhaust and conditioned air supply. Free short-term radon test kits are available through the South Carolina radon program for homeowners who want to test before and after encapsulation.
Insurance, Coverage, and When It Matters
Homeowners frequently ask whether insurance will pay for vapor barrier installation or encapsulation after a moisture or mold event. The short answer is: it depends on how the moisture got there, not on the presence of mold or humidity. The Insurance Information Institute states that mold is generally not covered under standard homeowners policies, because policies are designed for sudden and accidental events rather than ongoing maintenance issues. Ground water seepage — the source of most crawl space moisture problems — is similarly excluded under standard HO-3 policy language. Coverage may apply when crawl space moisture damage results directly from a covered peril: a burst supply line, storm damage that breached the foundation, or a broken HVAC condensate line. When that is the case, the insurance restoration process typically includes emergency extraction and drying, documentation of affected materials, and scope approval before restoration work begins. Filing the right way — with proper moisture readings, material documentation, and scope justification — is the difference between a covered claim and a denied one.
When to Call a Professional
- 1
Schedule an inspection if you see mold, smell persistent odors, or find standing water
These three conditions all require professional assessment before any liner work begins. Mold must be remediated to IICRC S520 standards. Standing water signals a drainage problem that a liner cannot solve. Persistent odors without visible mold often indicate mold behind finishes or within the subfloor assembly.
- 2
Have drainage assessed before committing to any liner scope
A reputable crawl space contractor will assess bulk water pathways before quoting encapsulation. If a company quotes full encapsulation without asking about drainage or water history, that is a red flag. Installing an encapsulation system that traps water is a more expensive problem than the original moisture issue.
- 3
Get a moisture reading on floor joists before sealing
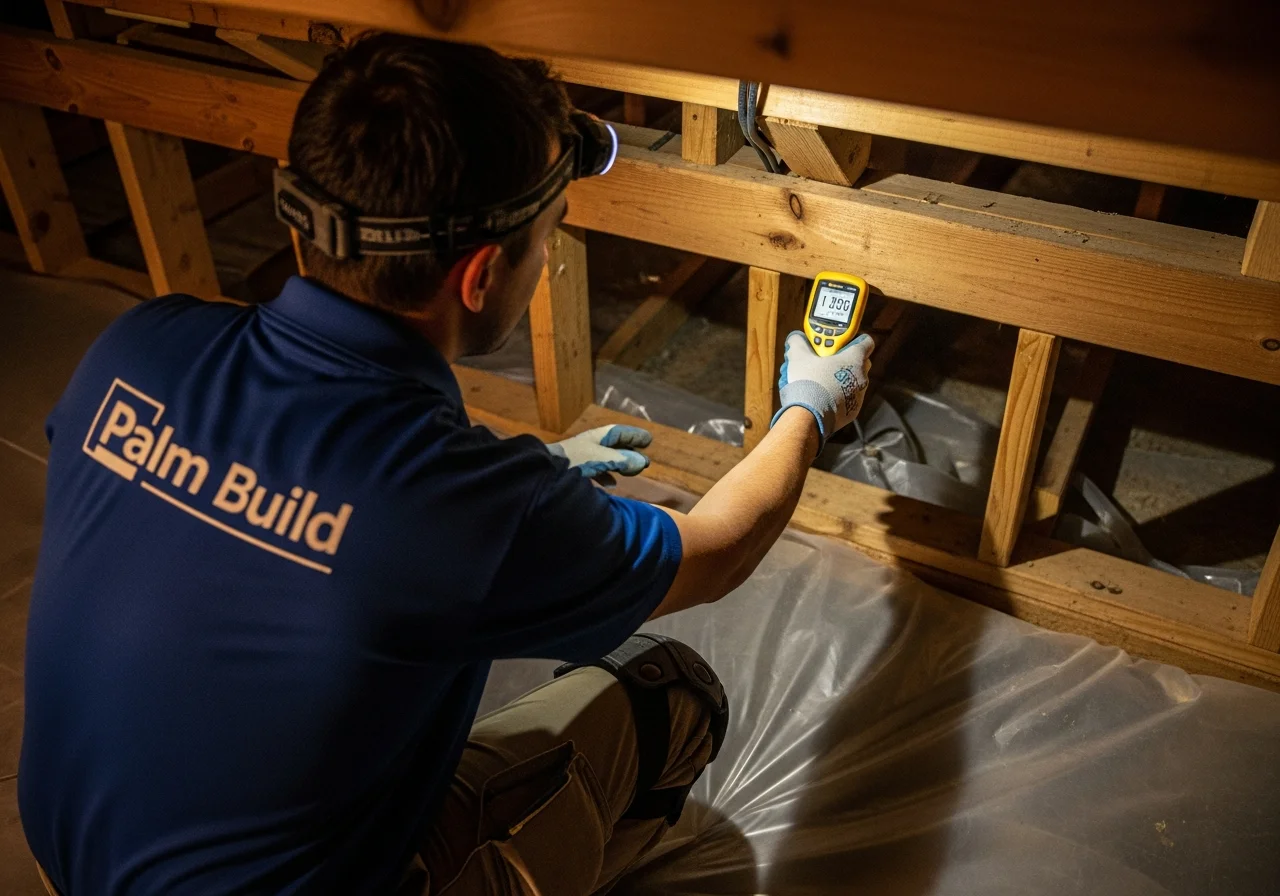
Wood framing should be at or below about 19% moisture content before encapsulation seals the space. Wood above that threshold sealed into an encapsulated crawl space will continue to off-gas moisture into the sealed environment and can support mold growth even after the liner is installed. A professional will measure and document framing moisture as part of the pre-installation assessment.
- 4
Request post-installation verification before signing off
A properly completed encapsulation project includes a follow-up humidity reading inside the sealed space after the dehumidifier has been running, confirmation that the unit is maintaining target RH, and a visual inspection of seam integrity and termite inspection gaps. This documentation matters for future insurance claims, home sales, and warranty coverage.
Crawl Space Cleanup Services
Professional vapor barrier installation, full encapsulation, drainage, and moisture control across FL, NC, and SC.
Crawl Space Encapsulation Cost Guide 2026
Detailed cost breakdown by scope, square footage, and state with what to expect at every price point.
Crawl Space Mold Removal
Causes, costs, and the remediation process for mold in crawl spaces — including when to remediate before encapsulation.
Standing Water in Your Crawl Space
Drainage solutions, sump pump options, and how to fix bulk water problems before any liner work begins.
Mold Remediation Services
IICRC-certified mold remediation following S520 standards — required before encapsulation when mold is present.
Insurance Restoration Process
How Palm Build works directly with your insurance company from claim documentation to completed restoration.
Frequently Asked Questions
Can mold still grow in a sealed crawl space? +
Do I need a dehumidifier after crawl space encapsulation? +
How long does crawl space encapsulation take? +
Is a vapor barrier enough for my crawl space? +
What thickness vapor barrier do I need? +
Does homeowners insurance cover crawl space encapsulation or mold? +
Should crawl space vents be open or closed in my climate? +
Not sure what your crawl space actually needs?
Palm Build assesses crawl spaces across Florida, North Carolina, and South Carolina — measuring humidity, checking for drainage issues, identifying mold, and recommending the right scope for your specific conditions. We handle vapor barrier installs, full encapsulation, drainage, and mold remediation. Available 24/7 for emergency situations.
Found this helpful? Send it to someone who needs it.