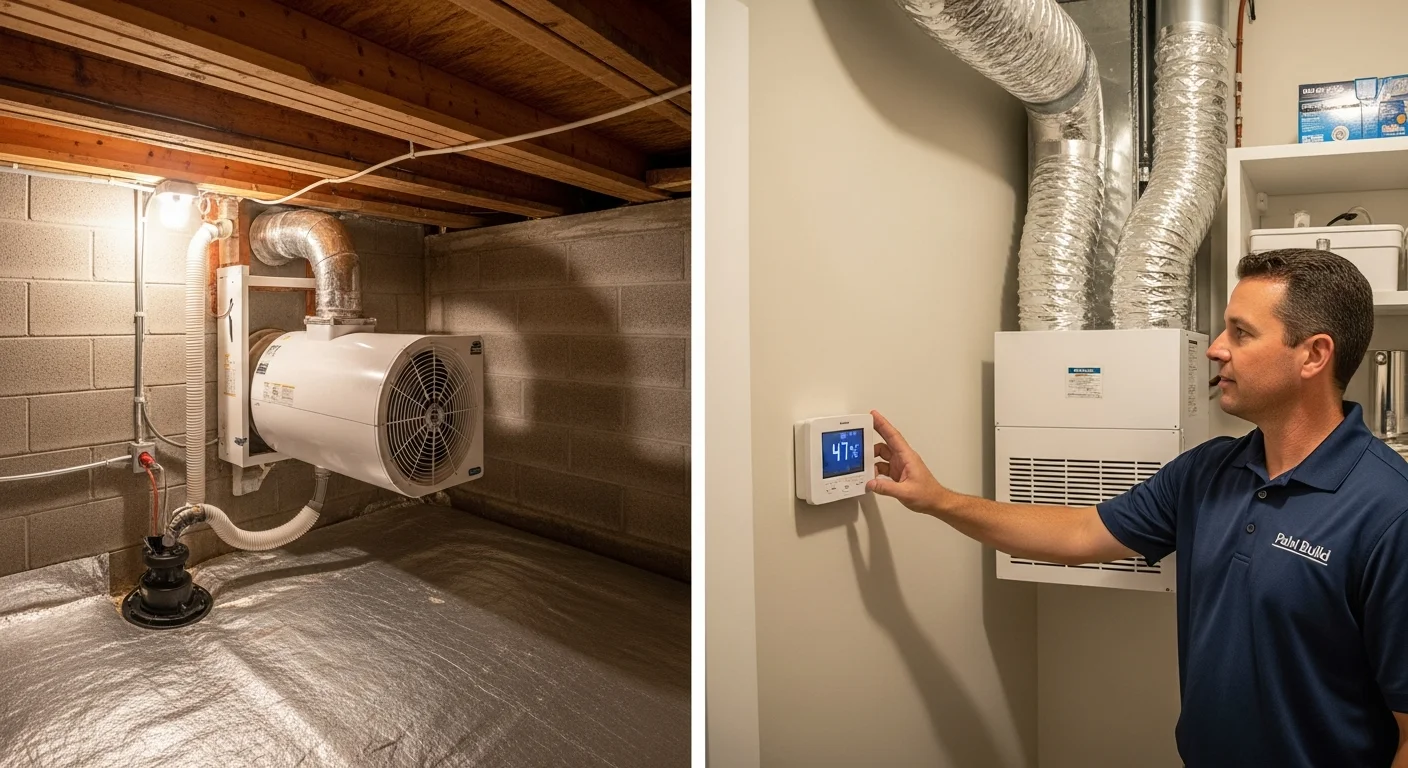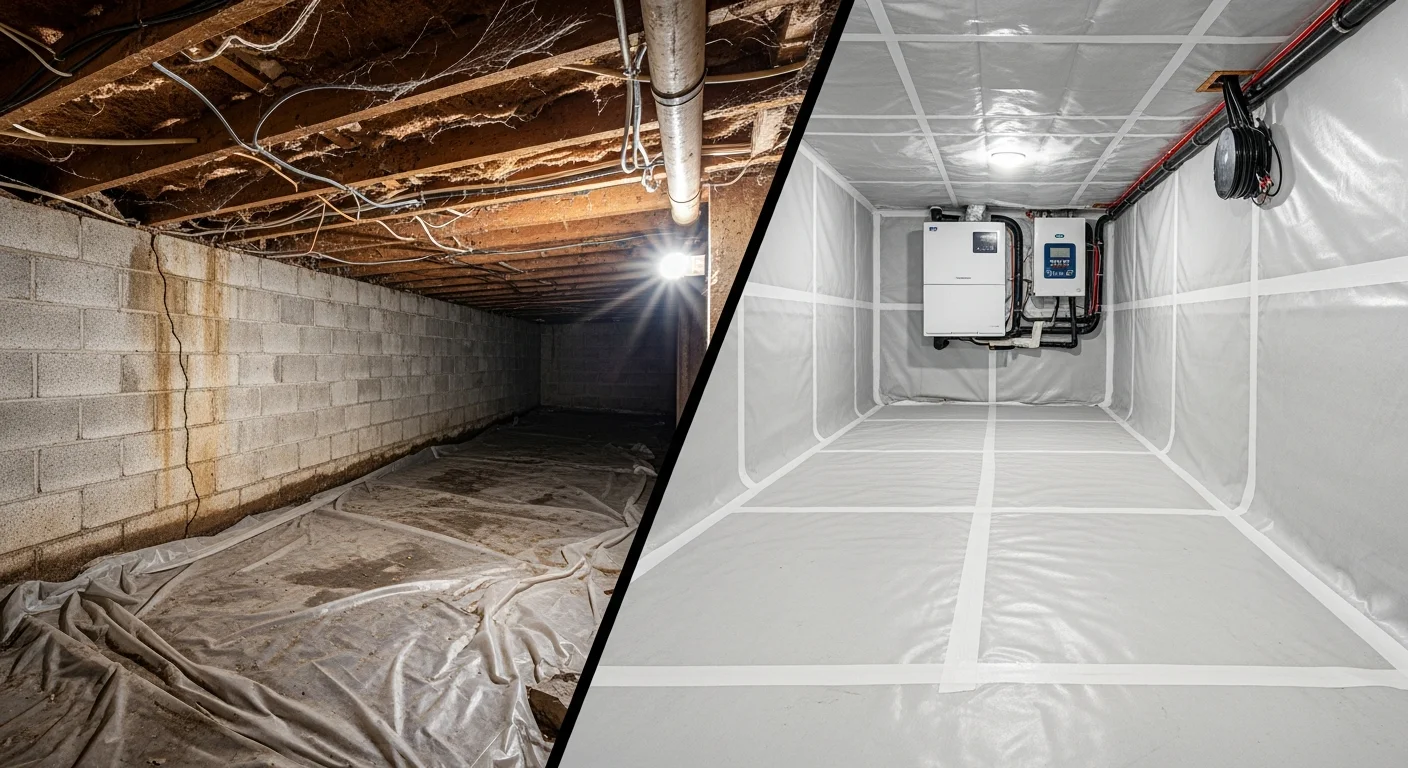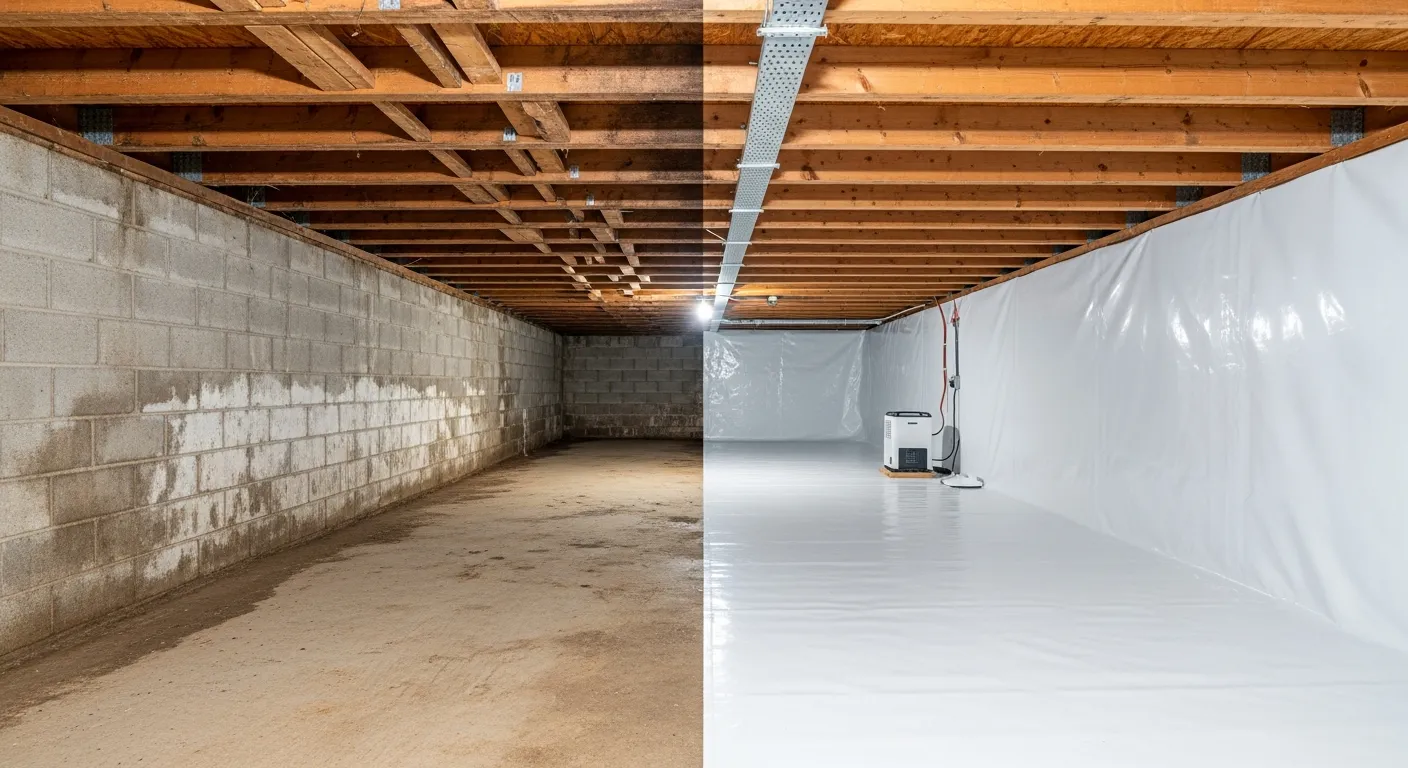
Key takeaways
- Encapsulation is usually worth it when your crawl space stays damp, has recurring mold, or houses HVAC ductwork. It is usually not worth it yet if you have active water intrusion, untreated drainage problems, or combustion appliances that have not been evaluated for sealed-space compatibility.
- Building America research reports up to about 20% heating and cooling savings from sealed and insulated crawl spaces. ENERGY STAR modeling estimates about 15% for whole-home air sealing improvements. Claims above 30% are not supported by published data.
- Sealing a crawl space changes soil gas dynamics. EPA sets the radon action level at 4 pCi/L and recommends considering action at 2 to 4 pCi/L. Test before and after encapsulation, especially in Piedmont and mountain counties.
- Professional encapsulation typically costs $3 to $10 per square foot ($3,000 to $15,000 total). A realistic payback period for energy savings alone is often 15 years or more. The stronger financial case is avoided mold remediation and structural repair costs.
- A 10-minute self-check (humidity reading, water history, combustion appliance inventory, radon test status) tells you whether encapsulation is the right next step or whether drainage, remediation, or safety modifications should come first.
Crawl space encapsulation is usually worth it when your crawl space stays damp or musty, you see recurring mold, your floors feel humid, or you have HVAC ducts and plumbing running under the house. In those situations, sealing and conditioning the space can reduce moisture problems and cut heating and cooling energy use by up to about 20% according to U.S. Department of Energy Building America research. But encapsulation is not always the right move. If you have active water entry, flooding exposure, untreated mold, combustion appliances that have not been evaluated for a sealed space, or untested radon levels, the project either will not work as intended or introduces new risks that most contractors do not mention up front. Professional encapsulation typically costs $3 to $10 per square foot, commonly $3,000 to $15,000 total, with most projects finishing in three to five days once cleaning and repairs are done. Our crawl space cleanup and moisture control services handle the full scope across Florida, North Carolina, and South Carolina.
Energy savings (Building America)
Up to ~20%
Heating and cooling in sealed, insulated crawl spaces
Typical project cost
$3 to $10/sq ft
$3,000 to $15,000 total installed
EPA radon action level
4 pCi/L
Test before and after sealing any crawl space
Typical timeline
3 to 5 days
After prep, cleaning, and any required repairs
The Answer in Plain English
When encapsulation is usually worth it
The strongest case for encapsulation is a crawl space with persistent humidity above 60% relative humidity, recurring mold growth or musty odors that come back after cleaning, HVAC ductwork and plumbing running through the space, or a history of moisture-related floor comfort problems. These are signs that ground moisture, outdoor air infiltration, or both are overwhelming whatever passive ventilation the original vented design was supposed to provide. In humid climates across the Southeast, Building America research found that vented crawl spaces can actually pull in warm, moisture-laden air that condenses on cooler framing rather than drying the space out. If you are seeing any of these signs of crawl space problems, encapsulation with active dehumidification addresses the root cause rather than just the symptoms.
When it is usually not worth it yet
Encapsulation is not the right first step if you have active water intrusion, bulk water pooling after rain, untreated mold on framing, fuel-burning appliances in the crawl space that have not been evaluated for sealed-space compatibility, or radon levels you have never tested. Each of these conditions either makes encapsulation ineffective (you cannot seal out water that is entering through the foundation), dangerous (trapping combustion gases or radon in a sealed envelope), or counterproductive (sealing over active mold accelerates hidden growth). The honest answer is that encapsulation is a finishing step. Drainage, remediation, safety evaluation, and radon testing are prerequisite steps that determine whether sealing makes sense and whether it will actually perform as intended.
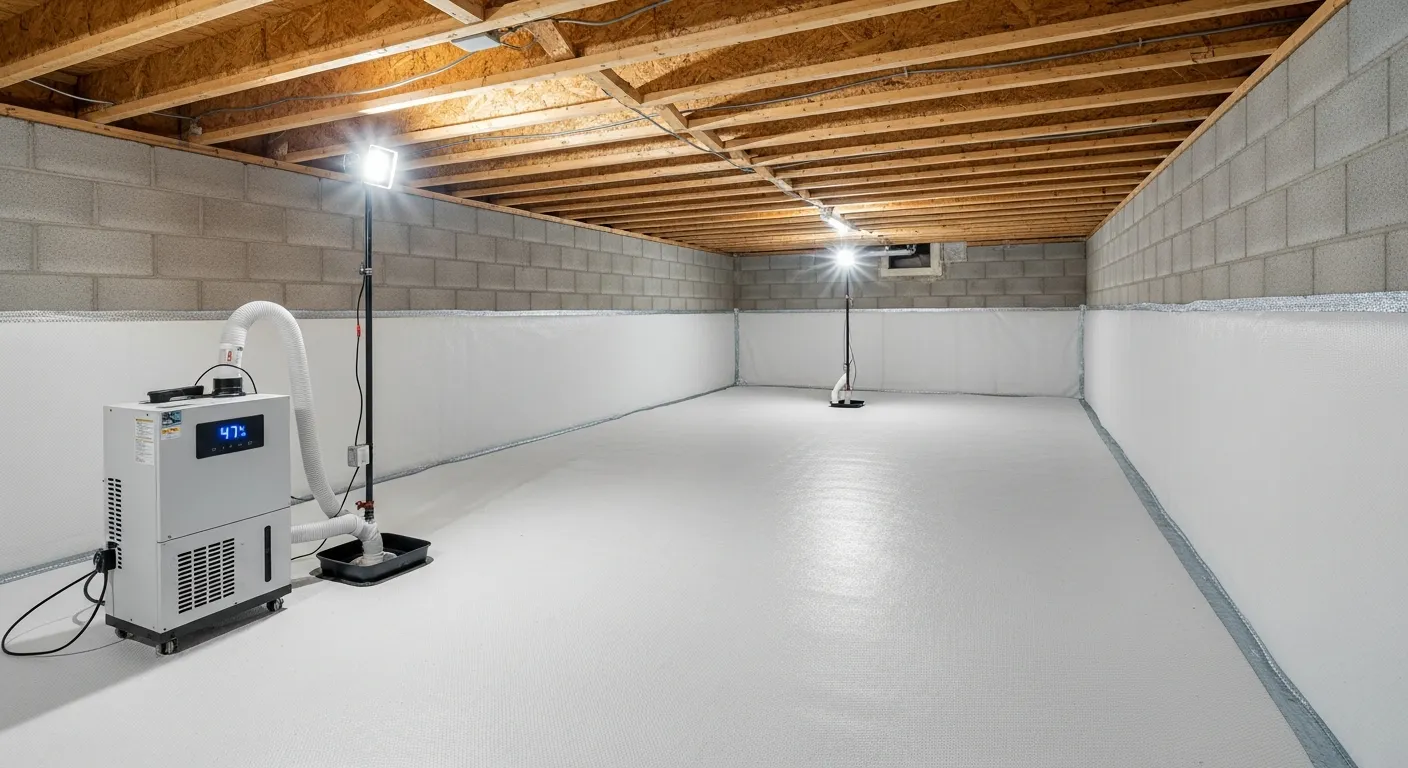
What Crawl Space Encapsulation Is and What It Is Not
Encapsulation vs. a vapor barrier only
A ground vapor barrier is a plastic liner laid on the crawl space floor to block soil moisture from evaporating upward. Encapsulation goes further: it seals the floor, walls, and vents into a closed system and adds active moisture control (typically a dehumidifier). The two are different scopes at different price points solving different problems. For a detailed side-by-side comparison including costs, scope differences, and decision rules for when each is appropriate, see our vapor barrier vs. encapsulation guide.
The moisture control piece most homeowners miss
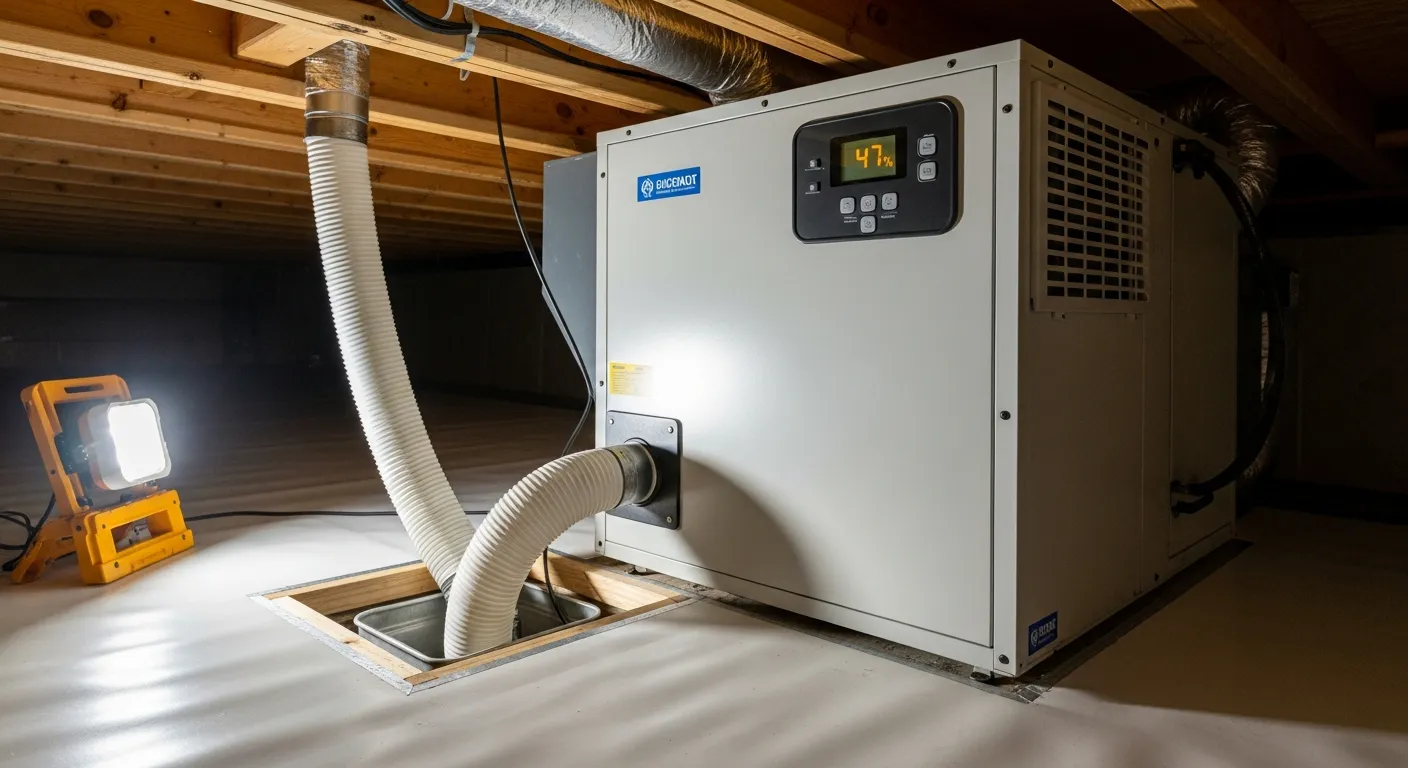
Encapsulation is not just putting plastic down. A true system isolates the crawl space from ground moisture and outdoor air, then adds a drying strategy so humidity stays stable. The U.S. Environmental Protection Agency recommends keeping indoor humidity below 60% relative humidity to control mold, with an ideal range of 30% to 50%. A sealed crawl space without a dehumidifier or conditioned air supply is a closed box with no way to remove the moisture that continues to enter through concrete, soil, and minor air leaks. That is not encapsulation. That is a humidity trap.
Pros of Crawl Space Encapsulation
Moisture and mold risk reduction
When properly installed with active dehumidification, encapsulation eliminates ground vapor as a moisture source and blocks humid outdoor air from entering through foundation vents. The EPA emphasizes that moisture control is the key to mold control and that drying wet materials within 24 to 48 hours helps prevent mold growth. A well-maintained encapsulated crawl space keeps humidity consistently in the 40% to 55% range, well below the 60% threshold where mold conditions become favorable. If your crawl space has a history of mold problems, encapsulation combined with professional mold remediation addresses both the existing growth and the moisture source that caused it.
Comfort and potential energy savings
Sealing the crawl space brings it into a more consistent thermal envelope, which can reduce the temperature difference between the crawl space and your first floor. Building America reports up to about 20% heating and cooling energy savings in sealed and insulated crawl space approaches. ENERGY STAR modeling for air sealing and insulation improvements estimates about 15% heating and cooling savings on average across the whole home. The U.S. DOE notes that draft reduction can save 5% to 30% per year in typical home energy improvements, but that range applies to the entire home, not to crawl space sealing alone. The honest framing: encapsulation contributes to energy savings, but it is rarely the only measure needed, and the higher end of published ranges requires whole-home air sealing, not just crawl space work.
Pest pressure and odors
Sealing foundation vents and covering the soil eliminates two things that attract pests: open entry points and damp, organic conditions they prefer. Termites, rodents, spiders, and moisture-loving insects lose both access and habitat. The musty crawl space odor that rises into your living space through the stack effect is also addressed at its source. Sealed crawl spaces do not produce the same moisture-driven off-gassing that vented spaces do.
Cons and Risks to Understand Before You Pay
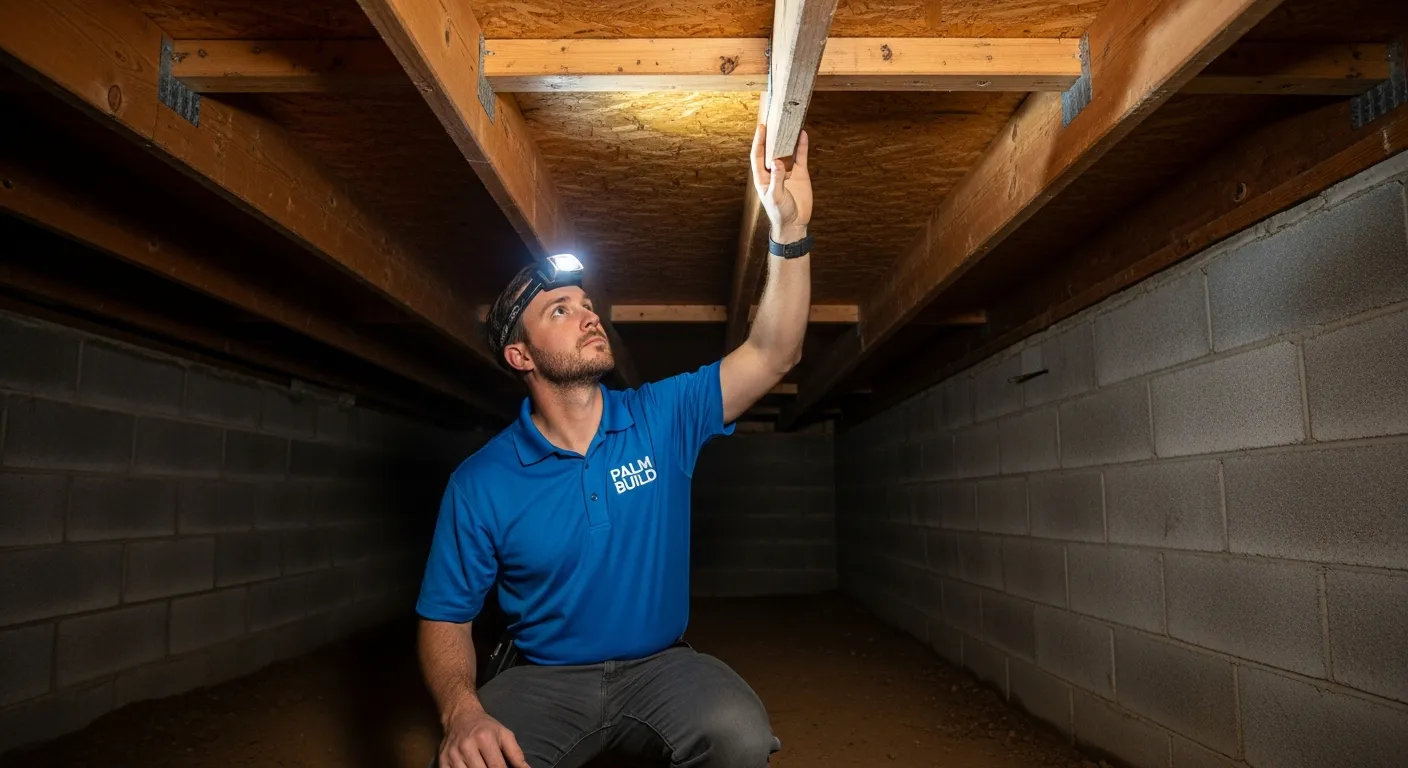
Most crawl space encapsulation content online focuses on cost and access difficulty as the main disadvantages. Those are real, but the higher-stakes cons are safety, system design, and ongoing maintenance. These are the risks that actually determine whether your encapsulation investment performs or fails.
Real advantages
- Reduces crawl space humidity and mold risk when properly installed with dehumidification
- Can improve first-floor comfort and reduce HVAC strain on the system
- Limits pest entry points and eliminates musty odors driven by the stack effect
- Protects HVAC ductwork and plumbing from condensation damage
- May improve home resale value and inspection reports
- Reduces long-term risk of structural wood rot and costly joist repairs
Real risks most sites skip
- Sealed space can accumulate radon and soil gases if not tested and mitigated (EPA action level: 4 pCi/L)
- Combustion appliances in the crawl space may need direct-vent conversion for safety (ENERGY STAR guidance)
- Incorrect installation traps moisture inside, accelerating hidden rot and mold behind the liner
- Termite inspection access can be compromised if code-required inspection gaps are not maintained
- Dehumidifier maintenance is ongoing; a failed unit in a sealed space creates worse conditions than an open crawl space
- Energy ROI alone rarely justifies the cost; payback from savings alone is often 15 years or more
Cost and hidden prep work
Professional encapsulation typically runs $3 to $10 per square foot installed, with labor accounting for 50% to 70% of the total budget. But the quoted price often does not include the prep work that determines whether encapsulation will actually succeed: debris removal, mold remediation, drainage installation, structural repairs to damaged joists or sills, and dehumidifier equipment. These add-ons can push a $6,000 project to $10,000 or more. For a full breakdown of encapsulation costs by size, scope, and region, see our crawl space encapsulation cost guide.
Trapped moisture if you seal incorrectly
A sealed crawl space without a functional drying strategy, or one installed over materials that were already wet, can make hidden rot and mold significantly worse. The liner conceals the problem from visual inspection while creating a warm, sealed environment that accelerates biological growth on the wood framing above. EPA guidance is clear: moisture control is the key to mold control. Sealing without controlling moisture is the opposite of that principle.
Radon and soil gases
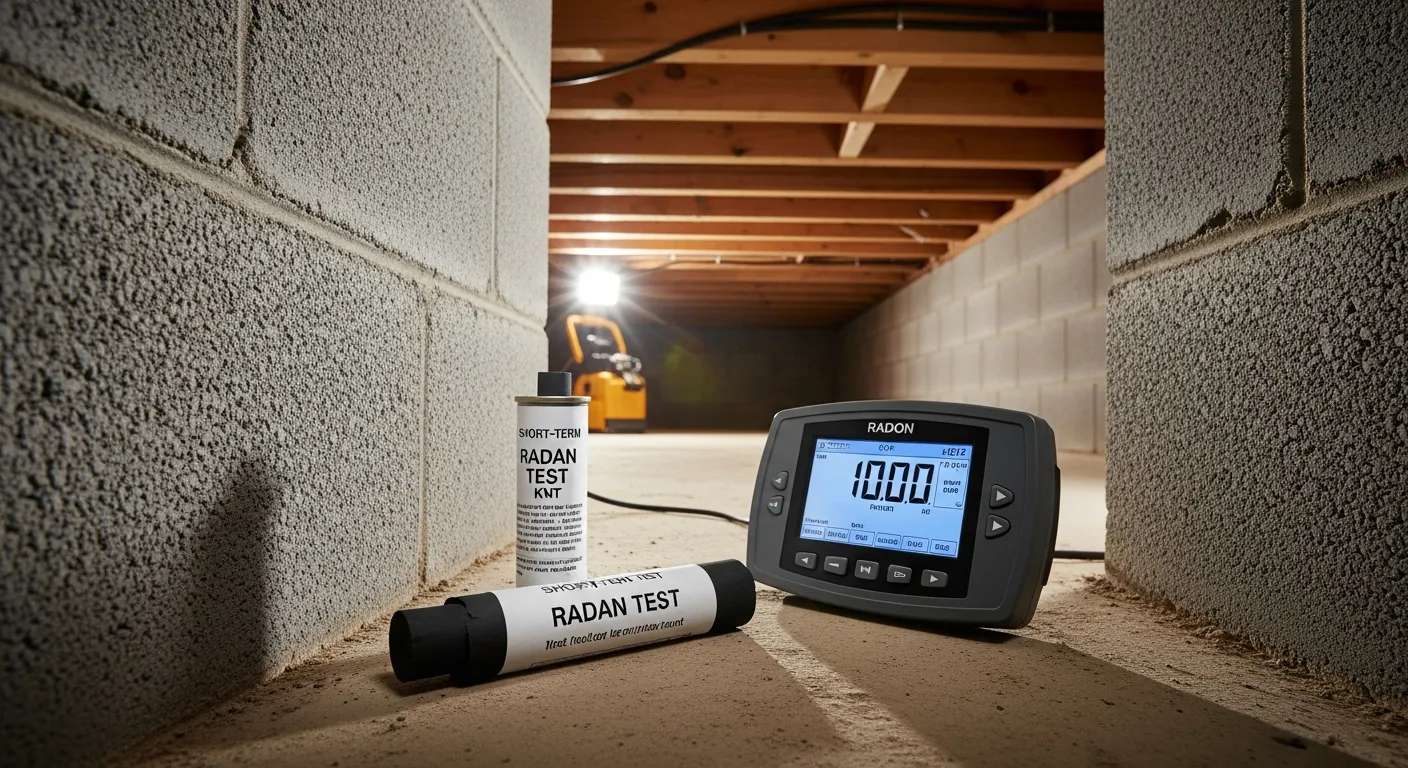
Radon is a naturally occurring radioactive gas that enters homes through soil and foundation gaps. The EPA sets the action level at 4 pCi/L and recommends considering action even between 2 and 4 pCi/L, because there is no known safe level of radon exposure. Sealing a crawl space changes the air exchange dynamics in the foundation, which can increase radon accumulation in the sealed space and in the living areas above. Encapsulation is compatible with radon control, but only when a sub-membrane depressurization system or other mitigation approach is designed into the project from the start, not added as an afterthought after elevated readings appear.
Combustion appliances and safety
This is the con most crawl space websites never mention. ENERGY STAR guidance for closed crawl spaces recommends that fuel-fired appliances located in a closed crawl space be direct-vent or "two pipe" designs, meaning combustion air is drawn from outside and exhaust is piped directly outside. A standard atmospherically vented water heater, furnace, or gas dryer in a sealed crawl space can backdraft, pulling combustion byproducts into the living space instead of exhausting them. Before encapsulating, every fuel-burning appliance in or vented through the crawl space needs evaluation. Converting to direct-vent equipment adds cost, but it is a safety requirement, not an optional upgrade.
Termite inspection and access issues
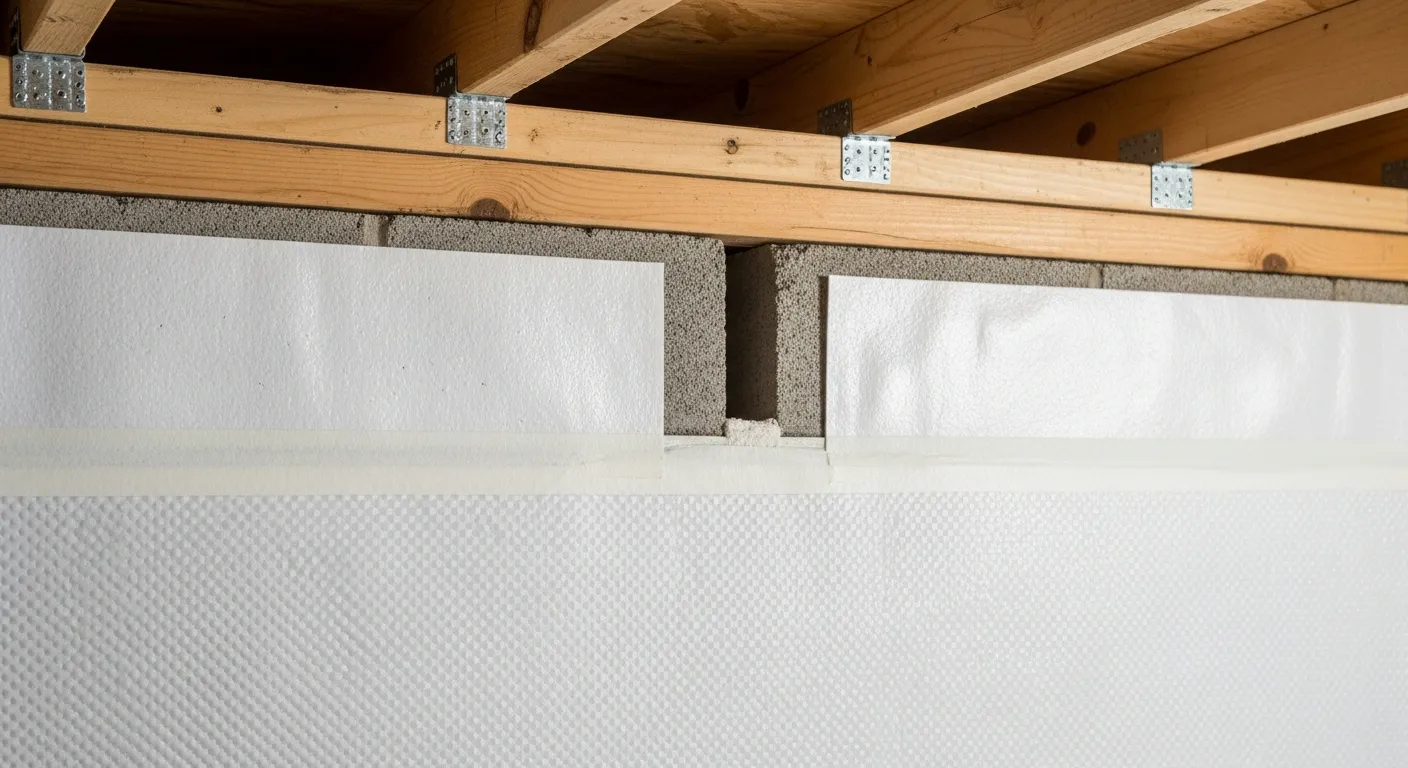
ENERGY STAR closed crawl space details include a minimum 3-inch termite inspection gap between the wall vapor retarder and the top of the masonry wall. In North Carolina, the requirement is 3 to 4 inches. In South Carolina, foam plastics used on crawl space walls require a 6-inch gap. Running the wall liner all the way to the sill plate is incorrect detailing in the Southeast. Termite visibility is a real operational requirement, and an encapsulation system that blocks future inspection access creates a liability that many homeowners do not discover until a termite treatment or real estate inspection reveals the problem.
Cost and Payback Math You Can Do Yourself
Energy savings from encapsulation are real, but the payback timeline is longer than most marketing materials suggest. Here is a simple framework you can use with your own numbers. Take your annual HVAC spending (heating plus cooling), apply a conservative 10% or moderate 15% savings rate based on the published research, and divide your project cost by the annual savings to estimate payback years.
| Annual HVAC cost | Conservative savings (10%) | Moderate savings (15%) | Project cost example | Payback range |
|---|---|---|---|---|
| $1,500 per year | $150 per year | $225 per year | $6,000 | 27 to 40 years |
| $2,000 per year | $200 per year | $300 per year | $6,000 | 20 to 30 years |
| $2,500 per year | $250 per year | $375 per year | $8,000 | 21 to 32 years |
| $3,500 per year | $350 per year | $525 per year | $8,000 | 15 to 23 years |
Encapsulation energy payback estimator by annual HVAC spend
What affects price in humid coastal areas
Encapsulation in Florida, North Carolina, and South Carolina tends toward the higher end of the national price range because of sustained high outdoor humidity, existing moisture damage that needs to be addressed before sealing, drainage additions for crawl spaces that take on water during storms, and dehumidifier sizing requirements for spaces that face 70% or higher outdoor humidity for months at a time. Access difficulty, debris removal, and mold pre-treatment add to the prep scope. For per-square-foot pricing tables broken down by size and scope, see our full cost guide.
How long it takes and how disruptive it is
A widely cited planning number is three to five days for the encapsulation process once prep is complete. Most homeowners can stay in the home during the work. Access point construction, vent sealing, and occasional odor from cleaning products or adhesives can be disruptive, but the work is confined to the crawl space. If mold remediation or drainage installation is required before encapsulation begins, those phases add additional days to the overall project timeline.
Quick Self-Check Before You Call for Quotes
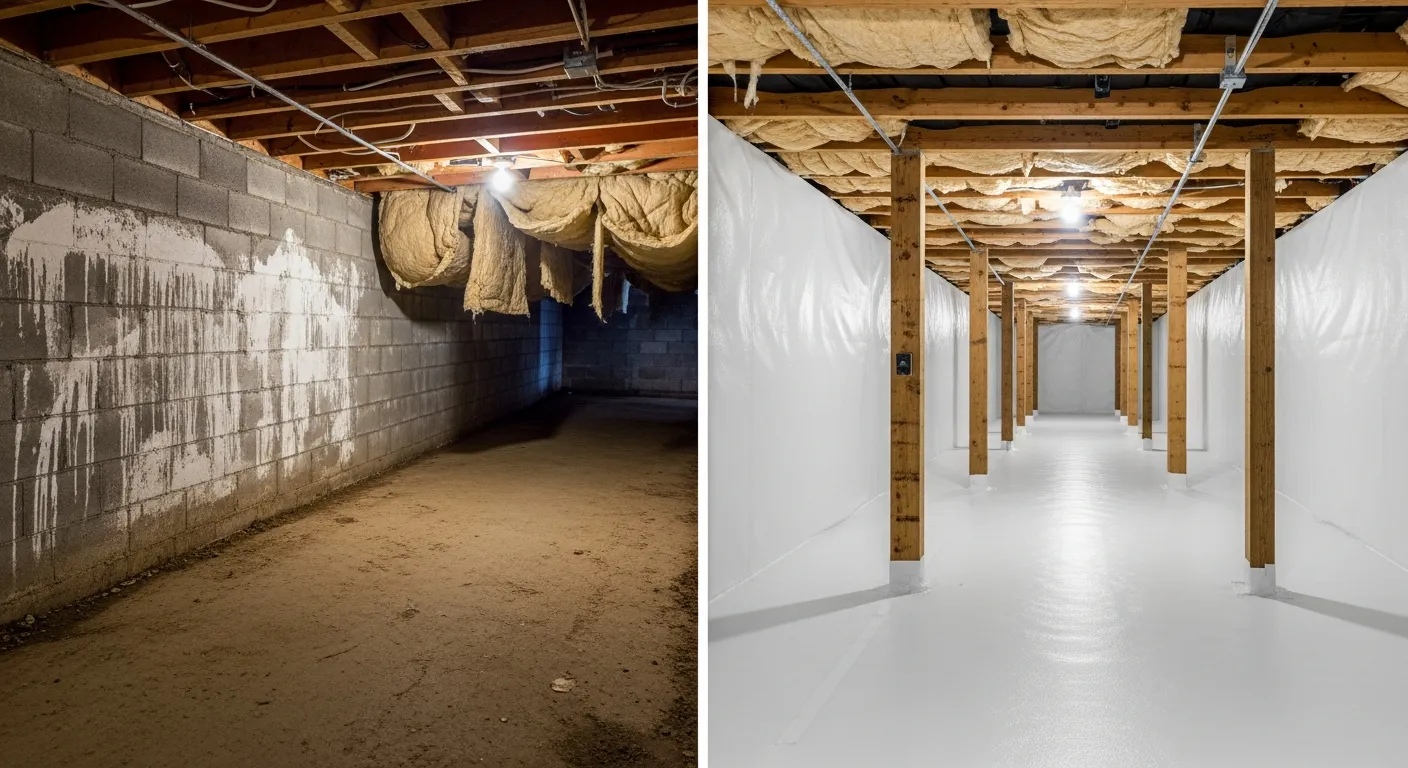
Before you spend time getting quotes, a 10-minute self-assessment tells you whether encapsulation is the right next step for your situation or whether something else needs to happen first. Work through this checklist and bring the results with you when you talk to contractors.
- Buy a digital hygrometer ($10 to $20) and take crawl space humidity readings at different times over several days. Is relative humidity consistently above 60%?
- Check for standing water, pooling after rain, or water stains on walls and piers. Any active water entry must be fixed before encapsulation makes sense.
- Look for visible mold on floor joists, subfloor sheathing, or pier columns. Dark staining or fuzzy growth means remediation comes first, then sealing.
- List every fuel-burning appliance in or vented through the crawl space: water heater, furnace, gas dryer. These may need direct-vent conversion before you seal the space.
- Check whether you have a radon test on file for this home. If not, order a short-term test kit before any sealing work. Many state programs offer free kits.
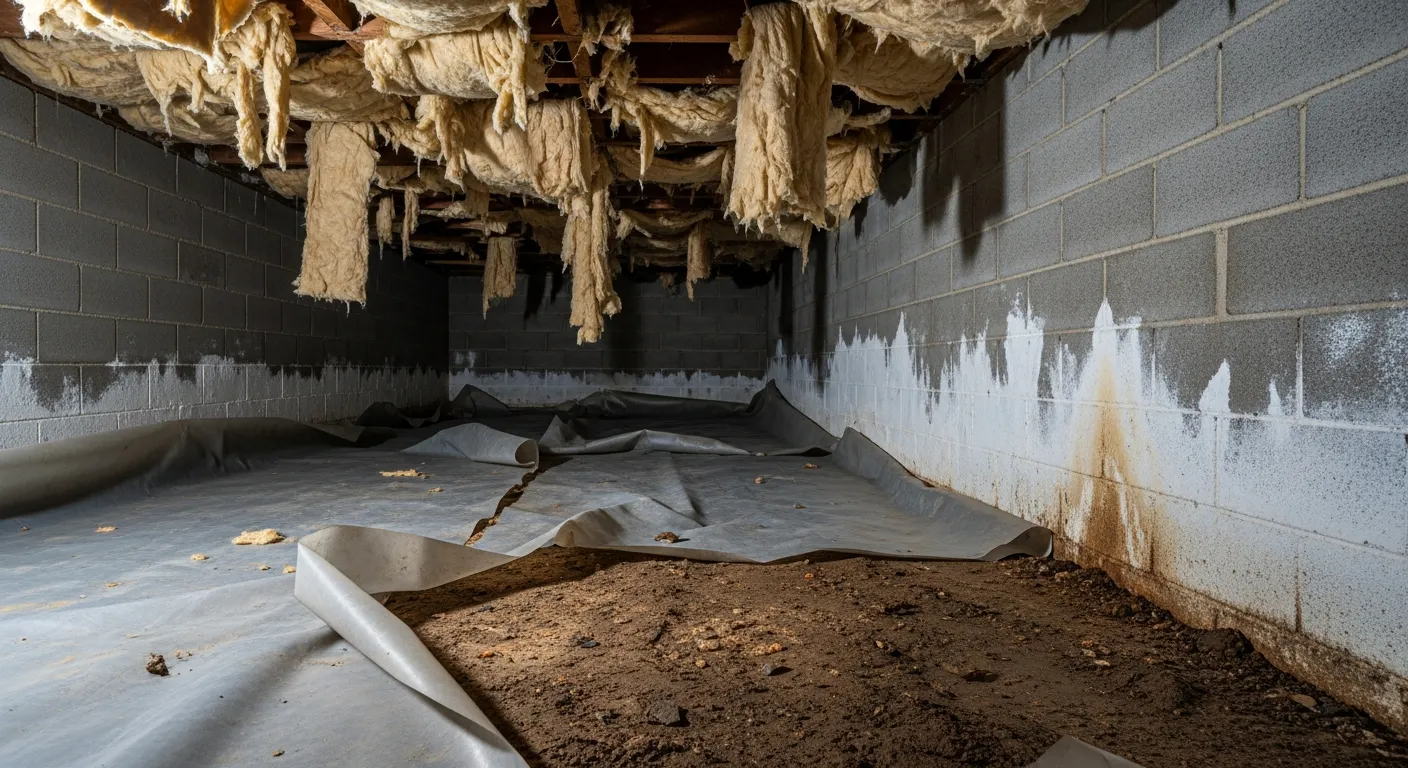
- Inspect any existing vapor barrier. Is it torn, shifted, or sitting in water? A damaged liner is not protecting anything and should be replaced, not sealed over.
- Look at your most recent energy bills. Calculate your annual HVAC spend so you can run the payback math in the table above.
- Check whether your home is in a FEMA flood zone (FEMA Flood Map Service Center, free online). Flood zone requirements in Florida and the Carolinas may affect whether full sealing is appropriate for your foundation.
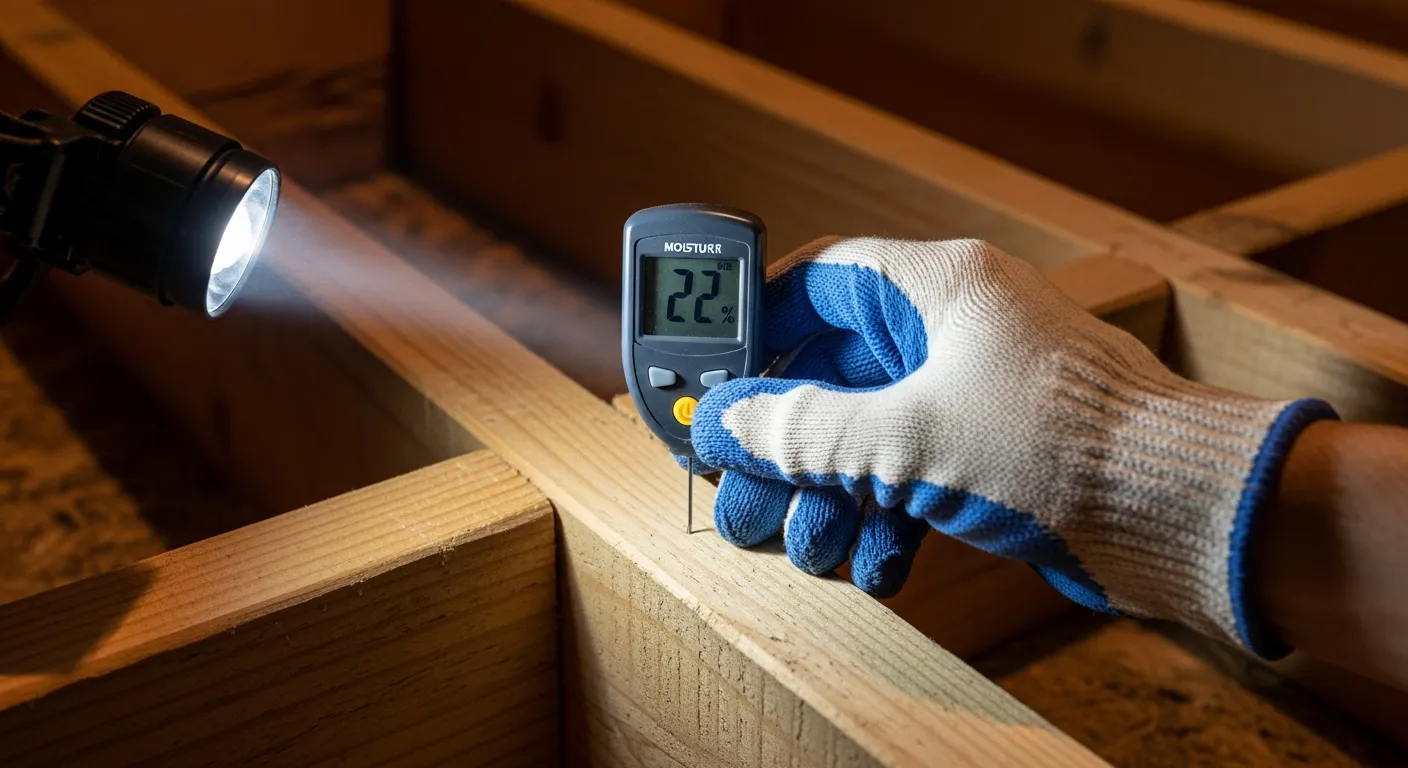
Fix Water Entry and Drainage First
Encapsulation over active water intrusion is the most expensive mistake in crawl space work. If water is entering through the foundation walls, pooling on the floor after rain events, or seeping through cracks in the slab, no amount of plastic liner will stop it. The liner traps the water rather than controlling it, creating worse conditions underneath. Grading corrections around the foundation, gutter extensions, interior perimeter drain tile, and a sump pump are the tools that address bulk water. Those come first. If storm damage or a plumbing failure caused the water entry, water damage restoration and emergency extraction should happen before any moisture control decisions are made. Our standing water in your crawl space guide covers drainage solutions in detail.
Remove Mold and Contaminated Materials If Present
If you see mold growth on floor joists, subfloor sheathing, or pier columns, remediation needs to happen before any liner work begins. Installing encapsulation over active mold does not stop it. It conceals the growth behind a sealed liner and creates a warm, enclosed environment that accelerates colonization where you cannot see it. Our mold remediation team follows IICRC S520 standards for assessment, containment, removal, and post-remediation verification. For a deeper look at causes, costs, and the remediation process specific to crawl spaces, see our crawl space mold removal guide.
Choose the Right Encapsulation Design for Your Home
Dehumidifier vs. conditioned air vs. exhaust
There are three code-compliant methods for controlling humidity in a sealed crawl space: a permanently installed dehumidifier, ducted conditioned air from the home's HVAC system, and mechanical exhaust ventilation. A North Carolina code interpretation specifies that closed crawl spaces must use one of these methods with specific airflow rates. Each has trade-offs. A dedicated dehumidifier gives the most precise humidity control but requires its own maintenance and eventual replacement. Conditioned air supply uses existing HVAC capacity but adds load to the system. Exhaust ventilation is simpler but pulls conditioned air from the living space. The right contractor should explain which method they are recommending and why it fits your specific home and climate zone.
Wall insulation considerations
When converting to an unvented crawl space, the U.S. DOE recommends sealing and insulating the foundation walls rather than insulating between the floor joists. Rigid foam board or closed-cell spray foam applied to the interior of the foundation walls is the standard approach. In South Carolina, foam plastics used on crawl space walls must maintain a 6-inch termite inspection gap at the top of the foundation wall and sill plate. Your contractor should be aware of the local code requirements before selecting and installing wall insulation.
Maintain It So It Actually Stays Dry
Encapsulation is not a set-and-forget upgrade. A sealed crawl space with no maintenance becomes a sealed crawl space with a hidden problem. The dehumidifier needs to keep running, the liner needs to stay intact, and the seals need to hold. Here is what a realistic maintenance schedule looks like.
- 1
Monthly: Check the dehumidifier
Verify the unit is running, the display shows humidity below 60% relative humidity, and the condensate drain line is flowing. A failed dehumidifier in a sealed space can push humidity above mold-favorable levels within weeks. If the unit has a filter, check it and clean or replace it per the manufacturer's schedule.
- 2
Quarterly: Visual liner inspection
Open the crawl space access door and shine a light across the floor. Look for standing water on top of the liner, tears or punctures, shifted sections, or evidence of pest activity. Problems caught during a quarterly visual check are minor repairs. Problems found a year later can be major projects.
- 3
Annually: Check wall seals and vent covers
Inspect wall-to-floor liner transitions, sealed vent covers, and the access door seal. Foundation settling, temperature cycling, and minor movement can open gaps that let humid outdoor air back into the sealed envelope. Reseal any gaps with compatible tape or sealant.
- 4
Every 2 to 3 years: Professional inspection
A qualified inspector checks termite inspection gaps, structural wood moisture content, drainage system function, and dehumidifier performance against the original system specifications. This inspection also catches deferred maintenance issues before they become structural problems. Our crawl space cleanup services include inspection and maintenance across FL, NC, and SC.
Florida, North Carolina, and South Carolina Notes
Florida: flood zones and hurricane moisture
Florida homeowners should evaluate encapsulation through the lens of humidity plus flooding risk. Florida flood provisions specify that enclosed areas below required elevation, including crawl spaces, must meet requirements such as flood openings sized by net area criteria. This can directly affect whether a fully sealed crawl space is appropriate in your flood hazard zone. On radon, the Florida Department of Health reports that 1 in 5 homes in its testing dataset had radon levels above the EPA action level of 4 pCi/L, even though many Florida counties appear in lower-potential zones on EPA maps. Test regardless of zone designation. If your home is in a flood-prone area, the encapsulation conversation changes. A local inspection should look at flood openings, historical water levels, and drainage first.
North Carolina: closed crawl space requirements
North Carolina has some of the clearest code language for sealed crawl spaces. A state code interpretation specifies that closed crawl spaces must have a mechanical humidity control method: a permanently installed dehumidifier, ducted supply air from the home's HVAC system, a house-air fan, or an exhaust fan with specific cfm rates. The 3-to-4-inch termite inspection gap at the top of wall liners is enforced during building inspections. Encapsulation in NC is not just a materials decision. It is also an HVAC, ventilation, and permitting decision. For a broader look at NC crawl space challenges, see our North Carolina crawl space problems guide.
South Carolina: unvented crawl space code highlights
South Carolina's IRC-based regulation for unvented crawl spaces requires a continuous vapor retarder meeting ASTM E1745 Class A, a specific material performance standard that generic contractor-grade liners may not meet. Foam plastics on crawl space walls must maintain a 6-inch termite inspection gap, which is more restrictive than North Carolina's standard. SC code also explicitly lists dehumidification as an accepted moisture removal method, alongside mechanical exhaust and conditioned air supply. Free short-term radon test kits are available through the South Carolina radon program for homeowners who want baseline readings before and after sealing.
Crawl Space Cleanup Services
Professional encapsulation, vapor barriers, drainage, and moisture control across Florida, North Carolina, and South Carolina.
Crawl Space Encapsulation Cost Guide 2026
Full pricing tables by size, scope, and region with component-level cost breakdowns.
Vapor Barrier vs. Encapsulation
Side-by-side comparison with decision rules, humidity thresholds, and state code specifications.
Crawl Space Mold Removal
Causes, costs, and the remediation process for mold in crawl spaces before encapsulation.
Standing Water in Your Crawl Space
Drainage solutions, sump pumps, and how to fix bulk water problems before any liner work begins.
Signs of Crawl Space Problems
Eight warning signs that indicate moisture, mold, or structural issues in your crawl space.
Water Damage Restoration
24/7 emergency water extraction, structural drying, and insurance documentation across FL, NC, and SC.
Frequently Asked Questions
Is crawl space encapsulation worth the cost? +
How long does crawl space encapsulation last? +
What are the downsides of crawl space encapsulation? +
Does crawl space encapsulation increase home value? +
Can I live in my home during encapsulation? +
What can I do instead of crawl space encapsulation? +
Does homeowners insurance cover crawl space encapsulation? +
Should I test for radon before encapsulating my crawl space? +
Not sure whether encapsulation is right for your crawl space?
Palm Build inspects crawl spaces across Florida, North Carolina, and South Carolina. We measure humidity, check for drainage problems, identify mold, evaluate combustion appliances, and recommend the right scope for your specific conditions. We handle vapor barriers, full encapsulation, drainage, and mold remediation. Available 24/7 for emergency situations.
Found this helpful? Send it to someone who needs it.