Quick Answer
An appliance leak becomes water damage fast. Dry wet materials within 24 to 48 hours and you will usually prevent mold, according to guidance from the U.S. Environmental Protection Agency and FEMA. Typical professional drying runs 3 to 5 days and most homeowners spend $1,384 to $6,384 on restoration (Angi/HomeAdvisor). Your first move is always the same: shut off the water to the appliance, kill power to the room if it is safe, photograph everything for your insurer, and extract standing water before it wicks into cabinets, subfloor, or crawl space insulation. Washing machine hoses, dishwashers with worn door gaskets, and aging water heaters are the three biggest offenders.
Key takeaways
- Dry wet materials within 24 to 48 hours to reduce mold risk (EPA and FEMA guidance).
- Typical professional restoration runs $1,384 to $6,384 with an average near $3,867 (Angi), and drying usually takes 3 to 5 days.
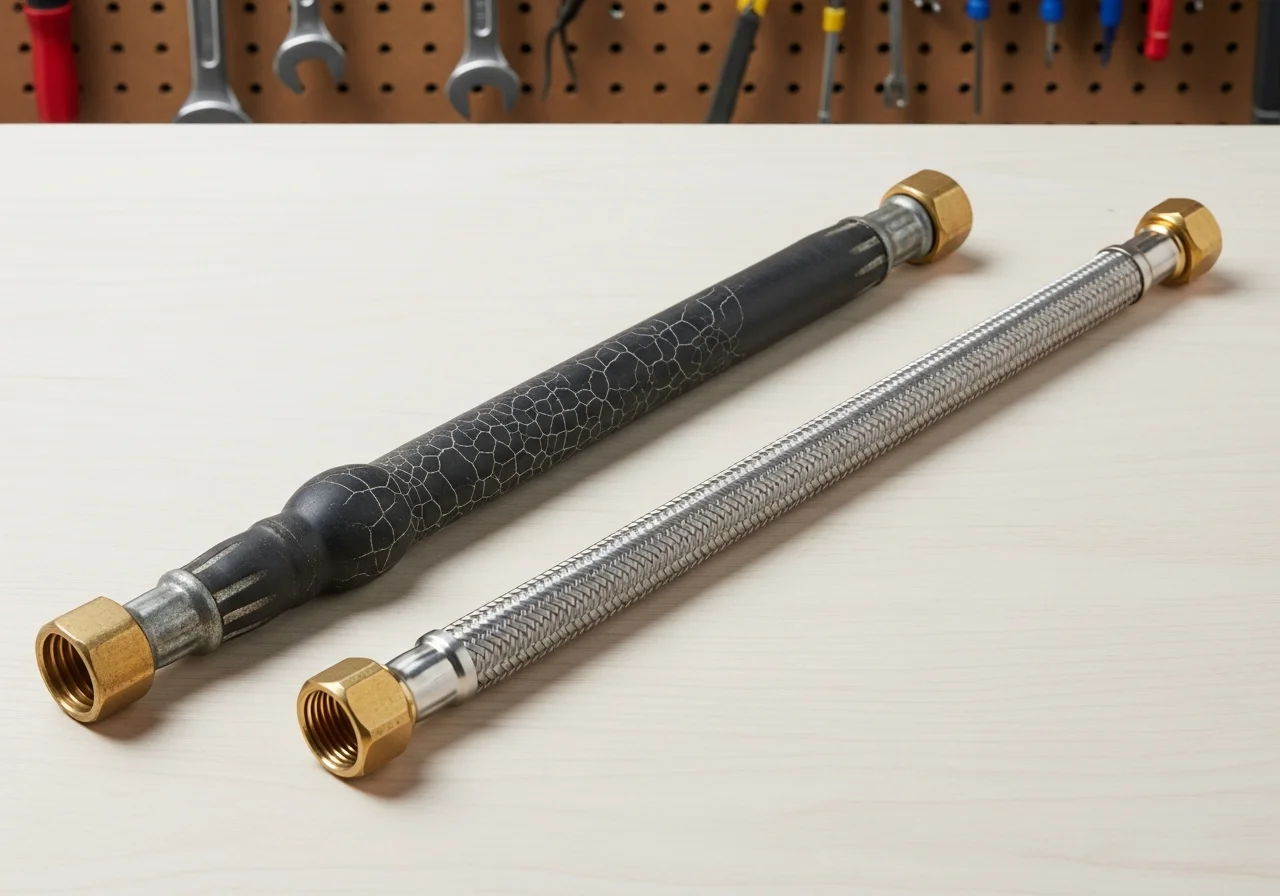
- Washing machine supply hoses are the #1 appliance leak source — braided stainless hoses outlast rubber and should be replaced on a 5-year cycle.
- Dishwasher and washer discharge counts as gray water (Category 2) and often requires removal of porous materials, not just drying.
- Florida, North Carolina, and South Carolina each treat claim deadlines and mold work differently — Florida licenses individual mold contractors, the Carolinas do not.
An appliance leak can turn "a little water on the floor" into warped flooring, soaked drywall, and a mold problem in less than two days. The rule of thumb is simple: dry wet materials within 24 to 48 hours to reduce the chance of mold, and assume water has already traveled farther than you can see — under cabinets, behind baseboards, and into the subfloor. Most professional water damage restoration jobs land in a wide range (commonly $1,384 to $6,384, with small incidents lower and severe losses much higher), and typical drying runs about 3 to 5 days depending on humidity, materials, and how long the water sat. Below is a practical guide to stop the leak, find the hidden moisture, and keep your washer, dishwasher, or water heater failure from becoming a five-figure repair.
Mold risk window
24–48 hrs
EPA and FEMA drying guidance after a leak or spill
Typical restoration cost
$1,384–$6,384
Angi/HomeAdvisor range; ~$3,867 average
Typical drying time
3–5 days
Varies with humidity, materials, and how long water ran
What to Do in the First Hour After an Appliance Leak
Water does not stay where you find it. By the time a puddle reaches the edge of a laundry room or kitchen, it has usually wicked into baseboards, under cabinets, and often into the wall cavity behind the appliance. The first hour is about stopping the source and getting eyes on how far the damage has already spread — not about perfect cleanup.
- 1
Shut off the water to the appliance
Most washers, dishwashers, and water heaters have local shutoff valves on the supply lines. Turn them clockwise until they stop. If the valve is seized, broken, or missing, shut off the main water supply to the house. This is the single most important action — everything else is damage control after the source is stopped.
- 2
Kill power to the room if it is safe
Never walk through standing water near a plugged-in appliance. If you can reach the breaker panel without stepping in water, flip the breaker for the laundry, kitchen, or garage circuit. If you cannot safely reach the panel, stay out of the room and call a professional.
- 3
Photograph everything before you touch it
Your insurer will want documentation of the source, the spread, and the affected materials. Take wide shots of the room, close-ups of the failed component, and photos of baseboards, cabinet toe-kicks, and any visible water line on walls. Include a timestamp on your phone.
- 4
Extract the standing water
Use a wet/dry shop vacuum if you have one. Towels alone rarely work on anything more than a small spill — porous materials keep releasing water for hours. Pull furniture away from wet walls so air can reach the baseboards.
- 5
Start airflow and call a pro if the area is large
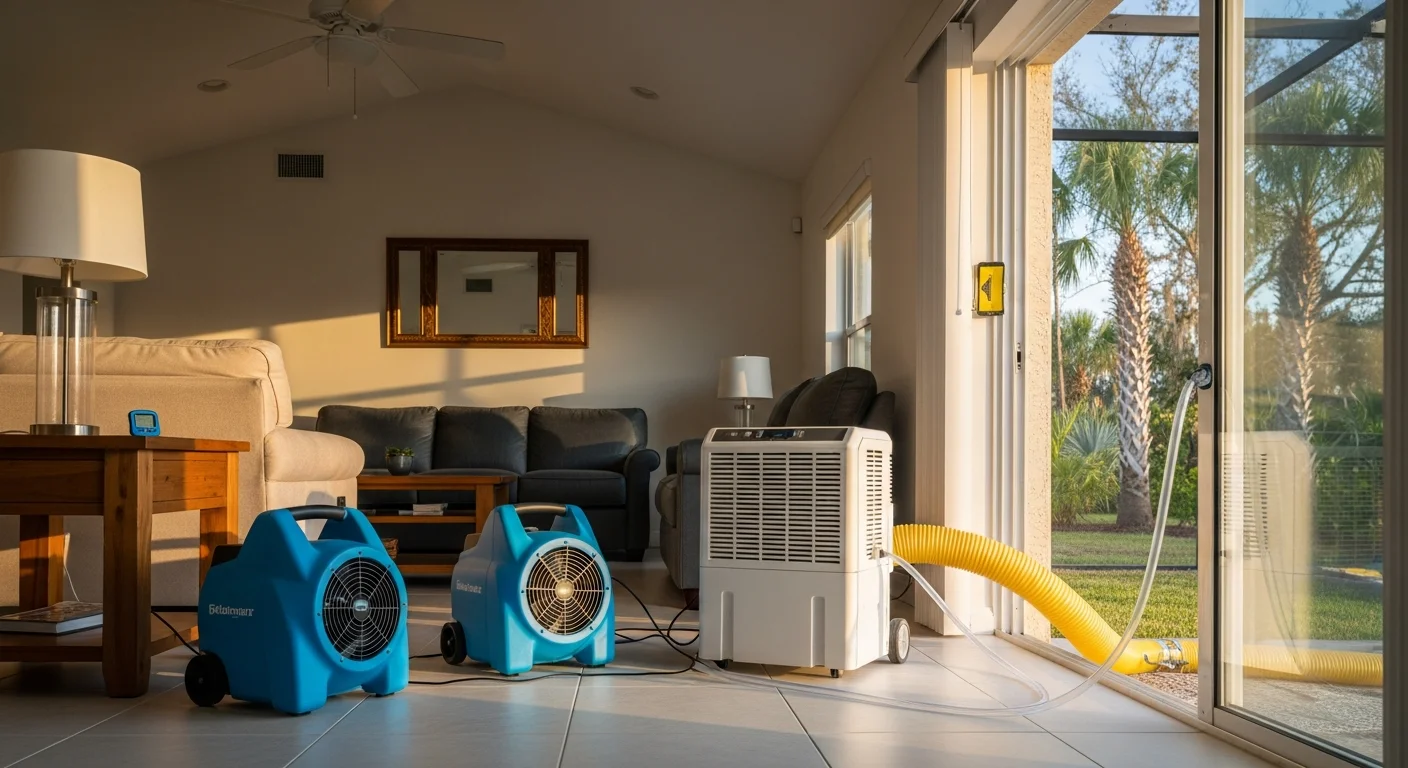
Open windows if humidity outside is lower than inside, run fans, and point a dehumidifier at the affected area if you own one. If the wet area exceeds about 20 square feet, reached the wall cavity, or involves a dishwasher or washer discharge, stop DIY and call a water damage restoration team. Every hour of delay narrows the mold window and pushes more material into the "remove and replace" category instead of "dry in place."
Washing Machine Leaks That Cause Water Damage
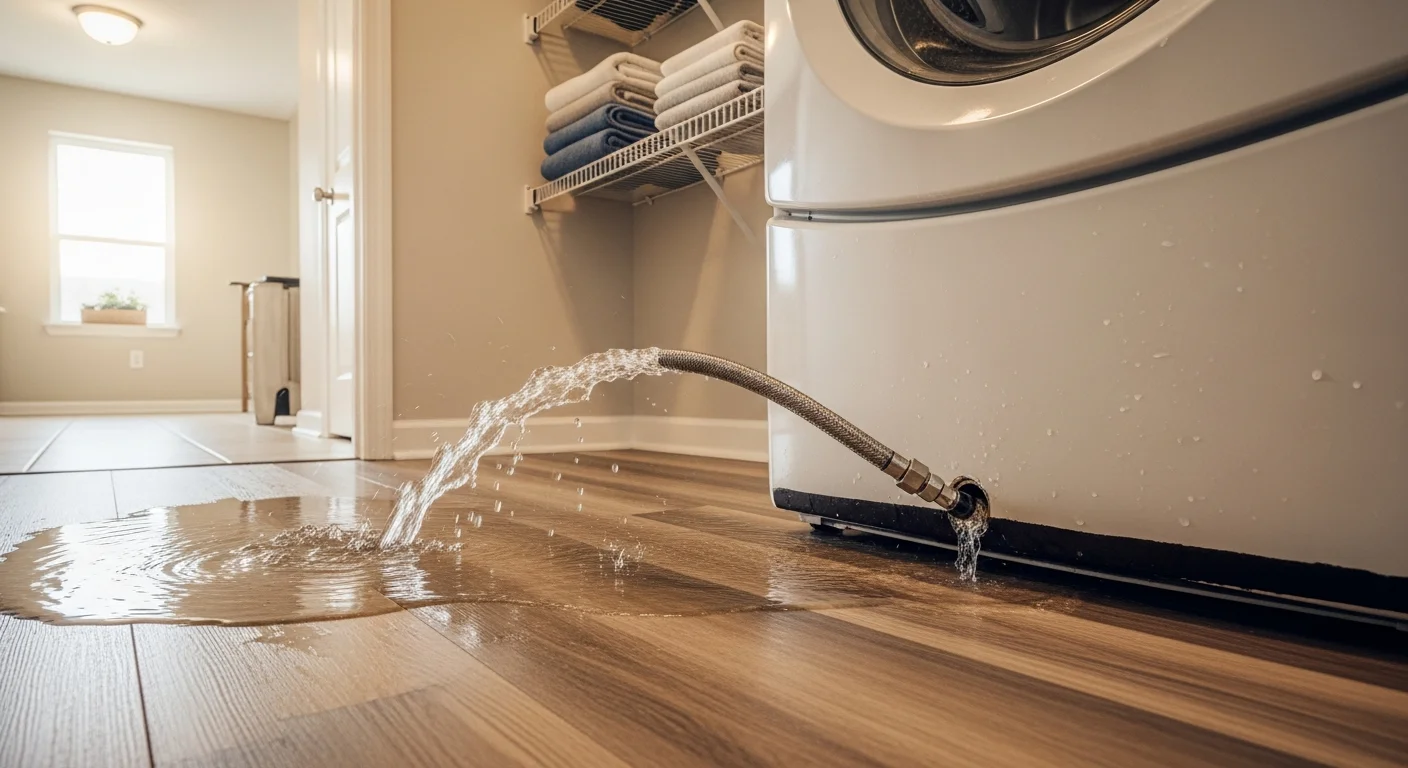
Washing machines are the #1 cause of appliance-related water losses, and supply hoses are the #1 failure point. A standard rubber hose under household water pressure (40 to 80 psi) that fails overnight can dump hundreds of gallons before anyone notices — and unlike a dishwasher leak that stays in the kitchen, a laundry room leak in a second-story unit or a house with a crawl space tends to travel straight down.
The six most common washing machine failure points
- Supply hose burst — rubber hoses degrade from inside out; cracks are often invisible until failure.
- Drain hose dislodged from the standpipe during a vibration-heavy spin cycle.
- Internal pump seal failure — typically a slow leak under the machine that shows up as cabinet or drywall damage weeks later.
- Door or boot seal degradation on front-loaders — mildew, tears, and warped gasket edges leak during wash cycles.
- Overfill float or pressure switch stuck open — the tub keeps filling past capacity and overflows.
- Drain clog causing backflow out of the standpipe or into the machine's own drain pan.
Six prevention actions that actually move the risk
- Replace rubber supply hoses with braided stainless-steel hoses and swap them on a 5-year cycle regardless of how they look.
- Shut off washing machine supply valves any time you leave town for more than a long weekend.
- Level the machine — an unbalanced washer vibrates connections loose and accelerates hose and pump wear.
- Inspect hoses, valves, and the area behind the machine monthly; look for rust, calcium buildup, or dampness.
- Don't overload — exceeding load capacity strains the pump, bearings, and door seal.
- Install a drip pan with a floor drain or a leak sensor connected to a smart shutoff valve.
Dishwasher Leaks That Cause Water Damage
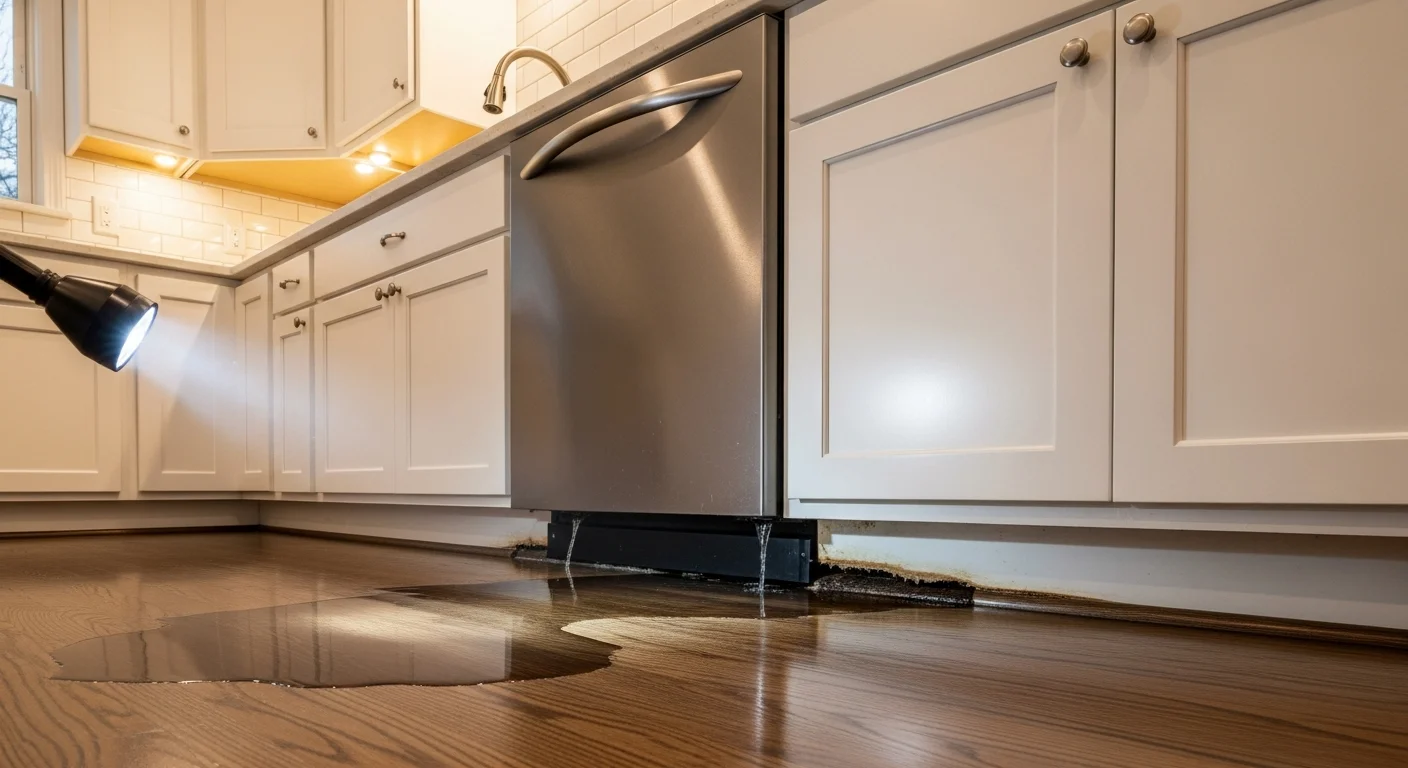
Dishwasher leaks are sneakier than washing machine failures because the damage usually hides — inside the base cabinet, under the dishwasher itself, and into the subfloor before anything shows up on the finished floor. By the time a homeowner notices a cupping hardwood plank in front of the dishwasher, the leak has often been running for weeks.
Five common dishwasher leak sources
- Door gasket hardened, torn, or coated with detergent residue — water sprays out during the wash cycle.
- Drain hose cracked at the air gap or pinched against the cabinet wall.
- Supply line fitting under the sink loosens from years of vibration.
- Pump seal or motor shaft seal failure — slow underside leak that shows as cabinet base damage.
- Float switch stuck open — the tub overfills and water escapes the door seal.
Water Heater Leaks and Tank Failure
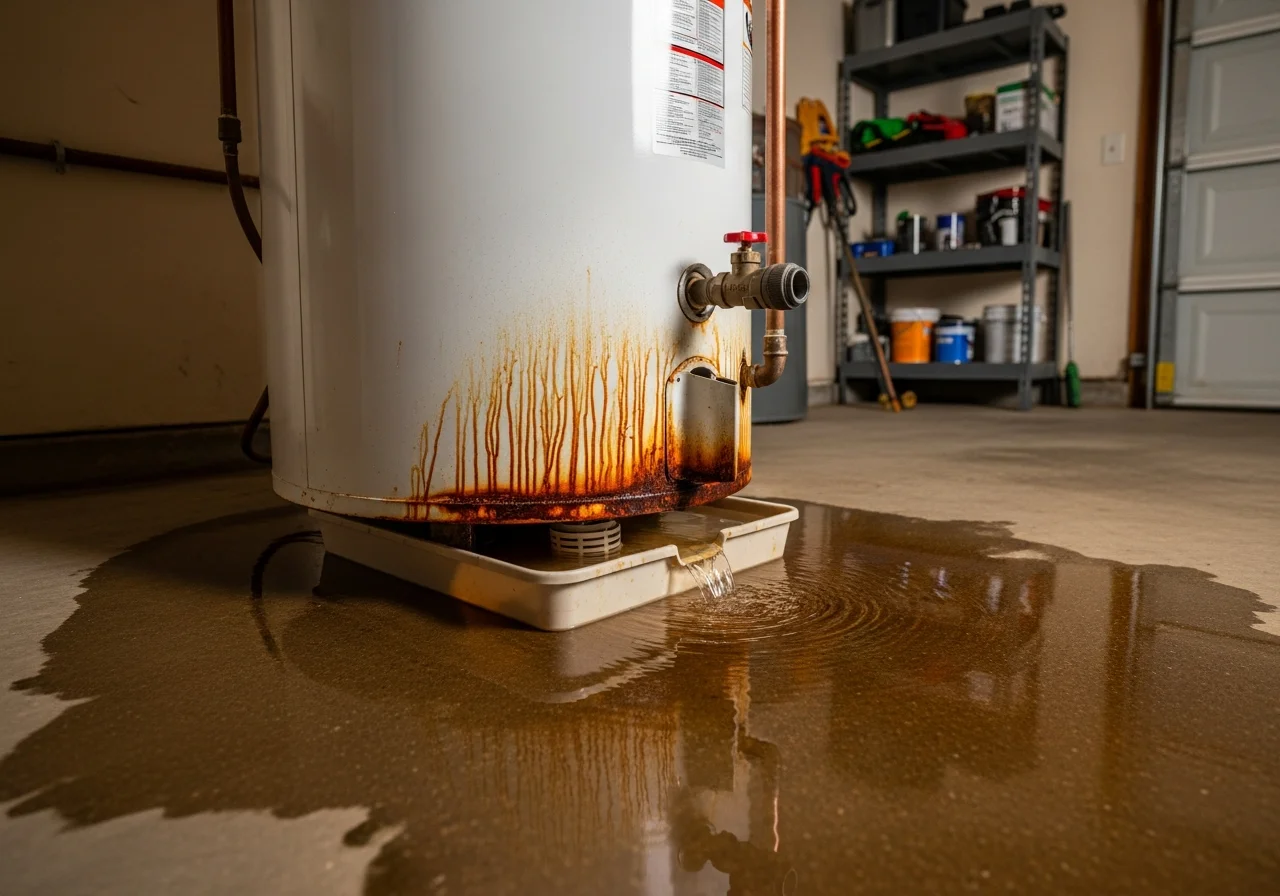
A failing water heater can flood a utility closet, garage, or laundry room within minutes. The U.S. Department of Energy pegs typical tank-style water heater lifespan at 8 to 12 years, with tankless units often pushing past 20. Tank failures are rarely sudden — they almost always telegraph themselves with rust streaks, weeping fittings, or temperature/pressure relief valve drips. Most homeowners ignore the early signs until the tank splits.
Year 1–5
Early life
Annual flush removes sediment, keeps the tank efficient, and gives you a chance to spot early drips at fittings, the drain valve, and the T&P valve.
Year 6–10
Anode rod window
The sacrificial anode rod is usually spent between year 5 and year 10. Replacing it here can add 5 years of tank life. Skip it and corrosion accelerates from the inside out.
Year 10+
Tank failure risk rises sharply
Rust streaks at the base, audible popping or rumbling, hot water shortages, and T&P valve drips are all signs to budget for replacement before the tank splits.
Post-failure
Water damage and rebuild
After a tank failure, expect extraction, 3 to 5 days of structural drying, and possible removal of wet drywall, insulation, flooring, and cabinets. Reconstruction and repairs are billed separately from mitigation.
Five water heater prevention actions
- Flush the tank annually to remove sediment that accelerates corrosion and reduces efficiency.
- Inspect the anode rod at year 5, replace if more than 50% consumed.
- Test the temperature and pressure relief (T&P) valve yearly — a stuck valve is a safety risk, a slow drip is an early warning.
- Make sure the drain pan is present, intact, and drains to somewhere useful (floor drain, condensate line, or the outdoors).
- Budget for replacement at year 10 if you have a standard tank in an interior living space or above a finished ceiling — the cost of a scheduled swap is a fraction of a flood.
Costs and Typical Timelines
Two different numbers often get blended together when people ask what a water damage job "costs." Mitigation is the emergency work: extraction, drying, monitoring, sanitation. Rebuild is what comes after: replacing drywall, flooring, cabinets, and paint. The numbers below are mitigation-phase estimates. Rebuild costs depend entirely on finishes and scope.
| Water category | Typical appliance source | Mitigation cost per sq ft | What drives the range |
|---|---|---|---|
| Category 1 (clean) | Washing machine supply line, water heater supply side, clean-water heater leak | $3.00 – $7.50 | How long water sat, materials affected, and whether walls, insulation, or subfloor got wet |
| Category 2 (gray) | Dishwasher discharge, washing machine drain discharge, detergent-laden overflow | ~$5.25 (common benchmark, up to ~$7.50) | Added cleaning and sanitation steps; more porous materials removed instead of dried in place |
| Mold complication | Any category that sat past 24–48 hours or dried in humid conditions | Usually quoted separately; commonly low-thousands add-on | Size of the affected area, whether containment is needed, and what has to come out |
| Typical total project | Residential washer, dishwasher, or water heater loss | $1,384 – $6,384 typical range, ~$3,867 average | Angi/HomeAdvisor national data; small incidents can be $450, severe losses $16,000+ |
Appliance leak mitigation cost ranges by water category
Florida, North Carolina & South Carolina: What Changes by State
The biggest state-level differences after an appliance leak come down to climate, construction, and claim-handling rules. Florida is the most humid state in the country, which makes drying harder and mold risk higher. The Carolinas have more crawl space construction than most of the US, which changes how a laundry room or kitchen leak migrates. And the three states treat insurance deadlines and mold work very differently.
Florida
- Most humid state in the country — drying often requires aggressive dehumidification, not just fans.
- Property insurance claim must be reported within 1 year of the date of loss; supplemental claims within 18 months (Florida statute).
- State licenses individual mold assessors and mold remediators through the Department of Business and Professional Regulation. Hire a company whose working technicians are licensed.
- Slab-on-grade construction is common — leaks tend to spread horizontally through wall cavities and flooring assemblies rather than dropping into a crawl space.
North Carolina & South Carolina
- Humid climate, but drying is typically faster than coastal Florida.
- NC: insurers should acknowledge a claim within 30 days (NC Department of Insurance). No universal settlement deadline — document everything and keep a claim diary.
- SC: insurer must furnish proof-of-loss forms within 20 days of notice (unless a lesser period applies).
- Neither state licenses mold remediators. IICRC S520 is the accepted industry standard — verify technician certifications.
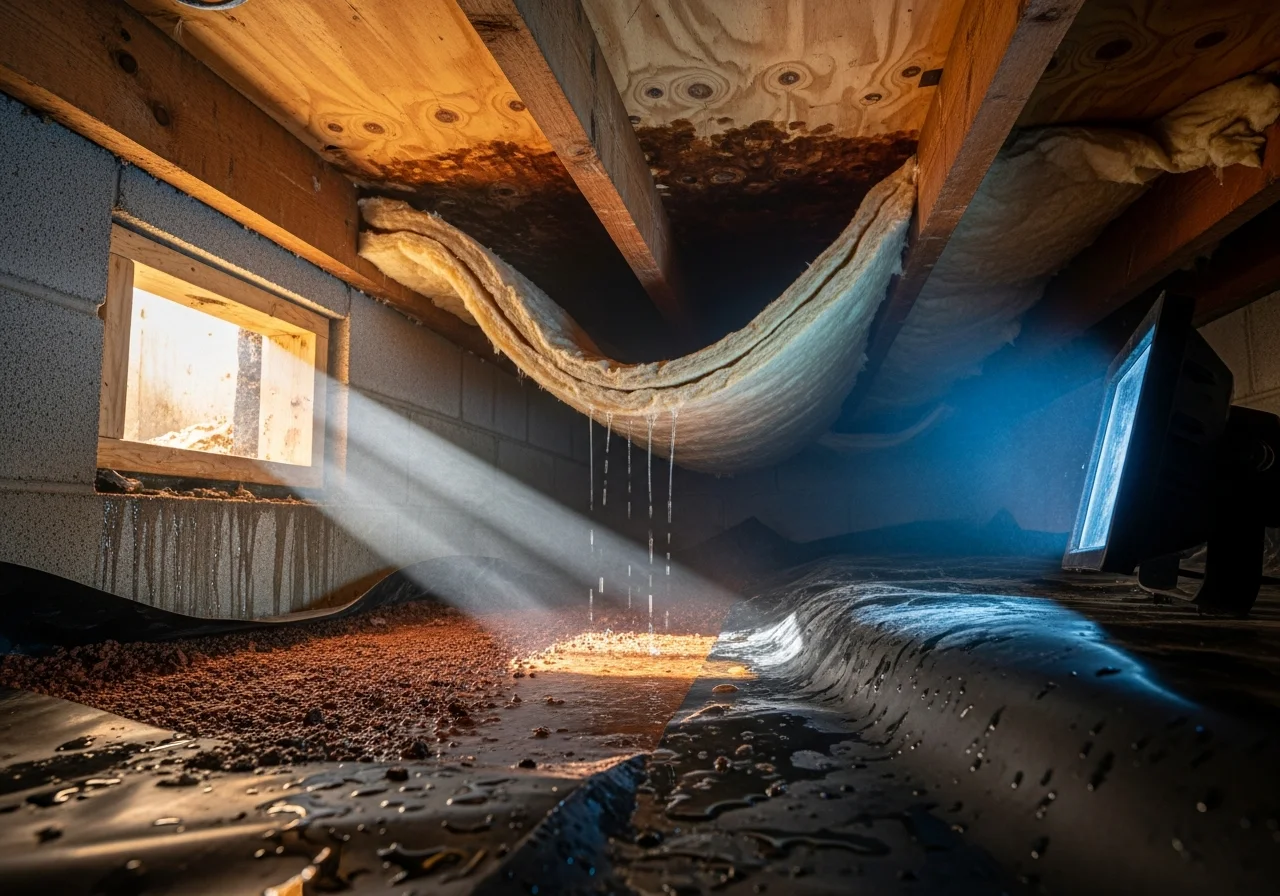
- Vented crawl spaces are common. A laundry room or kitchen leak often migrates downward, soaking subfloor and insulation from below — check the crawl space after every upstairs appliance leak. If it looks wet, get crawl space cleanup and drying scheduled the same day.
Signs of Hidden Water Damage After an Appliance Leak
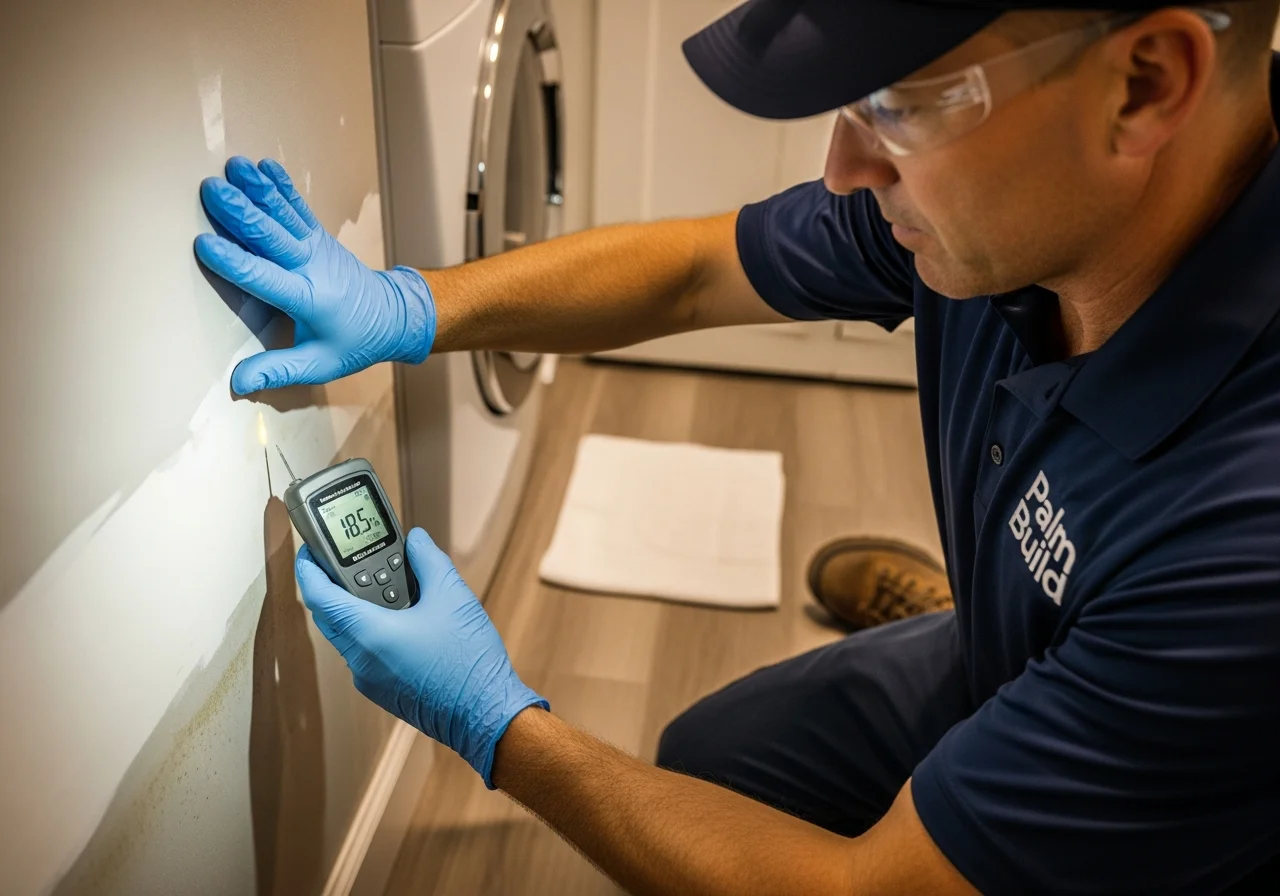
Hidden moisture is the part of an appliance leak that quietly costs the most money. Water wicks up drywall behind cabinets, flows along the top of the subfloor until it finds a joint, and collects in places you cannot see without equipment. The EPA and IICRC both emphasize that visual inspection alone is not enough — moisture readings and thermal imaging are what separate "surface dry" from "structurally dry."
- Cupping, crowning, or buckling on hardwood floors within 10 feet of the appliance.
- A musty odor that shows up even after you have cleaned and dried visible surfaces.
- Soft, spongy, or discolored drywall at the bottom of the wall behind or beside the appliance.
- Stained, swollen, or separating baseboards.
- Loose tiles, cracked grout lines, or a hollow sound when you tap the floor.
- Moisture visible under the sink cabinet or inside the toe-kick when you shine a flashlight.
- Condensation on the inside of a basement ceiling or crawl space vapor barrier after a laundry leak.
If you see any two of those signs, assume hidden moisture and read our detailed guide on signs of hidden water damage. Even if the leak was small, hidden moisture behind a cabinet or baseboard is how a $1,200 mitigation job becomes a $9,000 mold remediation job four weeks later.
Frequently Asked Questions
Does homeowners insurance cover water damage from a washing machine leak? +
How fast can mold start after an appliance leak? +
How long does it take to dry out water damage from a washer or dishwasher leak? +
Should I turn off the water to my washing machine when I leave town? +
Will insurance pay to replace the dishwasher or washing machine that caused the leak? +
How much does appliance leak water damage cleanup usually cost? +
What are signs of hidden water damage after a dishwasher or water heater leak? +
What should I document for an insurance claim after an appliance leak? +
24/7 appliance leak response
Palm Build's dedicated service page for washer, dishwasher, and water heater leak emergencies across FL, NC, and SC.
First 24 hours after water damage
Hour-by-hour emergency playbook covering shutoffs, documentation, and when to escalate.
Filing a water damage insurance claim
What carriers actually ask for, how to document, and common mistakes that slow down settlements.
How fast mold grows after water damage
The 24–48 hour window, temperature and humidity drivers, and what to do if you are already past it.
Appliance leak spreading fast? We will be on-site within hours.
Palm Build's IICRC-certified crews respond 24/7 across Florida, North Carolina, and South Carolina. We handle extraction, structural drying, moisture documentation, and insurance coordination — and we will be honest with you about whether the loss needs a full restoration team or a quick dry-out.
Found this helpful? Send it to someone who needs it.